How to Paint a Door in 7 Easy Steps

How to Paint a Door in 7 Easy Steps

Video: How to Paint a Door in 7 Easy Steps *Currently 117 views

paintenance melbourne logo

Why Paint a Door?

Doors.

We use them all the time. 

Going in and out all day and night. Opening, closing. Opening again…

Often doors are the last thing we think about sprucing up. 

This is wrong!

Doors are the portal to your home or office.

They’re the first thing people see when they arrive, and the last thing they see as they exit.

Over time, even beautiful doors deteriorate.

Doors can become weathered. Scratched. Marked. Scuffed. 

Eventually your doors will look a bit worse for wear. Not exactly the showpiece you want when people come to visit you!

No worries, though, a good paint job will fix this.

We will show you how to give your doors a full makeover and the perfect painted finish.

The Paintenance Melbourne way!

7 Easy Steps to Painting a Door

Follow our step-by-step guide, and your doors will look brand new.

painting a door

Step 1: Prepare Your Equipment for Painting Doors

To achieve the best results, as always preparation is key.

Use the right tools and materials. 

Apply a good painting technique. 

This is the way to give your door a professional, long-lasting finish. 

So, you’ll need the following:

  1. Brush
  2. Roller
  3. Safety gear
  4. Saw horses
  5. Drop sheets
  6. Undercoat
  7. Topcoat
  8. Power drill

purple door blue door

Step 2: Take the Door Off

It’s easier to paint a door if you take it off the door frame. 

Check how much room there is on all edges of the door while it’s hanging. 

If it’s a tight fit, you may need to sand back the outside edges to allow for a new coat of paint, so it doesn’t stick.

Then, using your power drill to undo screws, remove door handles and anything else attached to the door such as coat hooks or door knockers.

Put a couple of door stops underneath the door. This holds the door in place while you remove the hinges.

Next, take the door off its hinges. Remove each screw from the hinge. Make sure you leave one screw on each hinge at a time, just to support the weight of the door. 

Then, remove the bottom screw, then the top screw. You might need another person to hold the door steady.

Once the door is fully off its hinges, lay it flat across a couple of saw horses, or chairs, or even an old table.

Wash the surface with a sugar soap solution to remove grease and grime.

painting a door panel with a roller

Step 3: Paint on the Undercoat

If the door has been painted with an enamel paint, lightly sand it back until the shine has gone.

Apply a primer undercoat, such as Dulux’s Primer, Sealer & Undercoat. 

Stir the undercoat paint well before use with a flat stirrer. If you don’t have a paint stirrer, use an old ruler.

Begin by painting the edges of the door with a brush. 

Then, fill up a tray with the undercoat paint. 

Draw your roller along the tray’s grate two or three times. This will apply the paint evenly to the roller. 

Roll on the undercoat paint to the door in a ‘W’ formation. This will make sure that you’ll have an even covering of paint.

To achieve a smooth finish, ‘lay off’ what you’ve painted. 

You do this by running your roller across the door from top to bottom with even pressure. 

If the door is not flat, but has raised or indented panels, you might find it’s easier using a brush instead of a roller. 

*Even when you use a brush, you can still paint the raised flat panels with a small roller, if you want to.

If using a brush, paint the raised panels of the first, then the other vertical panels, then the edges.

Allow a minimum of 2 hours drying time.

working on doors

Step 4: Sand it Back Lightly

Once the undercoat is dry, give your door a light sand with a fine-grade sandpaper. 

Then, wipe it down to get rid of any dust.

Step 5: Apply the Topcoat

Then apply a topcoat, such as Dulux’s Aquanamel. 

We recommend using a durable, non-yellowing, water-based enamel paint for exterior paint jobs.

This is so the paint can withstand the elements. 

Dulux Aquanamel is a great choice for front doors. It’s fast drying and easily washes up in water.

Find this and other paints and materials at your nearest Inspirations Paint Store. 

Mix the paint well, bringing the colour up from the bottom of the paint can.

If you have a flat door, apply the topcoat using the same process as the undercoat.

Brush around the edges of the door. Use your roller for the main surface of the door using the ‘W’ technique. 

Remember to ‘lay off’ the topcoat for a great finish. 

Make sure you use a good quality synthetic brush, to paint on the topcoat if the door isn’t flat.

Use light brush strokes over the original layer of paint to smooth out any imperfections.

  • Avoid overpainting with the Aquanamel, as this may cause streaks.

painting a door with a roller

Step 6: Paint the Other Side

When that side of the door is dry, flip it on to the other side. 

Give the door a light sand with a 360 grit sandpaper. Then wipe down the surface to remove the sanding dust.

You are ready to apply the second coat!

Follow the same steps as above when applying the undercoat, then the topcoat.

Step 7: Reattach the Door

Once the door is completely dry, it’s time to reattach the door fittings.

Then, hang the door back on the door frame, screw the hinges back on, and you’re done.

Enjoy your rejuvenated door, and happy painting!

Article References:

17 Common Painting Mistakes and How to Avoid Them

17 Common Painting Mistakes and How to Avoid Them

Video: 17 Common Painting Mistakes and How to Avoid Them *Currently 283 views

paintenance melbourne logo

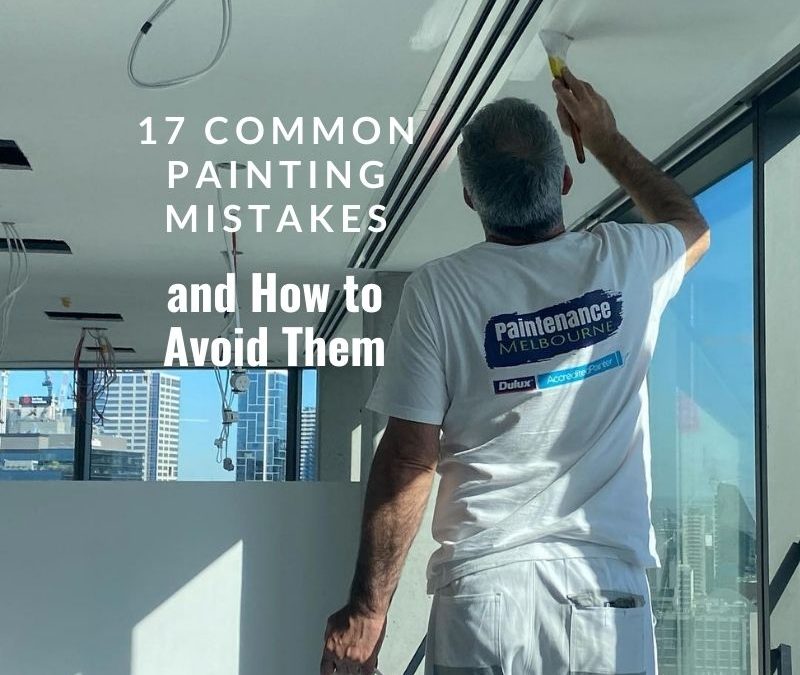
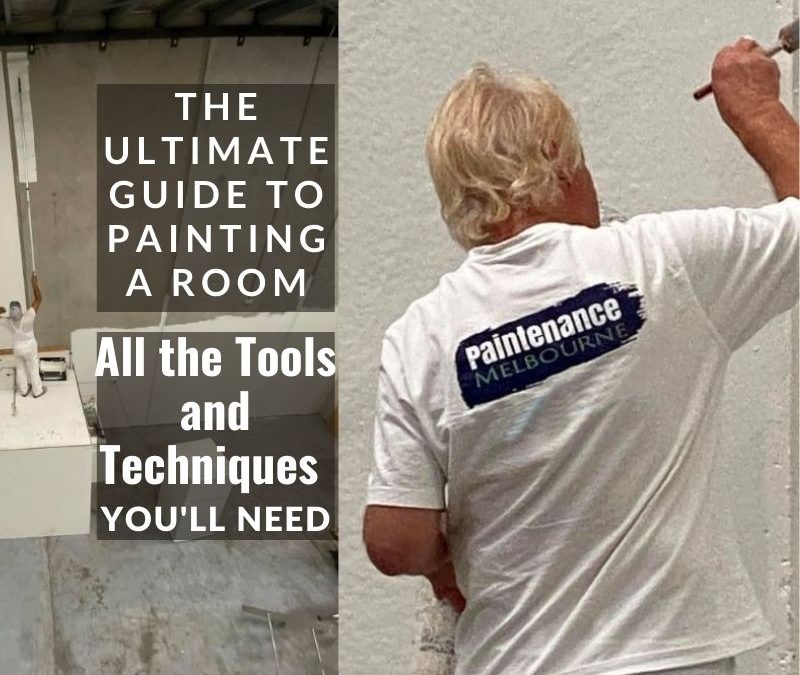
Painting a Room Minus the Common Painting Mistakes

We know what it’s like. 

You want to paint that room or wall. 

You’ve seen the colour swatch you like. You’ve bought paint on the spot, and now you’re raring to go!

Get your brushes and rollers (at a discount). 

Stir the paint, and start painting! It’s so exciting! So easy!

And, sadly, in most cases, doomed to failure…

We know it’s easy to get excited about your next painting project. How tempting it is to jump in and see that beautiful painted finish materialize before your eyes.

We also know how easy it is for you – or anyone – to make costly, time-consuming and frustrating mistakes. 

Avoidable mistakes!

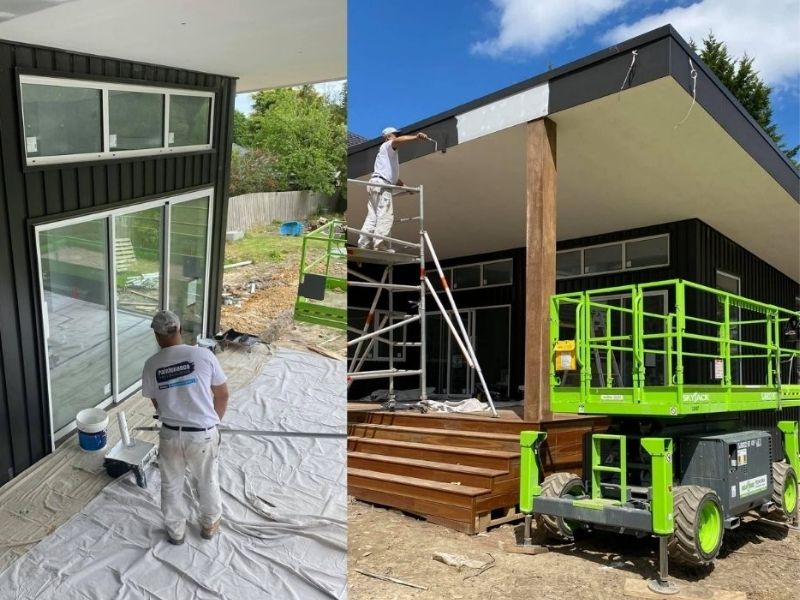
The difference between the pros and the DIYers is that the pros spend most of their time (and money) on preparation, tools and materials – before they even dip a brush in paint.

We’ve been in the professional painting game since 1988, so we know a bit about how to get it right 😉

If you’re relatively new to painting, however, but keen to give it a go, we can help you avoid the common pitfalls.

Seriously. You’ll thank us!

So, here we go.

Here are 17 common painting mistakes (and how to avoid them)

Preparing the room

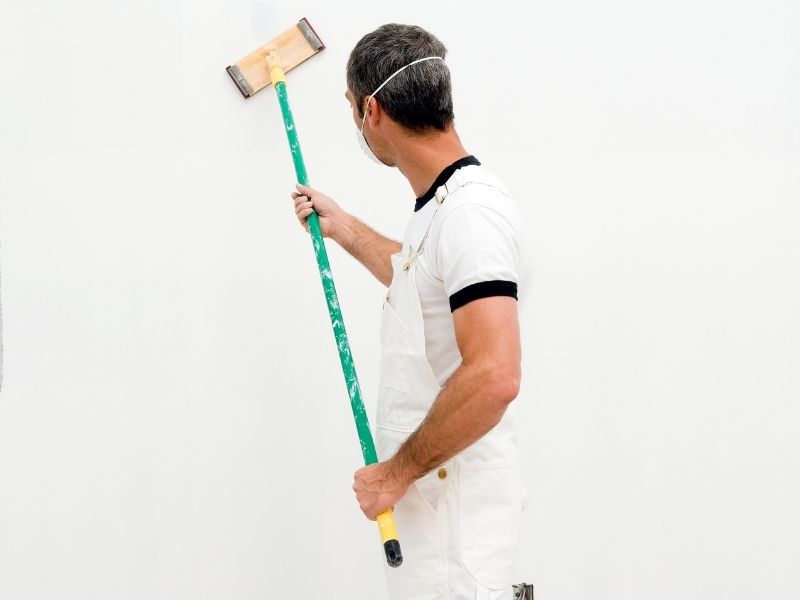
1. Not preparing the room

Before you even think of setting up your paint and materials, you should prepare the room.

An unprepared room can result in tripping hazards and paint splashes and stains on flooring, furniture and fixtures.

Remove any furniture from the room. If this isn’t possible, place the furniture in the middle of the room and cover it with plastic or drop sheets.

Cover the floor with drop sheets and tape them to the edges of the wall.

Move all breakable and precious items such as ornaments, photo frames, mirrors, free-standing decorative items and pictures or wall hangings out of the rooms to be painted.

It’s also advisable to take down any drapes or curtains and remove fabric items such as rugs from the space.

Finally, remove heating and air conditioning vent covers. 

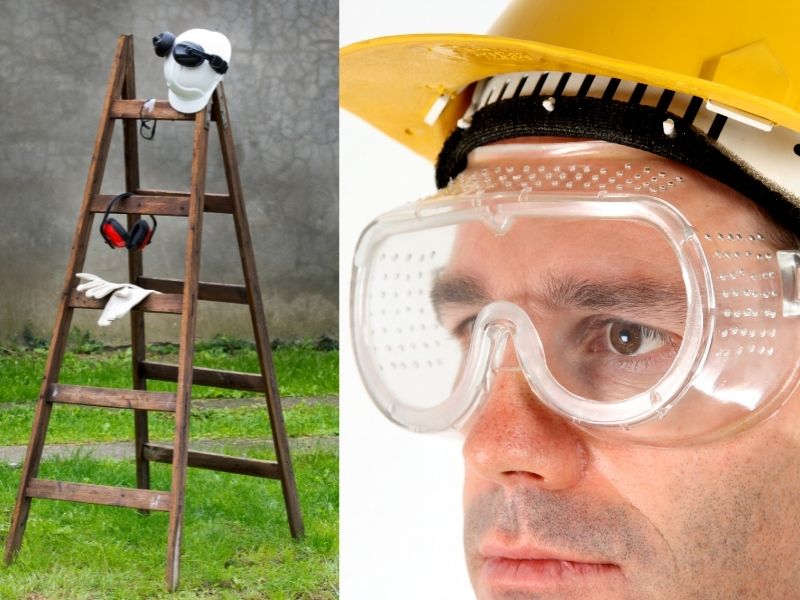
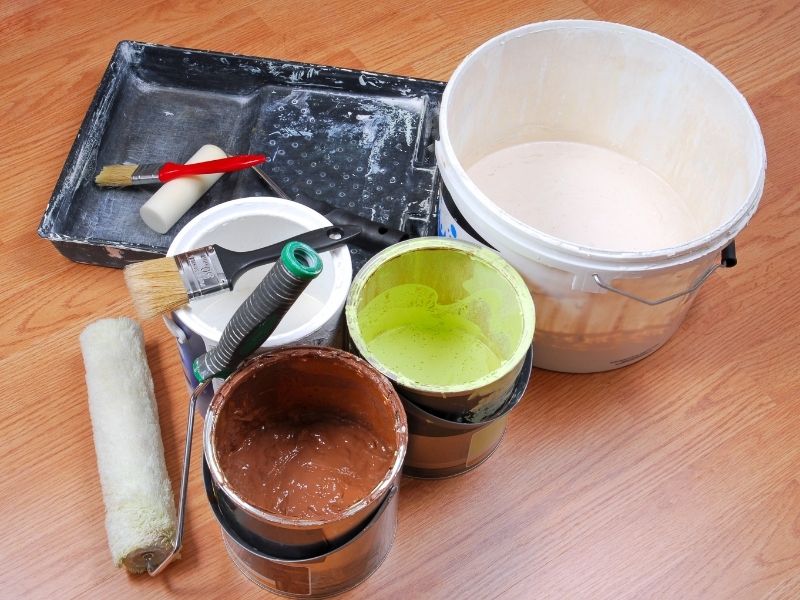
2. Not Getting Your Materials Ready

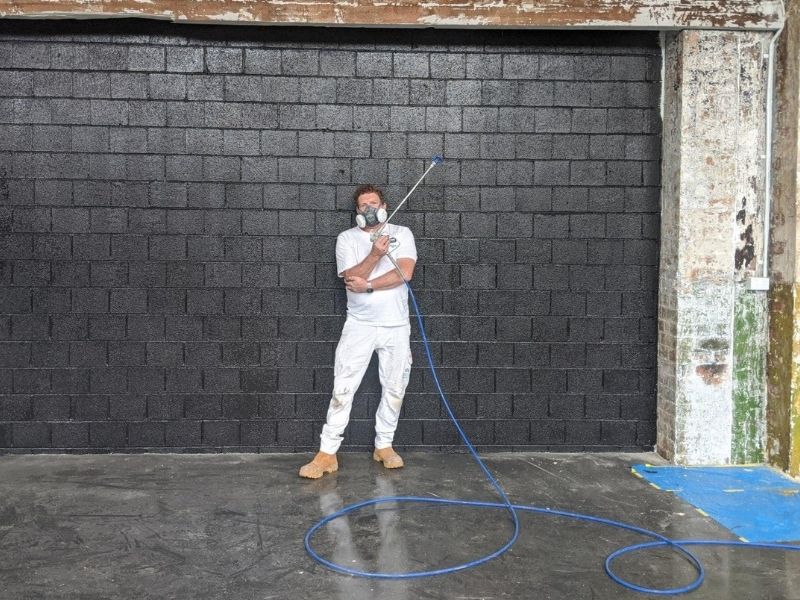
Whether you are using a brush and roller, or a spray gun as well, you need to organize your equipment before painting.

This will save you time, stress and will avoid fumbling around for the right item, or forgetting about it altogether!

Equipment and materials checklists are your friend, especially in the planning stages.

You don’t want a shoddy painting job just because you forgot to use some important equipment or materials.

Not preparing your surfaces

3. Not Preparing your Surfaces

If you don’t prepare your surfaces for painting you will experience some real painting problems that will be much harder to fix later.

Make sure there is a good, dry surface for the paint to adhere to.

Fill cracks, holes and uneven spots in your walls first.

Your walls should be perfectly smooth, because any uneven places will stand out after you’ve painted your walls.

You can probably get away with cleaning walls down with a sugar soap solution and a cloth. That’s if they’re in good condition!

Bottom line is, you’ll need to get dust and grime off those walls.

It’s also a good idea to give the room a full, thorough clean, prior to the new paint being applied.

You want to avoid dust and dirt to be stirred up and settle on the surface of your once-flawless new paint job – before it even has a chance to dry.

Vacuum the walls, ceiling and floor, and dust off any cobwebs.

4. Forgetting to Mask

If you don’t mask it off, it will get paint on it – often with disastrous results.

Whatever you don’t want painted in the room, you need to mask.

Remember to use painter’s masking tape.

This especially applies to spray painting, but other types of painting as well.

Tape drop sheets to the floor.

Mask or cover light switches and skirting boards.

Apply masking tape over any switches and outlets.

Windows should be covered with plastic sheeting, taped around the edges.

Cover doors, sealing off doorways and door jamb edges.

Apply painters’ tape around any window frames, around the door frame, along the floor edge or skirting boards, and anywhere you want a clean line with no messy over-paint.

Using Cheap Paints and Materials

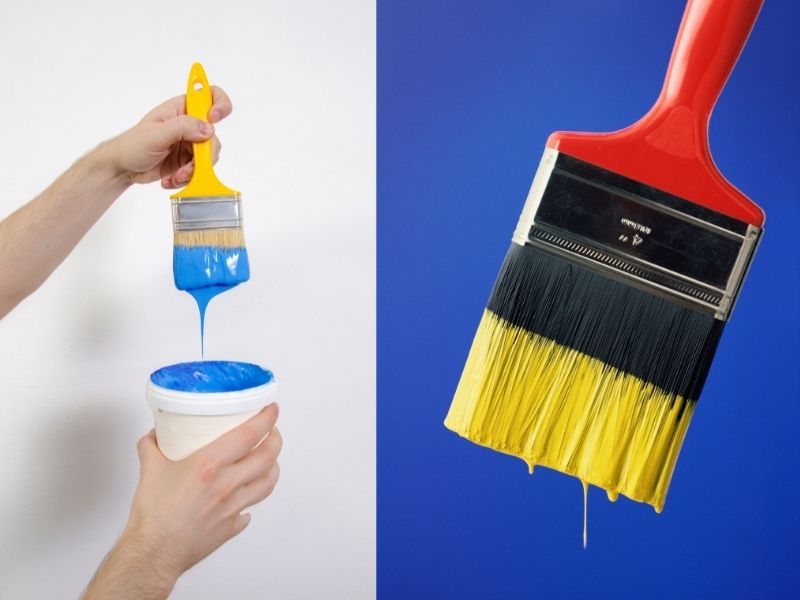
5. Using Cheap Paints and Materials

If you go with cheap or discount paint and materials, you’ll get an inferior result.

This can be avoided by using quality paint, for a start.

Using good quality paint is a good idea, as this will last longer and result in fewer repainting jobs.

Cheaper paints will give you more trouble, need repainting sooner, and will give you less coverage.

You’ll pay more in the long run, so invest more upfront to buy the better brands.

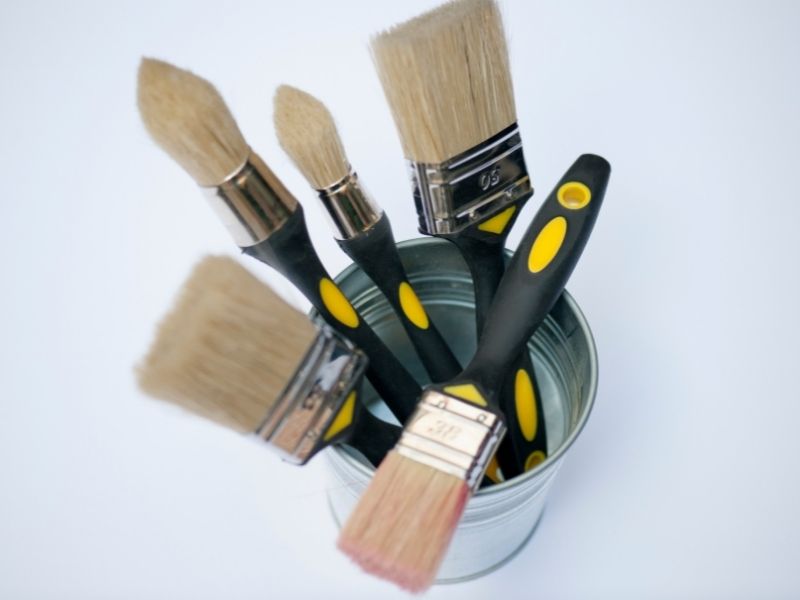
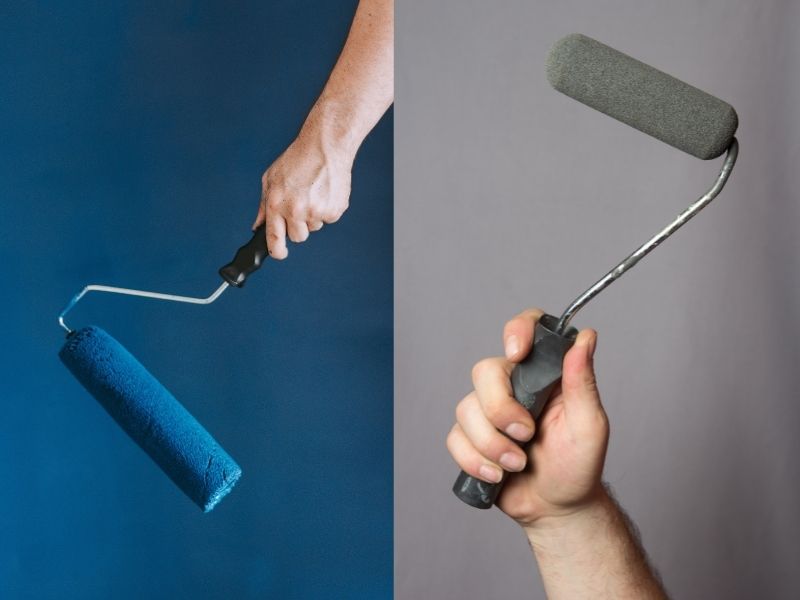
Using cheap materials like brushes and rollers is also a false economy. Always use good quality, well cleaned equipment.

Quality rollers and brushes will hold more paint and give a better finish than cheaper varieties.

If you’re not sure where to buy the best paints and materials, we recommend you visit our preferred supplier, Inspirations Paint at Nunwading.

6. Not Using Primer

If you don’t start off by painting with a primer, you could experience painting defects.

Using primer can improve the paint’s ability to provide a durable topcoat.

Primer can reduce the number of coats necessary to achieve full coverage and a smooth finish.

Primers are a type of paint with special qualities designed to improve bonding between coats; increase resistance from moisture damage or reduce appearance flaws caused by previous materials (i.e., sanding marks & stains).

When you paint trim, doors, or windows, using a primer will provide an extra smooth surface and good adhesion for the next layers of paint.

Forgetting to Seal Paint Tins

7. Forgetting to Seal Paint Tins

Quality paint is not cheap.

The last thing you want is your expensive, carefully-chosen paint to dry out after the first day’s paint because you forgot to seal the lid!

Always remember to close your paint containers with their lids after you finish for the day to keep the paint from drying out.

You can use a rubber mallet to lightly hammer the lid shut.

If you also add a film of plastic wrap over the opening this will ensure a tight seal.

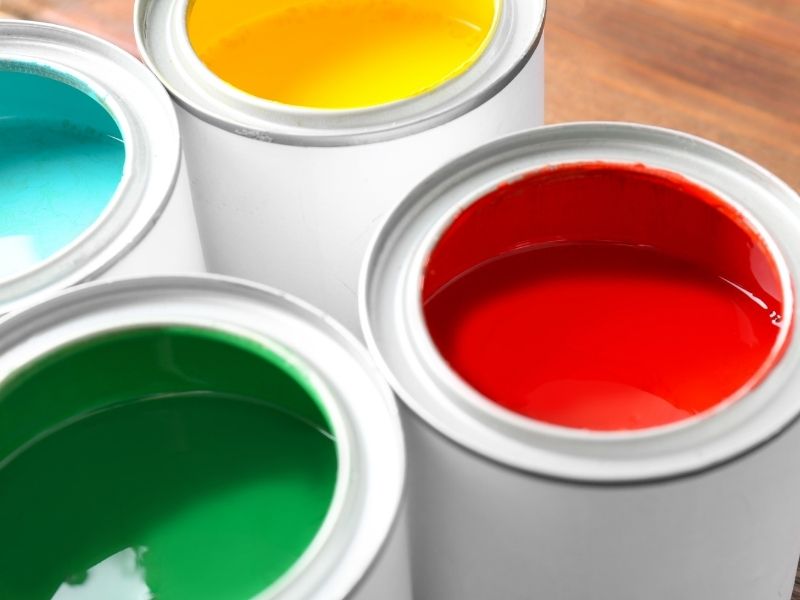
8. Not Testing Your Colour First

If you don’t test your paint colour, you might get an unpleasant surprise.

When you are committing litres and litres of paint and several hours to painting your house, you have to get the colour right.

Sometimes a paint colour can look quite different from a colour swatch, especially with different lighting effects.

To avoid choosing the wrong colour, always ask for a sample pot first.

Then, test the sample colour directly on the wall. This will give a real sense of what the paint colour will look like.

Rather than paint the sample directly on to the wall, paint a large sheet (A3) of paper or card, then stick it on the wall.

For best results, place 2-3 test sheets in different areas around the room where the lighting varies.

If you decide you like it, great! Then sleep on it and check back the next day.

Colours can change depending on the light.

If you realize the colour is not right for that room or wall, that’s okay. You’ve just saved yourself a lot of wasted paint and time.

Buy another test pot and start again!

Painting on Humid, Hot or Rainy Days

9. Painting on Humid, Hot or Rainy Days

You should avoid painting when it’s wet.

Humid or damp conditions can lead to paint drips and slow drying.

If you still want to paint on a humid day, then take your time.

Take advantage of slow-drying paint to correct your errors before moving on to the next coat.

Check the weather, and choose dry spells when there is less rain and lower humidity.

Paint needs time to dry.

If surfaces are damp, paint will not stick to it.

We also advise you to play it safe and avoid painting in extreme heat.

Extreme weather causes paint to dry at a much faster rate. This can cause paint blistering or peeling, poor adhesion, and unappealing stroke marks.

Below 35 degrees Celsius is the ideal temperature, for both your health and the paint!

We recommend you avoid painting on rainy, windy, or dusty days, particularly when painting outdoors.

These harsher elements can affect paint adhesion and cause small particles of dust to stick.

10. Neglecting to check for any flaking, cracked or peeling areas of paint.

If you don’t remove any loose or flaky paint, your perfect paint job will not last long.

Any cracked, flaking, or peeling areas need attention.

Be sure to sand (or scrape as needed) any peeling paint to create a solid surface for the paint to adhere.

Fill any gaps with flexible gap filler and apply primer paint to these specific areas.

Remove any rust on metal surfaces by wire brushing or sanding the surface.

Then, use a quality Metal Primer before applying the topcoat.

Sanding a wall

11. Not sanding

If you want a perfectly smooth surface for your walls, ceilings and woodwork you’ll need to sand it perfectly smooth.

Sanding removes cracked, peeling or rough spots in painted walls or wood trim.

Sand the trim before applying each coat of paint for an extra-smooth finish.

Use coarse sandpaper for rough surfaces and fine sandpaper for smoother ones.

Finally, give the walls a wipe-down to remove the sanding dust.

12. Using old bed sheets or plastic sheets to cover floors

You will want to protect your floors while painting.

Avoid using old bed sheets or plastic sheets to cover floors.

Thin sheets won’t fully protect against paint spills, and wet paint on plastic dries too slowly and is a slipping hazard.

Canvas drop sheets are best to protect your floors.

Not Keeping a ‘Wet Edge’

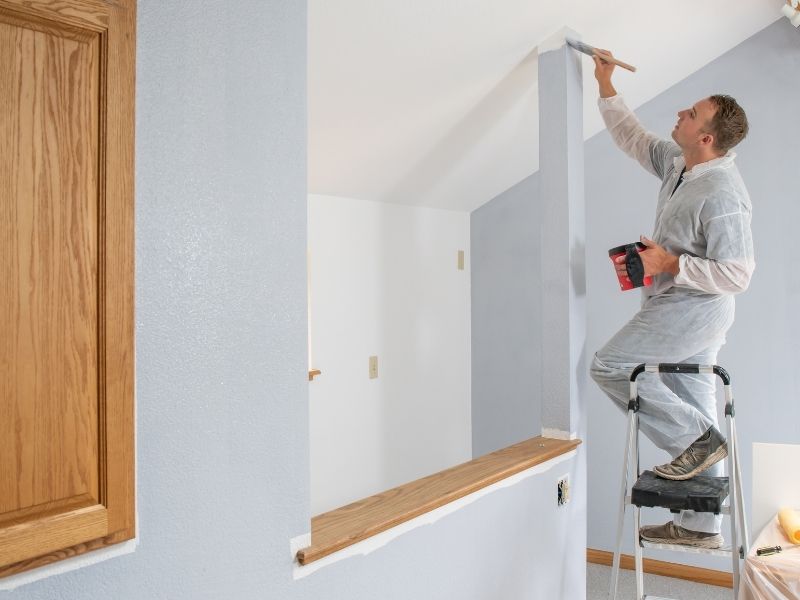
13. Not Keeping a ‘Wet Edge’

Framing’ is unsightly, and happens when a wall is painted with a roller but is brushed at the edges and corners.

The brushed areas appear darker, resembling the frame of a picture.

This can be caused by a failure to maintain a “wet edge” when painting.

To get a seamless look, cut in the edges on one wall, then roll on the paint before the cut in sections dry off.

This means that the brushed and rolled on sections will blend seamlessly.

14. Not Mixing Your Paint Properly

You don’t want to paint a whole wall or room, then notice slight differences in the colour!

The problem is, when you buy a few cans of the same colour paint, they’re never exactly the same.

This small difference can look glaringly obvious if you open a fresh tin of paint halfway through painting a wall.

To ensure colour consistency, the pros mix the different tins together in a large bucket, which is to ‘box’ the paint.

Getting Paint Drips

15. Getting Paint Drips

You can avoid unsightly paint drips.

To avoid drips with long strokes of paint, brush within 1.5 cm/.5 in. along wall trim, or within the cut-in area where the walls meet.

As the brush unloads paint, move the brush closer.

Slowly drag the brush along the trim or corner. To minimize or avoid overlap marks on large areas, feather out the paint along the edges you can’t keep wet.

Thinner, feathered paint edges will avoid a build-up of paint.

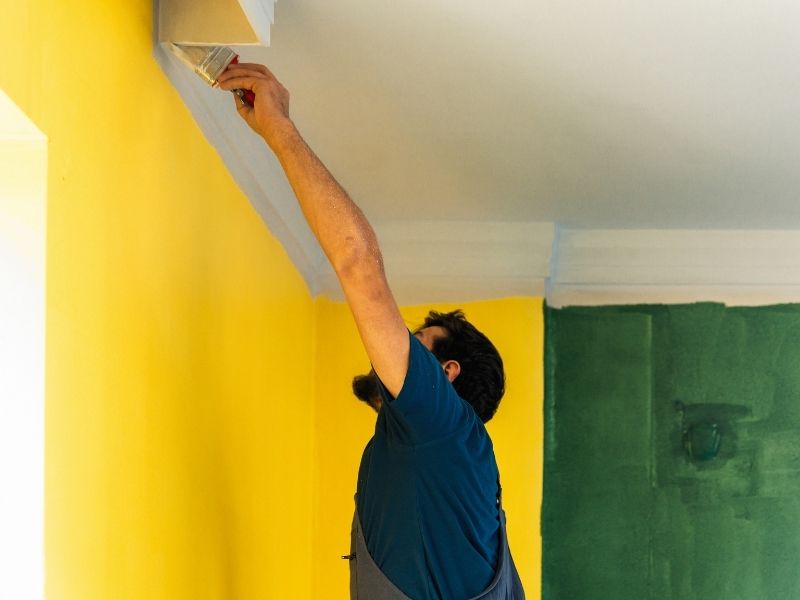
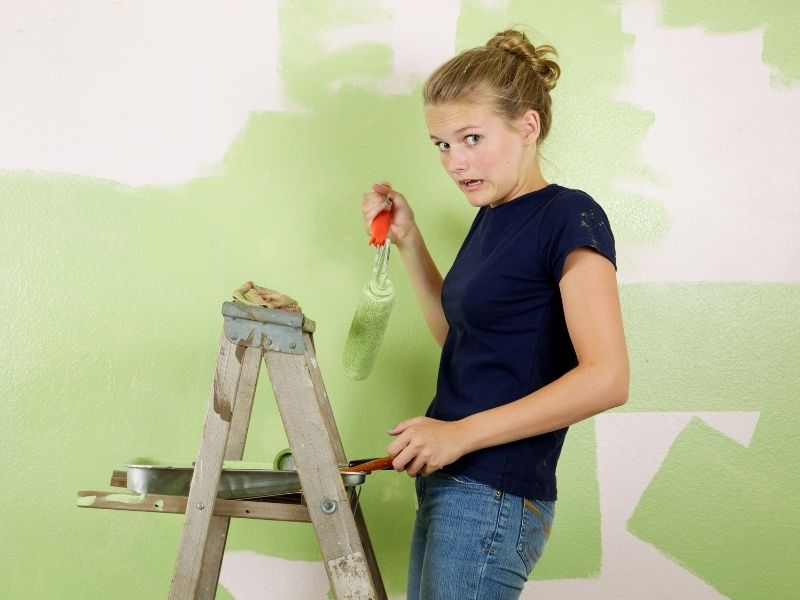
16. Missing a Spot While Painting

It’s easy to miss a spot while you’re painting. Missed spots are easy to fix while you’re painting, but not so easy when you have put the paint away.

This is more likely to happen when painting rooms with the same colour in poor lighting.

If you find yourself painting in poor light, get a bright work light.

Use the light to check your work as you go, particularly around the edges of a room where you may use a brush instead of a roller.

Keeping Your Equipment Clean

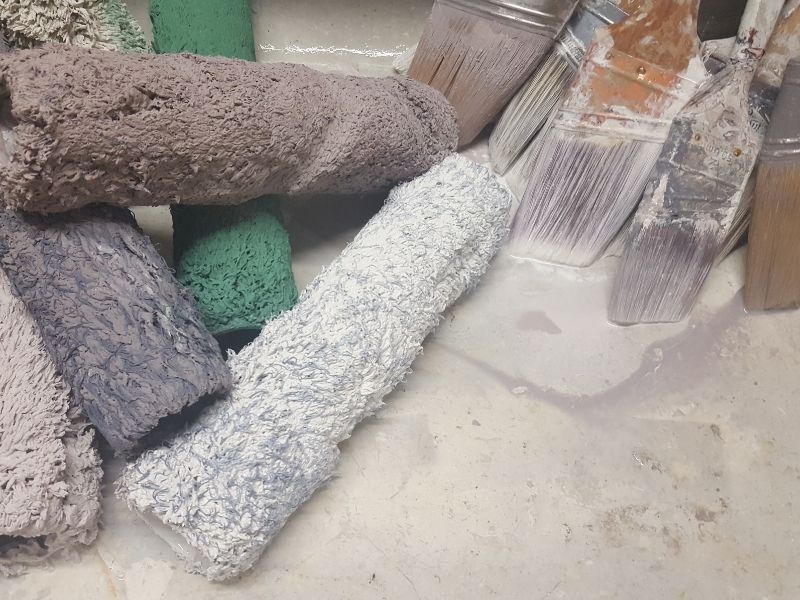
17. Not Keeping Your Equipment Clean

You don’t want your expensive rollers, brushes and other equipment to dry out and have to be replaced.

Rinse brushes in warm soapy water.

Use paint-thinner to clean off oil-based paint.

Rake the brushes straight with a brush comb.

Put your brushes back into their original wrapper or wrap them in newspaper.

You can leave the roller cover on the roller frame at the end of a painting day.

Soak the cover in paint, then wrap the cover in a plastic bag with an airtight seal. This will keep the roller cover and paint fresh for the next day’s painting.

painting mistakes

Follow These Tips to Avoid Common Painting Mistakes

We hope that this list of common painting mistakes and how to avoid them has been helpful for you! 

Of course, a lot of this probably comes down to common sense. 

But some might say that there’s nothing common about common sense! This especially applies to painting. 

There’s so much to be mindful of, and this can vary depending on the painting job.

If you follow these tips when you embark on your next painting project, however, you should avoid making any serious errors. And you’ll likely achieve great results.

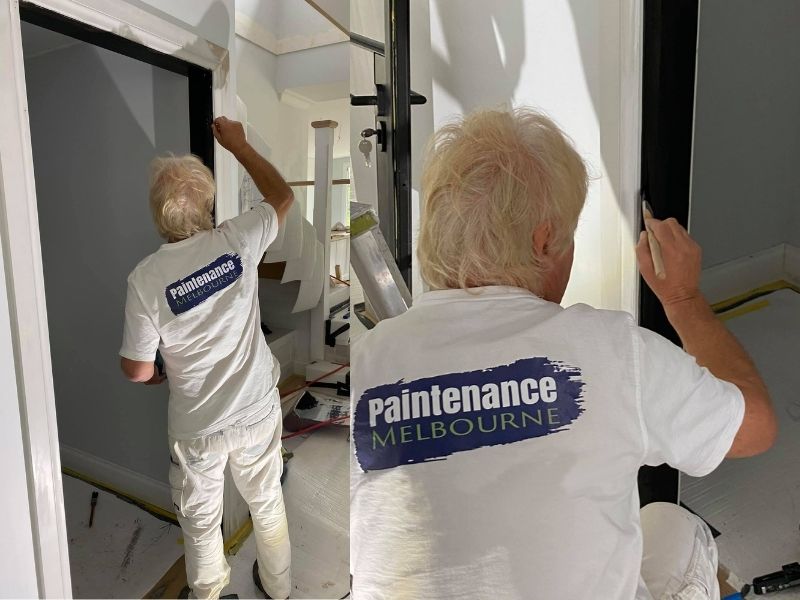
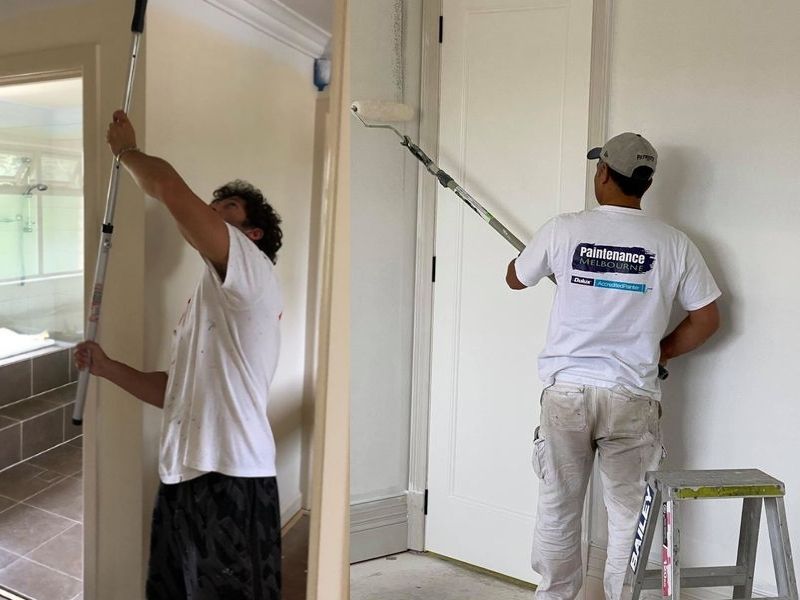
As always, if the pitfalls of DIY painting are a little too daunting for you, please consult a professional.

Call Jonno from Paintenance Melbourne today on 0404 227 330 to discuss your next painting project.

Happy painting!

How to Restore Your Deck to Make it Look Like New

How to Restore Your Deck to Make it Look Like New

paintenance melbourne logo

Bring Your Old Deck Back to Life

Imagine the smell of a sizzling barbecue wafting in the summer air.

Sitting outside with friends, enjoying a drink and a laugh together.

Relaxing on a broad deck watching the kids play outside.

Then you look down at the floor of your deck.

To your dismay, your decking floor looks old, worn.

The boards have lost their sheen, and there are visible stains. 

What once was a uniform, shiny, painted surface is now a streaky, discoloured, fading eyesore.

How did that happen? And, more importantly, what can you do about it?

Don’t worry, we have the solution for you!

Almost any deck can be restored and brought back to life by following simple steps. 

We’ll show you how to restore your decking to bring it back to its former glory and look like new.

You can clean away the years of accumulated dirt and stains. 

You’ll learn how to bring your old deck back to life. 

It’s time to return to fabulous outdoor living by sprucing up your deck!

Choosing a decking finish

Choosing Your Deck Finish 

When it comes to deciding which finish to use on your deck, you have three options: oils, stains or paint.

The easiest way to remember the difference between oils and stains is this: oils enhance the natural colour while stains change it. 

Oils

There are 2 types of oils: oil-based and water-based

Oil-based penetrates the timber to create a more traditional look. 

Water-based oil lasts longer, because it sits on top of the timber surface. 

An oil is the best product to use if you like the natural colour and grain of your timber and wish to enhance it.

Oils contain a small amount of pigment. This pigment is essential to provide protection against UV and foot traffic. 

Due to its small amount of pigment, oil is less durable than a stain.

Your timber decking can be matched to various tints. Tinted decking oils protect and deepen the colour of the timber to help it last longer.

Before applying colour to the whole deck, we recommend testing with 2-3 coats of your chosen colour on a wood offcut or an area of timber that won’t be seen. 

Stains

If you want the wood grain to show through and change the look of the timber completely then use a stain. 

Stains contain mid-strength pigment. They are designed to transform the look of the wood with a rich colour that still allows the grain to shine through.

Stains are especially recommended for weathered timber that’s lost its colour, or on treated pine decks. You can choose from a range of traditional timber colours and others such as blues, greens and greys.

The benefit of using stains is that they contain more pigment than oils and protect longer against weather and foot traffic.

Paint 

If you have a previously painted surface or want to match your deck with other painted features, then use a deck paint.

You can choose paints that are designed for decking that last longer than regular exterior paints. 

Applying paint to a deck

Get Your Supplies

The next step is to organise your supplies. You will need the following:

Cover Up

If there are any plants near the deck, cover them with plastic. Remove any surface dirt by hosing off the deck.

painting on the front of a deck

Preparing a Weathered Deck

Preparing a weathered deck properly depends on the condition of your deck, the type of coating it has and the finish you’re looking for.

For example, you might have a bare timber deck. 

If it’s in good condition, and only recently gone grey, then clean it with a deck cleaning product, such as Cabot’s

You can bring your deck back to life in its natural colour by removing weathered wood fibres, oils and tannins. 

Sand badly weathered timber back to a solid surface before cleaning.

Painting oil on the front of a deck

Making Sure of Your Decking Finish

Your decking timber may have been previously oiled or stained. 

To accept a new finish, it might need to be properly weathered.

In order to determine this, do a water bead test. 

You’ll need to sprinkle some water on your deck. 

Then, see if the water beads or absorbs into the timber. 

If water soaks into your timber, then decking oil or stain should do likewise.

If the water beads, then the timber won’t be able to accept a new coating. In this case, you’ll have to sand it back before going through the cleaning process.

Another scenario might include a painted timber surface. Standard paint recoating rules apply here.

Remove loose or flaking paint. Sand back the timber and clean it before repainting.

Cabot's Aquadeck and Deck Clean

Applying Decking Oils or Stains

Before you apply any oil or stain to your deck, you need to prepare the timber. Start with a deck cleaner product. 

Hose down any plants near your deck before and after using the cleaner. This will help to minimise any damage to leaves.

Once your deck is dry, you’re ready to apply the first coat. 

An example of an excellent decking oil product is Cabot’s Aquadeck

Cabot’s Aquadeck is a highly durable, low odour, lightly pigmented water based decking oil. It enhances and protects the natural look of your decking timber and lasts twice as long as oil based decking oils.

Before using a product like Aquadeck, give it a good stir. This will ensure the colour is even throughout the can.

Then, pour it into a bucket. Cut in around the edges with a brush where required.

Cover 3-4 boards at a time in long strokes using a lambswool applicator.

Work up and down the full length of the boards, rather than across. This is to ensure consistency and that no edges appear mid-board. 

Wipe over any drips immediately to ensure they don’t dry as this will leave spots.

Apply 2 coats leaving 1 hour between each coat. 

You’re done, and your old worn-out deck will look like new!

painting oil on a deck

Get the Best Products and Advice

Whatever product you use to restore your deck, whether that is an oil, stain or paint, you can get excellent advice, products and supplies at your local Inspirations Paint outlet. 

At Paintenance Melbourne, we use and recommend the Inspirations Paint Nunawading store.

And if you want direct assistance with your decking or exterior paint project from a Master Painter, please contact Jonno at Paintenance Melbourne on 0404 227 330.

Happy painting!

Article References:

How To Restore a Deck – Better Homes and Gardens

How To Restore a Deck with UltraDeck – Bunnings

Choosing Between an Oil and a Stain – Inspirations Paint

20% off tools at Inspirations Paint Nunawading

9 Ways to Stay Safe When Painting

9 Ways to Stay Safe When Painting

paintenance melbourne logo

Painting Keeps Us Safe!

Painting is a great way to freshen up the look and feel of a house or workplace.

It can make an old place new again or give a nice background to all your posters, wall hangings, paintings, family photos, and other beautiful things you want to put up on your walls.

Painting doesn’t just benefit the people painting.

Painting also benefits the people who live or work in the painted surroundings!

Why?

Because painting keeps us safe!

A good quality paint job properly seals walls, ceilings, doors, and other areas, provides a surface that looks attractive and is easy to clean.

However, even a straightforward activity like painting has safety concerns.

Painting has both physical and health hazards.

As a start, you should always follow proper clean-up, storage, and disposal procedures.

There are plenty more safety considerations when using and applying paint.

Here are 9 painting safety tips that will help keep you safe and healthy:

painting with a respirator

1) Prepare The Room for Safety

The first painting safety tip you should practice is preparing the room for painting.

Clean up any rubbish from a room before painting it. You don’t want to paint in a messy place.

You also don’t want painting materials getting mixed in with dirt or debris.

Do a quick sweep-through of your painting area. Make sure there is nothing you can step or trip on like old nails or small surfaces that can easily be accidentally bumped into (like desk legs).

2) Paint Carefully and Slowly to Prevent Slipping

Slipping can result in some serious injuries when painting.

It’s easy for someone to fall downstairs or hurt themselves on sharp objects when slipping or tripping.

Slipping also happens when painting uneven surfaces.

So, to prevent slipping while painting, spread out a sturdy canvas drop-sheet on the floors you are painting. This will protect your painting surfaces and protect you from slipping hazards.

Try painting and moving around the room slowly so that slip-ups become less likely to happen.

3) Keep Away from Lead Paint

Paint containing lead was used in many Australian homes before 1970.

However, houses built after 1970 might still contain paint with more than 1 per cent lead, particularly if old paint, industrial paints, or marine paints have been used.

If you suspect there might be old paint with lead content, make sure you have a professional painter skilled in lead paint management address this.

Trained professional painters can do tests to determine a paint’s lead content, and they have the right tools, safety equipment and techniques to remove it or paint over it.

painting safely outdoors

4) Choose Safe Paints

Paints have a variety of ingredients and chemicals in them.

You should know the safety risks of the paint you purchase.

Read and follow the safety recommendations mentioned on the paint label.

If a paint product has no label, don’t buy it.

We recommend you ask for a Safety Data Sheet (SDS) for each paint product from the manufacturer or paint supplier.

Safety Data Sheets indicate possible hazards of a paint product. They contain advice on how to handle the product safely, precautions that should be taken before using the paint, storage guidelines, and emergency procedures.

As an example, extra care needs to be taken with materials such as paint strippers containing methylene chloride.

Methylene chloride is a suspected human carcinogen.

It is highly toxic.

It can cause permanent damage to skin and eyes, headaches, nausea, vomiting, numbness, tingling, light-headedness, worsen angina, loss of co-ordination, diarrhoea, abdominal pain, convulsions, unconsciousness, damage to lungs, liver function and kidneys.

5) Paint Health Hazards to Avoid

If you inhale too much paint vapour or mist, you may experience short-term physical problems.

These can include eye irritation, sore throat, cough, runny nose, fatigue, or dizziness.

Paint may cause skin problems, such as short-term rashes or swelling.

You should wash your eyes with water for at least 15 minutes after contact with paint, solvents, or thinners, and get medical attention.

There is always the risk of long-term, chronic illnesses that develop over time.

These may include problems with the digestive or central nervous system, and damage to the liver, kidneys, or lungs.

Beware of being desensitized to a paint product, especially with certain paints called polyisocyanates.

Once you become sensitized to a substance, you risk serious skin and respiratory problems, even possibly permanent lung damage.

Metal pre-treatment paints often contain phosphoric acid.

This can include hazards due to the material being corrosive. It will burn skin and eyes and may result in permanent damage.

6) Avoid the Sun During Painting to Prevent Sunburn and Overheating

Painting under the sun for prolonged periods can cause serious problems during painting.

When painting in sunlight for extended periods of time, people can get overheated and dehydrated.

Painting in direct sunlight can cause sun stroke and heat exhaustion.

When the weather is warm, keep painting sessions short to prevent your body from over-heating and feeling ill.

Wear a hat, sunscreen and cover up if working under the sun.

Drink water regularly.

painting a ceiling safely

7) Use Safe Tools and Equipment

Using painting equipment and tools that are designed for painting jobs is a must.

Don’t use normal household implements like knives or forks when painting to open tins or stir paint. This can lead to nasty accidents.

Always make sure you have quality painting equipment that works before beginning a painting session.

If you’re working higher up, you should avoid falls.

Use a sturdy ladder. It should be balanced and strong enough to support your weight.

Check your ladder for cracks and splits before you climb.

If it’s a metal or fibreglass ladder, check for bends and breaks.

Never use a defective ladder.

Make sure your ladder sits firmly on the ground or floor.

If one foot of your ladder is lower than the other, raise up, or level the surface with a firm piece of material. Don’t use bricks or boxes.

Your ladder should lean on a solid surface – never on glass.

The angle of ladder incline should be comfortable and safe. Never position your ladder close to open walkways or doors.

Steps or rungs of your ladder should be free of paint, mud, grease, or any other slippery material.

Remove any slippery material from the sole of your shoes before you climb up the ladder.

When climbing up your ladder, face forward. Use both hands to keep a firm grip on the rails.

If you need to carry heavy items up the ladder, climb up first, and then pull up the item.

You might consider a ladder bracket scaffold where you are not working above a 2-metre height.

Ladder bracket scaffolds are made from a pair of single or extension ladders with brackets to support scaffold planks.

The horizontal distance between the brackets should not be more than 2.4 metres and no more than one person should be supported on the scaffold.

safe use of ladders

8) Keep Solvent Safe

Painters use solvents, which are liquids to dissolve other substances.

Solvents will evaporate and form vapour when containers are left open. Solvent vapours can be breathed in and can be a health hazard.

Store solvents in strong containers, and keep containers sealed when not being used.

Many solvent vapours are highly flammable and can lead to a fire starting.

Not all solvents are flammable, however.

You should know what you are dealing with. This is vital to the proper methods of handling these and other chemicals. It is recommended you:

  • Reduce the volume of flammable solvents present as far as possible.
  • Prevent spills and leaks.
  • Remove sources of ignition such as naked lights, unsuitable electrical equipment, static electricity hazards, hot surfaces and mechanical friction.
  • Reduce the vapour concentration by ventilation/extraction systems.

Solvents can be ingested, breathed in as vapour, or absorbed through the skin. They can cause acute or chronic poisoning and skin rashes.

We advise you to use hand cleansers – do not wash your hands in a solvent.

You should also use properly designed protective equipment and wear protective gloves and clothing where necessary.

Another potential hazard is explosion. For example, a closed paint container that’s exposed to high heat could explode.

Store paint and solvent containers away from heat.

Here are some more tips about using paint solvents safely:

  • Protect your skin and eyes.
  • Prevent inhalation
  • Avoid working in a confined space.
  • Store solvent safely, away from heat.

ladder and safety goggles

9) Protect Yourself from Paint Hazards

You should only paint in a well-ventilated area.

Good ventilation is important, whether you’re painting in an office or home. Good ventilation will reduce the chances that you’ll inhale harmful vapours.

Make sure you avoid ignition sources, which is particularly important in a paint spray booth.

Spray painters may breathe in chemical vapours as they spray.

Chemicals from spray paint can be absorbed by the skin, or the painter may inject the chemicals into their skin if using high-pressure painting equipment.

You should properly maintain the spray gun, ensuring that filters and overspray are clean.

Even with good ventilation though, many paints are very flammable.

Do not allow smoking or any source of flame anywhere near where there is painting.

Always use proper personal protective equipment (PPE).

These may include gloves, overalls, long-sleeved shirts, safety goggles and / or other face protection.

Spray painting in a booth usually requires respirators as well as specific hazard training.

Protective skin creams can help protect your skin from irritation. They can make it easier to clean up using soap and water instead of irritating solvents, which should always be avoided where possible.

When spray painting, always spray with the wind.

Use tarpaulins or screens to protect other people from the spray, and never spray toward one another.

It’s also recommended to use gun extenders to reduce exposure.

spray painting safely

Make Safe Painting a Priority

You should always make safety a priority, especially when painting.

At Paintenance Melbourne, the health and safety of our workers and customers is paramount.

We adhere to the recommendations and specifications set out by Australian Painting Standards AS2311 Painting of Buildings 2017 and according to the Standards of Painting for the Surface Coatings Industry.

All Paintenance Melbourne staff are properly trained in OH & S practices.

For example, we follow strict COVID-19 safe protocols as prescribed by the Master Painters Association of Victoria and Tasmania.

Paintenance Melbourne uses only double-vaccinated staff, keeps a strict workplace register of all on-site workers, provides location-specific QR codes, and organises COVID-19 work-safe permits with a COVID-safe plan overseen by a Covid Marshall.

If you have any concerns with the safety of your next painting job and would rather have expert professionals take all the worry off your shoulders, then hire a Master Painter to get the job done safely and efficiently.

Contact Jonno Lloyd at Paintenance Melbourne today, to discuss your painting project on: 0404 227 330.

painting wearing face masks

Article References:

Resene Safety Guidelines

Resene Hazards in the Preparation of Painting

MGA – Working with Paint: Safety Training

1800 All Painting: Safety Tips for Residential Painting

The Ultimate Guide to Painting a Room: All the Tools and Techniques You’ll Need

The Ultimate Guide to Painting a Room: All the Tools and Techniques You’ll Need

paintenance melbourne logo

Painting a Room the Right Way

Do you want to paint a room (or two) in your house?

Painting can be a daunting task.

So much to prepare.

So many techniques to master.

But if you use the right painting tools and techniques, painting is easy.

Well, to be honest, it’s really not that easy, however, if you follow our guide, you’ll get much better results!

In this guide we will show you how to properly prep your painting project before starting, as well as what painting supplies are necessary for success.

Paintenance painter with small roller

Preparation for Painting Your Room

You’ll need these items:

  • Drop-cloths/drop-sheets – Necessary to ensure that you don’t splash paint on your walls or other surfaces. Canvas or material drop-cloths are best. Plastic sheets work, but they can also be slippery and tear more easily.
  • Sugar soap – If you want to produce your best paint work, then you will need a clean surface. By washing the walls and ceiling with a sugar soap and water solution, you will get rid of dust, dirt, grease, and stains.
  • Painter’s masking tape – We recommend you buy good quality painter’s tape. Painter’s tape is used for masking off floor edges, trim, or windows to protect them from wayward brush strokes. Make sure the tape seals the surface and, if applied on paint, don’t pull the paint up when you remove it.
  • Spatula and surface filler – If there are dents, scratches, or other marks on your walls, you will need to cover them up. With the filler, patch up any holes. Then, using the spatula, level it out so it’s flush with the wall.
  • Sandpaper – apply sandpaper to even out bumps and lumps, and to smooth over any rough patches.

Assorted painting equipment

Essential Painting Equipment

  • Paint brushes – Okay, this is a bit obvious, although you need to make sure you have the right brush for your paint type.
    Paint brushes with synthetic bristles are meant for water-based paints (or for anything), while natural bristles are ideal for oil-based paints.
    Painting straight lines or cutting in? You’ll need a brush which angles or tapers to a chisel edge.
    This will provide the best line. You should also have different sized brushes available. If you’re doing some fixes over layers, you may need the help of a fine brush.
    Brushes are also used to paint corners and areas near trimmings.
    assorted paint brushes
  • Rollers – Rollers do most of the painting ‘grunt work’.
    They come in a variety of ‘naps’ or thicknesses.
    For smooth walls, use a flat, smooth roller.
    Textured walls, on the other hand, will require a thicker and plusher roller.
  • Ladder and roller extension poles – If you’re painting a ceiling, or if you’re painting large walls, you will likely need both.
  • Stirring stick – These are perfect when you open your paint tin, and you need to mix it properly.
  • Paint tray or bucket – Choose a paint tray big enough for your roller size.
    To save time and clean up, you can buy plastic insets or cover the tray with cling wrap, so you don’t have to scrub out the tray when cleaning up.
    If you’re using a brush, it’s a good idea to have a small container to hold your paint or use the paint tray.
    If you use the paint tin itself, you can contaminate the paint and leave it exposed to air for too long.
  • Plastic bags/cling wrap – If painting takes longer than planned, or if you need to leave to paint another day, wrap brushes and rollers with cling wrap (you can also use airtight plastic bags).
    This will keep the paint fresh and eliminate extra clean up steps halfway through the job.
  • Rags – It is always a good idea to come prepared with clean rags to help with splashes and spills.

tins of colourful paint

Paint You Will Need

  • Primer – You might get away without using primer, if your walls are in good condition, or if the initial paint finish is a similar shade to the one you plan on using.
    However, if a major colour change is being planned, then priming will result in better coverage with fewer coats of paint.
    When you paint trim, doors, or windows, using a primer will provide an extra smooth surface and good adhesion for the next layers of paint.
  • Wall and ceiling paint – Emulsion is what you need here.
    Emulsion is water-based paint based on vinyl and acrylic resins that comes in a variety of sheens.
    For walls it is conventional to use matte, eggshell, satin, and silk sheens.
  • Gloss paint for woodwork – Trim, doors, skirting boards, and windows typically use gloss paint in higher sheens than that of the walls.
    Choose non-drip options if you can.

Paintenance Melbourne painter painting a doorway

Your 7-Step Guide to Painting a Room

  1. Set aside at least 2-3 days
    Depending on the size of the room, it will take days, not hours to paint a room properly.
    Think about everything that needs to be done.
    Moving furniture out the way.
    Taping and masking.
    Painting with brush and roller.
    Taking breaks, applying primer and second coats.
    Then, there’s the inevitable clean up.
    You can appreciate that painting takes time.
    It’s not something you can knock off in an evening, or even one day (unless you’re a pro, like us!).
    The rule of the thumb is, always overestimate how long you will take.
    Don’t underestimate!
    Set aside a few days at least, and if you finish earlier than planned, good for you!
    Remember, when finishing up for the day, wrap your brushes and rollers in cling wrap, or store them in an airtight plastic bag.
    You will be ready to get stuck back into it the next morning!
  2. Pick Your Paint Colour and Test It
    How do you choose the right colour for painting your room?
    This is the fun part, but it can be hard to decide.
    You might be presented pages of multi-coloured paint swatches, with some of them looking awfully alike.
    It might help you to ask these questions:
  • What shade do you want? Cool or warm?
  • How colourful do you want your house to be? (How far from white or black do you want the colour to be?)
  • What colour matches your furniture and decor?
  • What compliments your personality or the usage of the room?
  • For help with deciding which colour to use, see our blog post.

At Paintenance Melbourne, we always recommend you buy quality paint.
Even so, you should test the paint colour on your room walls before applying it.
Paint a large sheet (A3) of paper or card, then stick it on the wall.
For best results, place 2-3 test sheets in different areas around the room where the lighting varies. If you decide you like it, great! Then sleep on it and check back the next day.
The reality is colours can change depending on the light.
If you realise the colour is not right for that room, that’s okay. You’ve just saved yourself a lot of wasted paint and time.
Buy another test pot and start again.
2 hands holding paint rollers

  1. Prepare Your Equipment and Clear the Room
    Before you start painting, move all furniture out of the room, if possible.
    Remove everything off the walls.
    If you can’t move out everything, then shift it to the middle of the room.
    Ensure this furniture is completely covered with a drop sheet or cloth.
    Tape the edges of drop sheets to floor so they don’t shift or bunch up.
    Then, organise all your equipment in the middle of the room.
    Leave plenty of space to move and turn around the room.
    This will avoid trips and spills and help you to find everything you need quickly and easily.
  2. Remove Fixtures and Fittings Before Painting
    Any accessories like sockets, doorknobs and switches should be protected from paint.
    Simply unscrew and remove the covers, fixtures, or fittings.
    If you have several doors, switches, or sockets in the room we recommend you keep them separated.
    Place them together with their screws in plastic bags. Write down where they belong on the bag.
    Removing light fixtures is recommended, if possible.
    If you can’t do this, then wrap a plastic bag around the light fixture and tape it tight.
  3. Prepare to Paint
    Now, you’re ready to paint.
    Yes?
    No, hold on a minute!
    You need to prepare first to get good results.
    Do not skip this step!
    Apply painters’ tape around any window frames, around the door frame, along the floor edge or skirting boards, and anywhere you want a clean line with no messy over-paint.
    Start cleaning your ceiling and remove any cobwebs with a clean broom.
    How are your room’s walls?
    You can probably get away with cleaning them down with a sugar soap solution and a cloth. That’s if they’re in good condition.
    Bottom line is, you’ll need get dust and grime off those walls.
    If your walls have any dents, holes, cracks, loose or flaking paint, you will need to fix these first.
    Start off by cleaning the walls with sugar soap and water solution.
    Wait until dry.
    Next, even out the cracks and holes with filler.
    Remove any loose or flaky paint.
    Fill in any holes with filler, then wait until dry.
    Then, sand it back with a fine sandpaper to create a smooth surface.
    If painting over wood surfaces such as window frames, make sure it’s all sanded smooth first so that there are no crevices in which the paint could get stuck when applying coats afterwards.
    Use coarse sandpaper for rough surfaces and fine sandpaper for smoother ones.
    Finally, give the walls a wipe-down to remove the sanding dust.
    Painter painting near a ceiling
  4. Ready, Set, Paint!
    You’re finally ready to start painting!
    Get your stirring stick and open your first paint tin.
    With your stirring stick, get stuck into the bottom of the tin to mix the paint thoroughly.
    Pour the paint into the lined tray.
    Paint the trim first.
    Professional painters usually paint the trim first, then the ceiling, then the walls.
    When your walls are ready to paint, take up your paintbrush.
    Begin painting the edges of the room.
    Get right into the angles where the walls meet.
    The strip of paint should be about 7-8 cm.
    Feather the paint on the blank wall side so that it will blend with the rolled paint.
    The aim here is to paint all the parts of wall that the roller will not reach.
    When ‘cutting in’, maintain a ‘wet edge’, meaning to keep the edge of the painted area wet.
    Cut in as you go and not all at once.
    This is so that when you roll on the walls, the wet paint blends smoothly so that no lines appear when the paint is dried.
    Be careful not to use too much paint over the tape.
    Paint might seep under the tape if too much is slathered on.
    When you’ve finished the edges, it’s time to fill in the middle of the walls using a roller.
    The trick to using a roller is not roll the paint straight up and down on the wall but overlapping ‘W’ shapes.
    Use diagonal strokes to ensure there are no roller marks on the walls and to get the best coverage.
    Once you’ve painted an area, run the roller over again to give an even finish. Ensure the paint is still wet when you do this.
    Avoid roller marks by using a paint roller on the full height of the wall, keeping a wet edge.
    For more information about using a roller see this blog post.
    Leave the first coat to dry. For the second coat, paint should be evenly applied, overlapped, and smooth. The second coat prevents any bleeding when the paint dries. If you’re painting over a dark coloured wall, apply more coats. If you are painting a large room, the ceiling can be challenging. For information about the right way to paint ceilings, see our blog post.
  5. Clean and Pack It Up
    We recommend you dip brushes and rollers in water when not in use to keep the paint from hardening the bristles.
    Oil-based paint will usually be harder to remove and may cause damage to some brushes, causing them to lose their shape.
    Your brushes and rollers can still be used for your next project, so make them last for next time.
    After the paint has dried, remove the painters’ tape from all surfaces.
    Carefully remove the drop sheets.
    Avoid stepping on any paint.
    Then you can replace any switches, fixtures and fittings and hang paintings back up.
    After that, replace and move back the furniture.

Paintenance Melbourne painter rolling a wall and ceiling

Getting the Best Results With Painting Your Room

We hope these tips help get you started on painting your room.

Remember, don’t skimp on cheap paint or equipment.

It’s worth buying quality equipment and materials.

For a list of Paintenance Melbourne’s recommended paint and equipment suppliers see our Resources page.

Always strive to achieve the best results for your paint job. You want to be able to proudly show off your freshly painted room.

If you don’t have the time, patience, or motivation to paint your room, or rooms, then go with a Master Painter to get the job done on time, with a perfect finish.

Contact Jonno Lloyd at Paintenance Melbourne to discuss your paint project. Jonno and his crew are often booked in advance, though.

So, to avoid disappointment, make sure you call for your free quote today on: 0404 227 330.

Happy painting!

painting an architrave

Article References:

Coating: How to Paint a Room Like a Pro

Haymes Paint: How to Paint a Room

NewLine Painting: How to Do Interior Painting

Inspirations Paint: How to Paint Guide

Call Now ButtonCall Now! for Website sale conversion page -->