Video: How to Paint a Door in 7 Easy Steps *Currently 117 views
Why Paint a Door?
Doors.
We use them all the time.
Going in and out all day and night. Opening, closing. Opening again…
Often doors are the last thing we think about sprucing up.
This is wrong!
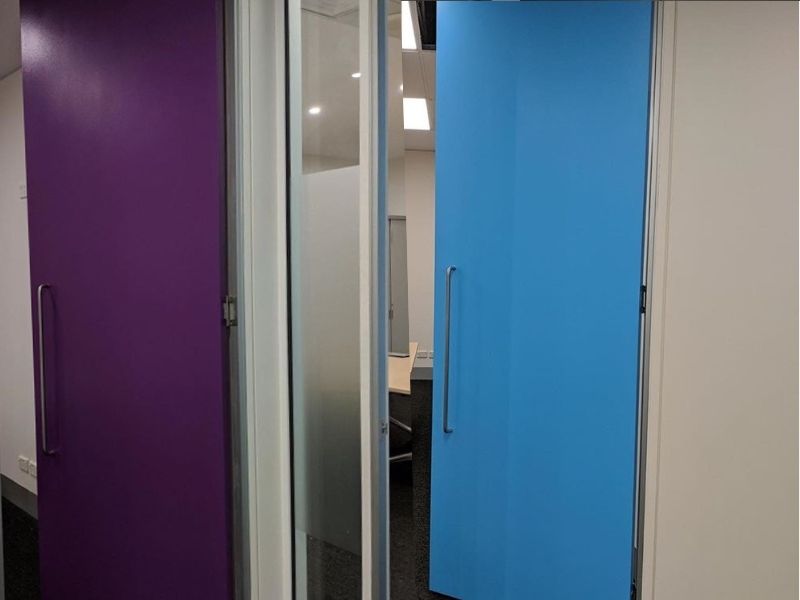
Doors are the portal to your home or office.
They’re the first thing people see when they arrive, and the last thing they see as they exit.
Over time, even beautiful doors deteriorate.
Doors can become weathered. Scratched. Marked. Scuffed.
Eventually your doors will look a bit worse for wear. Not exactly the showpiece you want when people come to visit you!
No worries, though, a good paint job will fix this.
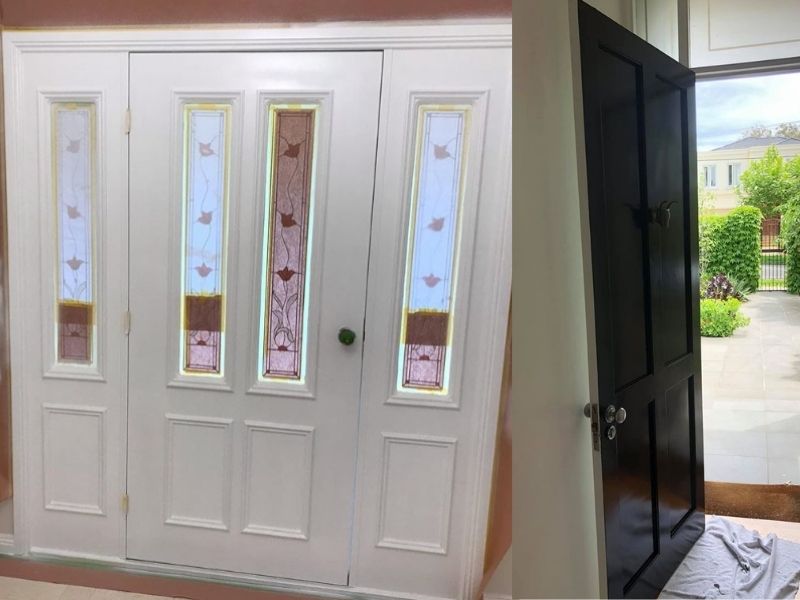
We will show you how to give your doors a full makeover and the perfect painted finish.
The Paintenance Melbourne way!
7 Easy Steps to Painting a Door
Follow our step-by-step guide, and your doors will look brand new.
Step 1: Prepare Your Equipment for Painting Doors
To achieve the best results, as always preparation is key.
Use the right tools and materials.
Apply a good painting technique.
This is the way to give your door a professional, long-lasting finish.
So, you’ll need the following:
- Brush
- Roller
- Safety gear
- Saw horses
- Drop sheets
- Undercoat
- Topcoat
- Power drill
Step 2: Take the Door Off
It’s easier to paint a door if you take it off the door frame.
Check how much room there is on all edges of the door while it’s hanging.
If it’s a tight fit, you may need to sand back the outside edges to allow for a new coat of paint, so it doesn’t stick.
Then, using your power drill to undo screws, remove door handles and anything else attached to the door such as coat hooks or door knockers.
Put a couple of door stops underneath the door. This holds the door in place while you remove the hinges.
Next, take the door off its hinges. Remove each screw from the hinge. Make sure you leave one screw on each hinge at a time, just to support the weight of the door.
Then, remove the bottom screw, then the top screw. You might need another person to hold the door steady.
Once the door is fully off its hinges, lay it flat across a couple of saw horses, or chairs, or even an old table.
Wash the surface with a sugar soap solution to remove grease and grime.
Step 3: Paint on the Undercoat
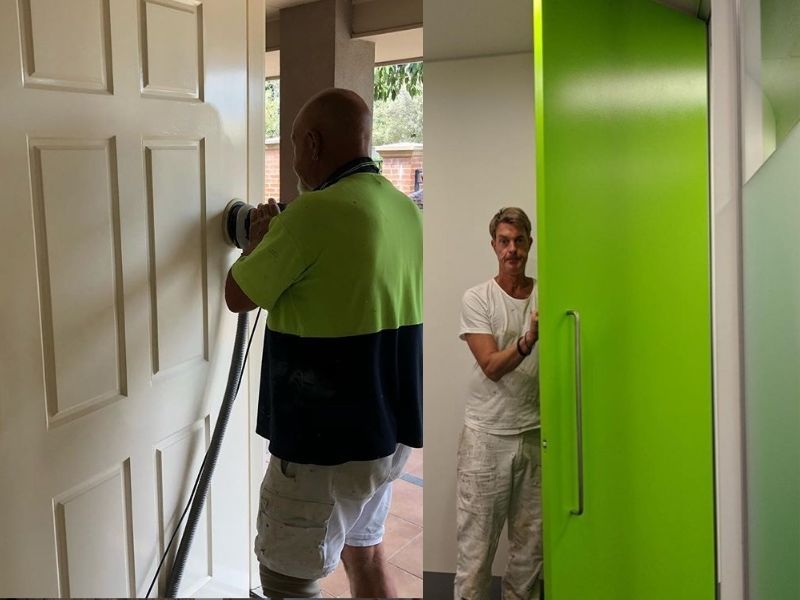
If the door has been painted with an enamel paint, lightly sand it back until the shine has gone.
Apply a primer undercoat, such as Dulux’s Primer, Sealer & Undercoat.
Stir the undercoat paint well before use with a flat stirrer. If you don’t have a paint stirrer, use an old ruler.
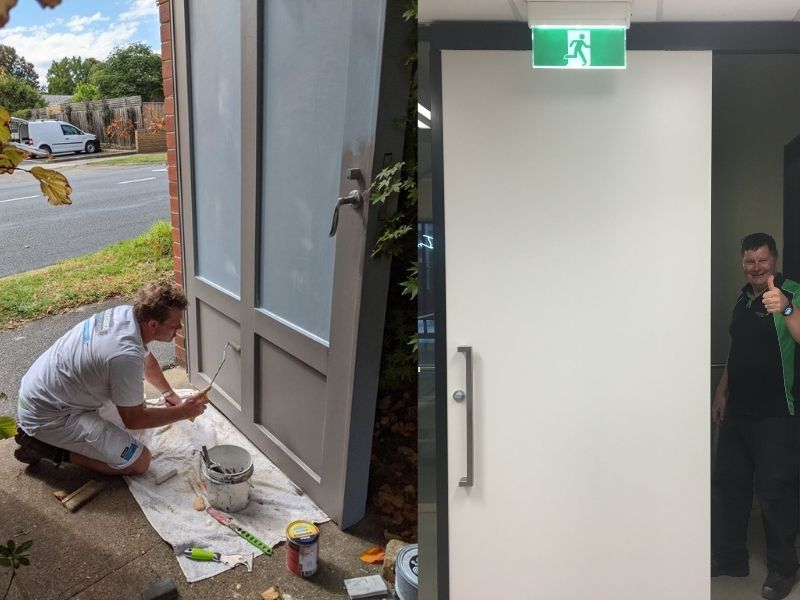
Begin by painting the edges of the door with a brush.
Then, fill up a tray with the undercoat paint.
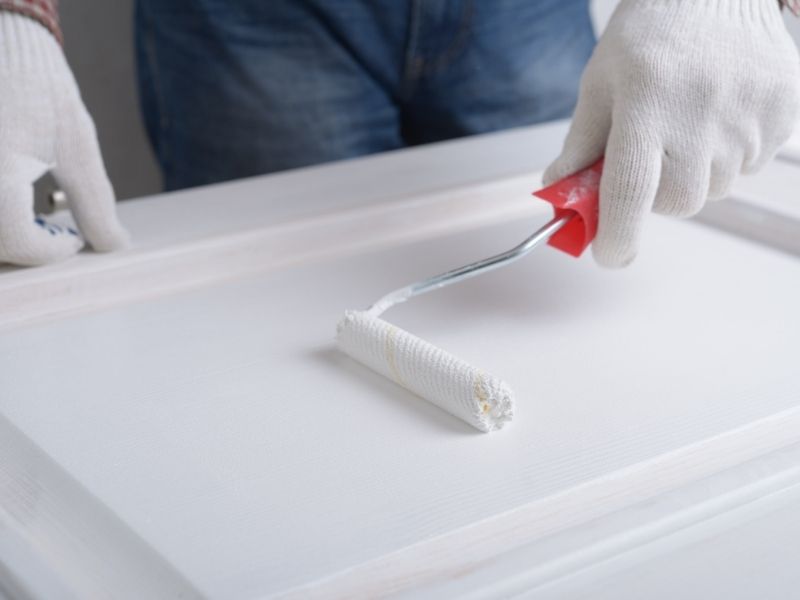
Draw your roller along the tray’s grate two or three times. This will apply the paint evenly to the roller.
Roll on the undercoat paint to the door in a ‘W’ formation. This will make sure that you’ll have an even covering of paint.
To achieve a smooth finish, ‘lay off’ what you’ve painted.
You do this by running your roller across the door from top to bottom with even pressure.
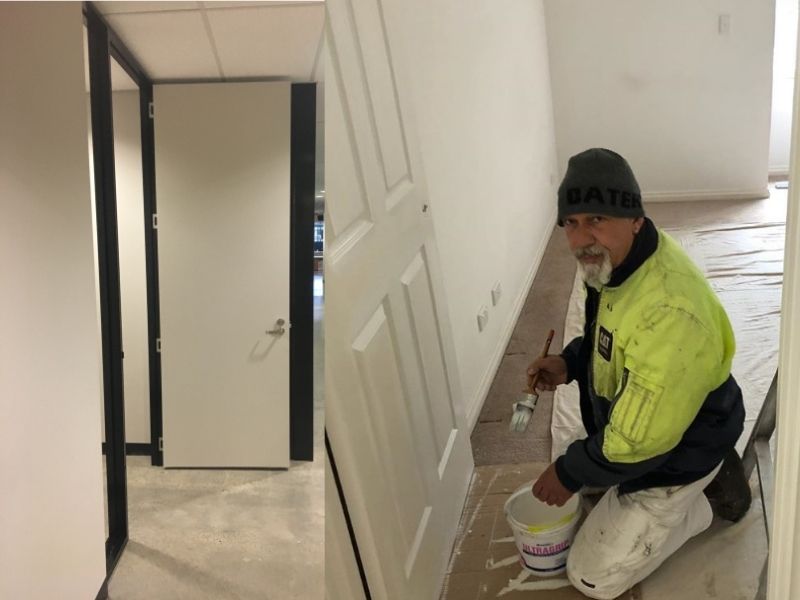
If the door is not flat, but has raised or indented panels, you might find it’s easier using a brush instead of a roller.
*Even when you use a brush, you can still paint the raised flat panels with a small roller, if you want to.
If using a brush, paint the raised panels of the first, then the other vertical panels, then the edges.
Allow a minimum of 2 hours drying time.
Step 4: Sand it Back Lightly
Once the undercoat is dry, give your door a light sand with a fine-grade sandpaper.
Then, wipe it down to get rid of any dust.
Step 5: Apply the Topcoat
Then apply a topcoat, such as Dulux’s Aquanamel.
We recommend using a durable, non-yellowing, water-based enamel paint for exterior paint jobs.
This is so the paint can withstand the elements.
Dulux Aquanamel is a great choice for front doors. It’s fast drying and easily washes up in water.
Find this and other paints and materials at your nearest Inspirations Paint Store.
- Our preferred supplier in Melbourne is Inspirations Paint Nunawading.
Mix the paint well, bringing the colour up from the bottom of the paint can.
If you have a flat door, apply the topcoat using the same process as the undercoat.
Brush around the edges of the door. Use your roller for the main surface of the door using the ‘W’ technique.
Remember to ‘lay off’ the topcoat for a great finish.
Make sure you use a good quality synthetic brush, to paint on the topcoat if the door isn’t flat.
Use light brush strokes over the original layer of paint to smooth out any imperfections.
- Avoid overpainting with the Aquanamel, as this may cause streaks.
Step 6: Paint the Other Side
When that side of the door is dry, flip it on to the other side.
Give the door a light sand with a 360 grit sandpaper. Then wipe down the surface to remove the sanding dust.
You are ready to apply the second coat!
Follow the same steps as above when applying the undercoat, then the topcoat.
Step 7: Reattach the Door
Once the door is completely dry, it’s time to reattach the door fittings.
Then, hang the door back on the door frame, screw the hinges back on, and you’re done.
Enjoy your rejuvenated door, and happy painting!
Article References: