
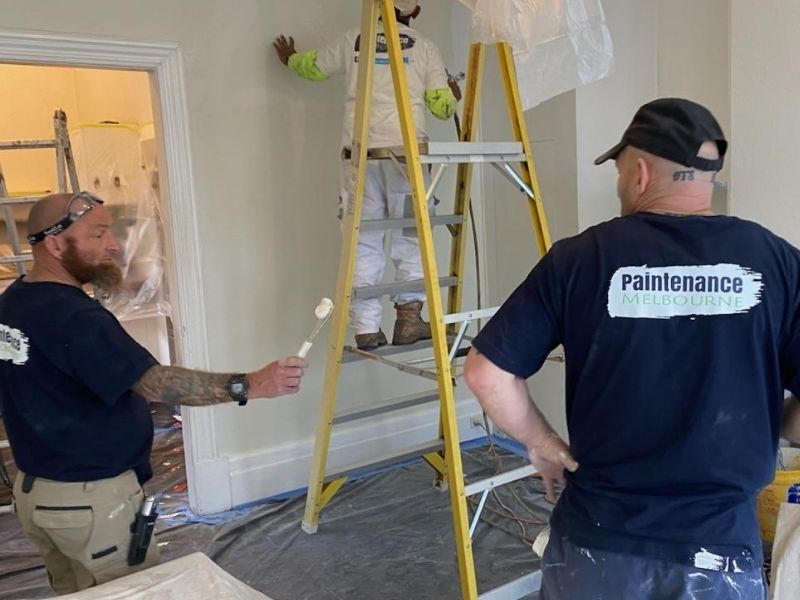
Painting a Room the Right Way
Do you want to paint a room (or two) in your house?
Painting can be a daunting task.
So much to prepare.
So many techniques to master.
But if you use the right painting tools and techniques, painting is easy.
Well, to be honest, it’s really not that easy, however, if you follow our guide, you’ll get much better results!
In this guide we will show you how to properly prep your painting project before starting, as well as what painting supplies are necessary for success.
Preparation for Painting Your Room
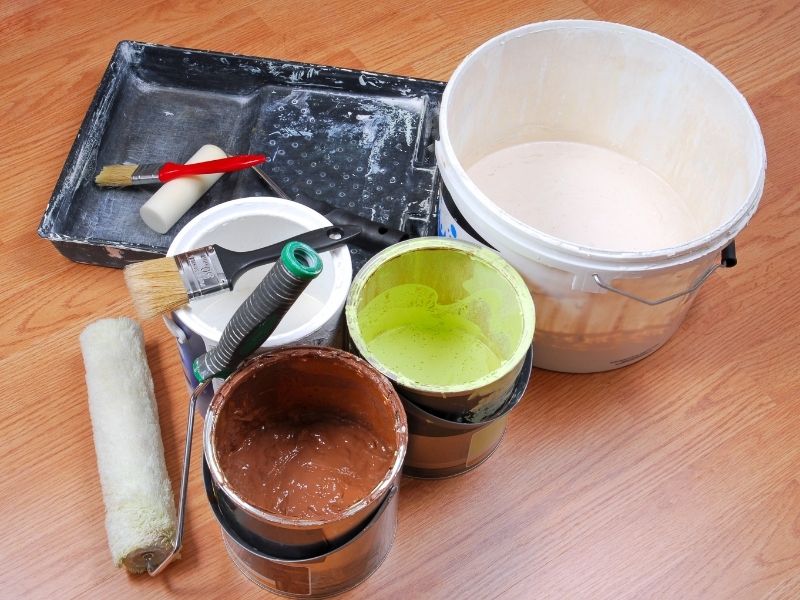
You’ll need these items:
- Drop-cloths/drop-sheets – Necessary to ensure that you don’t splash paint on your walls or other surfaces. Canvas or material drop-cloths are best. Plastic sheets work, but they can also be slippery and tear more easily.
- Sugar soap – If you want to produce your best paint work, then you will need a clean surface. By washing the walls and ceiling with a sugar soap and water solution, you will get rid of dust, dirt, grease, and stains.
- Painter’s masking tape – We recommend you buy good quality painter’s tape. Painter’s tape is used for masking off floor edges, trim, or windows to protect them from wayward brush strokes. Make sure the tape seals the surface and, if applied on paint, don’t pull the paint up when you remove it.
- Spatula and surface filler – If there are dents, scratches, or other marks on your walls, you will need to cover them up. With the filler, patch up any holes. Then, using the spatula, level it out so it’s flush with the wall.
- Sandpaper – apply sandpaper to even out bumps and lumps, and to smooth over any rough patches.
Essential Painting Equipment
- Paint brushes – Okay, this is a bit obvious, although you need to make sure you have the right brush for your paint type.
Paint brushes with synthetic bristles are meant for water-based paints (or for anything), while natural bristles are ideal for oil-based paints.
Painting straight lines or cutting in? You’ll need a brush which angles or tapers to a chisel edge.
This will provide the best line. You should also have different sized brushes available. If you’re doing some fixes over layers, you may need the help of a fine brush.
Brushes are also used to paint corners and areas near trimmings.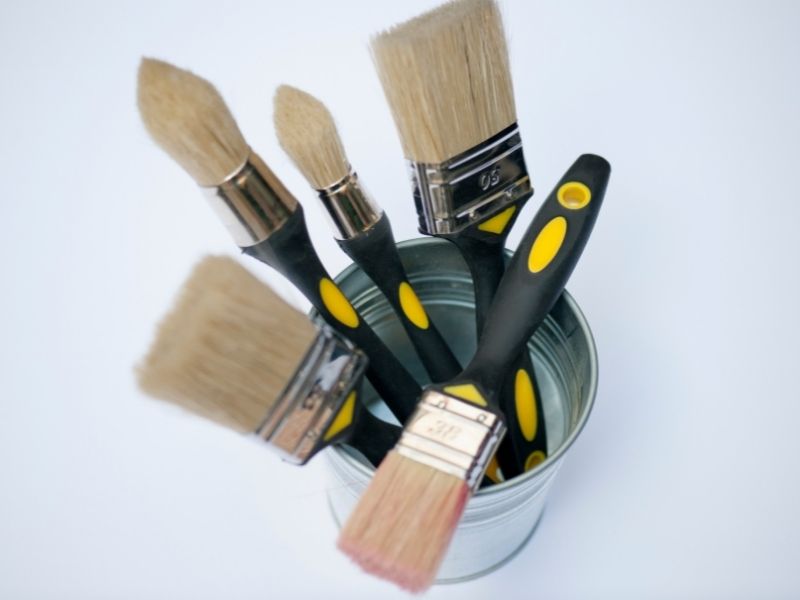
- Rollers – Rollers do most of the painting ‘grunt work’.
They come in a variety of ‘naps’ or thicknesses.
For smooth walls, use a flat, smooth roller.
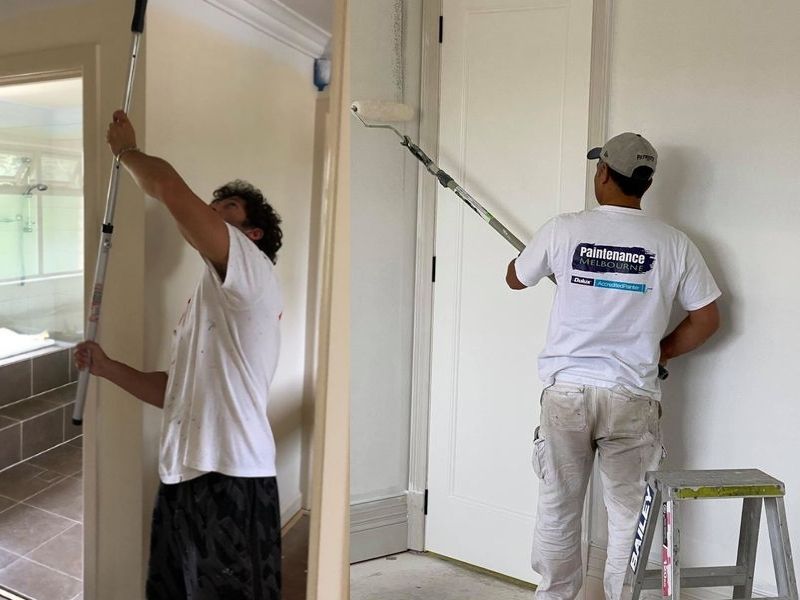
Textured walls, on the other hand, will require a thicker and plusher roller. - Ladder and roller extension poles – If you’re painting a ceiling, or if you’re painting large walls, you will likely need both.
- Stirring stick – These are perfect when you open your paint tin, and you need to mix it properly.
- Paint tray or bucket – Choose a paint tray big enough for your roller size.
To save time and clean up, you can buy plastic insets or cover the tray with cling wrap, so you don’t have to scrub out the tray when cleaning up.
If you’re using a brush, it’s a good idea to have a small container to hold your paint or use the paint tray.
If you use the paint tin itself, you can contaminate the paint and leave it exposed to air for too long. - Plastic bags/cling wrap – If painting takes longer than planned, or if you need to leave to paint another day, wrap brushes and rollers with cling wrap (you can also use airtight plastic bags).
This will keep the paint fresh and eliminate extra clean up steps halfway through the job. - Rags – It is always a good idea to come prepared with clean rags to help with splashes and spills.
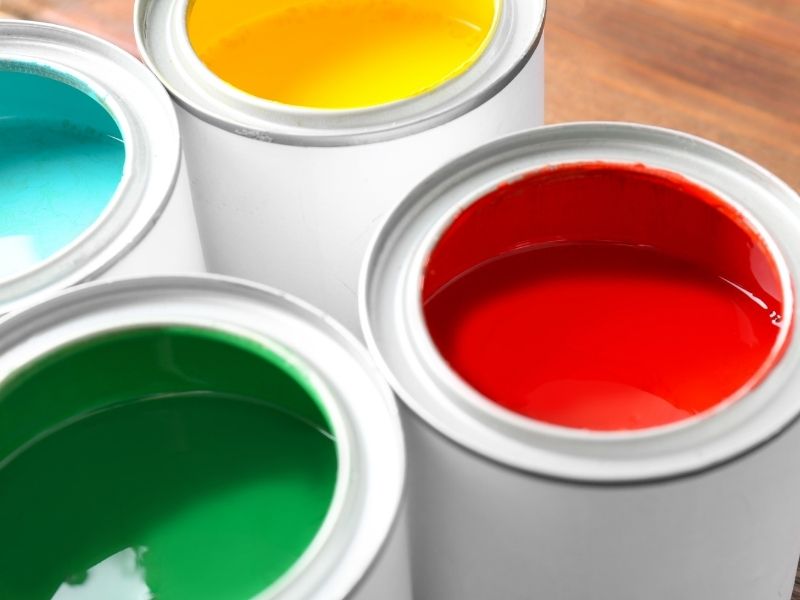
Paint You Will Need
- Primer – You might get away without using primer, if your walls are in good condition, or if the initial paint finish is a similar shade to the one you plan on using.
However, if a major colour change is being planned, then priming will result in better coverage with fewer coats of paint.
When you paint trim, doors, or windows, using a primer will provide an extra smooth surface and good adhesion for the next layers of paint. - Wall and ceiling paint – Emulsion is what you need here.
Emulsion is water-based paint based on vinyl and acrylic resins that comes in a variety of sheens.
For walls it is conventional to use matte, eggshell, satin, and silk sheens. - Gloss paint for woodwork – Trim, doors, skirting boards, and windows typically use gloss paint in higher sheens than that of the walls.
Choose non-drip options if you can.
- For more information on choosing the right paint for the job, see this blog post.
Your 7-Step Guide to Painting a Room
- Set aside at least 2-3 days
Depending on the size of the room, it will take days, not hours to paint a room properly.
Think about everything that needs to be done.
Moving furniture out the way.
Taping and masking.
Painting with brush and roller.
Taking breaks, applying primer and second coats.
Then, there’s the inevitable clean up.
You can appreciate that painting takes time.
It’s not something you can knock off in an evening, or even one day (unless you’re a pro, like us!).
The rule of the thumb is, always overestimate how long you will take.
Don’t underestimate!
Set aside a few days at least, and if you finish earlier than planned, good for you!
Remember, when finishing up for the day, wrap your brushes and rollers in cling wrap, or store them in an airtight plastic bag.
You will be ready to get stuck back into it the next morning! - Pick Your Paint Colour and Test It
How do you choose the right colour for painting your room?
This is the fun part, but it can be hard to decide.
You might be presented pages of multi-coloured paint swatches, with some of them looking awfully alike.
It might help you to ask these questions:
- What shade do you want? Cool or warm?
- How colourful do you want your house to be? (How far from white or black do you want the colour to be?)
- What colour matches your furniture and decor?
- What compliments your personality or the usage of the room?
- For help with deciding which colour to use, see our blog post.
At Paintenance Melbourne, we always recommend you buy quality paint.
Even so, you should test the paint colour on your room walls before applying it.
Paint a large sheet (A3) of paper or card, then stick it on the wall.
For best results, place 2-3 test sheets in different areas around the room where the lighting varies. If you decide you like it, great! Then sleep on it and check back the next day.
The reality is colours can change depending on the light.
If you realise the colour is not right for that room, that’s okay. You’ve just saved yourself a lot of wasted paint and time.
Buy another test pot and start again.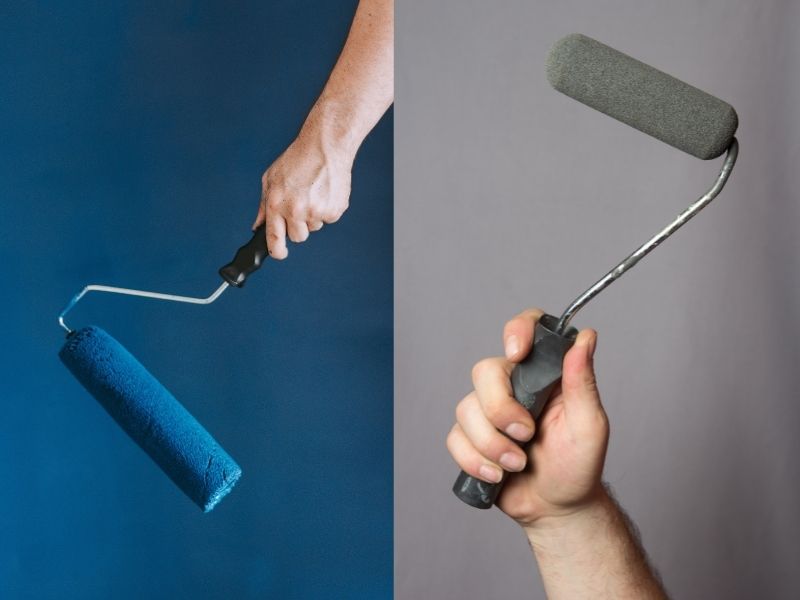
- Prepare Your Equipment and Clear the Room
Before you start painting, move all furniture out of the room, if possible.
Remove everything off the walls.
If you can’t move out everything, then shift it to the middle of the room.
Ensure this furniture is completely covered with a drop sheet or cloth.
Tape the edges of drop sheets to floor so they don’t shift or bunch up.
Then, organise all your equipment in the middle of the room.
Leave plenty of space to move and turn around the room.
This will avoid trips and spills and help you to find everything you need quickly and easily. - Remove Fixtures and Fittings Before Painting
Any accessories like sockets, doorknobs and switches should be protected from paint.
Simply unscrew and remove the covers, fixtures, or fittings.
If you have several doors, switches, or sockets in the room we recommend you keep them separated.
Place them together with their screws in plastic bags. Write down where they belong on the bag.
Removing light fixtures is recommended, if possible.
If you can’t do this, then wrap a plastic bag around the light fixture and tape it tight. - Prepare to Paint
Now, you’re ready to paint.
Yes?
No, hold on a minute!
You need to prepare first to get good results.
Do not skip this step!
Apply painters’ tape around any window frames, around the door frame, along the floor edge or skirting boards, and anywhere you want a clean line with no messy over-paint.
Start cleaning your ceiling and remove any cobwebs with a clean broom.
How are your room’s walls?
You can probably get away with cleaning them down with a sugar soap solution and a cloth. That’s if they’re in good condition.
Bottom line is, you’ll need get dust and grime off those walls.
If your walls have any dents, holes, cracks, loose or flaking paint, you will need to fix these first.
Start off by cleaning the walls with sugar soap and water solution.
Wait until dry.
Next, even out the cracks and holes with filler.
Remove any loose or flaky paint.
Fill in any holes with filler, then wait until dry.
Then, sand it back with a fine sandpaper to create a smooth surface.
If painting over wood surfaces such as window frames, make sure it’s all sanded smooth first so that there are no crevices in which the paint could get stuck when applying coats afterwards.
Use coarse sandpaper for rough surfaces and fine sandpaper for smoother ones.
Finally, give the walls a wipe-down to remove the sanding dust.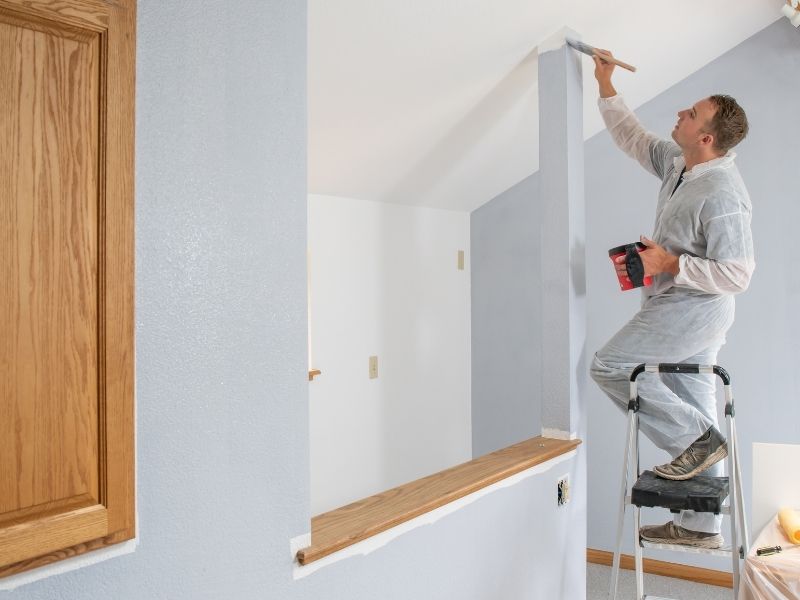
- Ready, Set, Paint!
You’re finally ready to start painting!
Get your stirring stick and open your first paint tin.
With your stirring stick, get stuck into the bottom of the tin to mix the paint thoroughly.
Pour the paint into the lined tray.
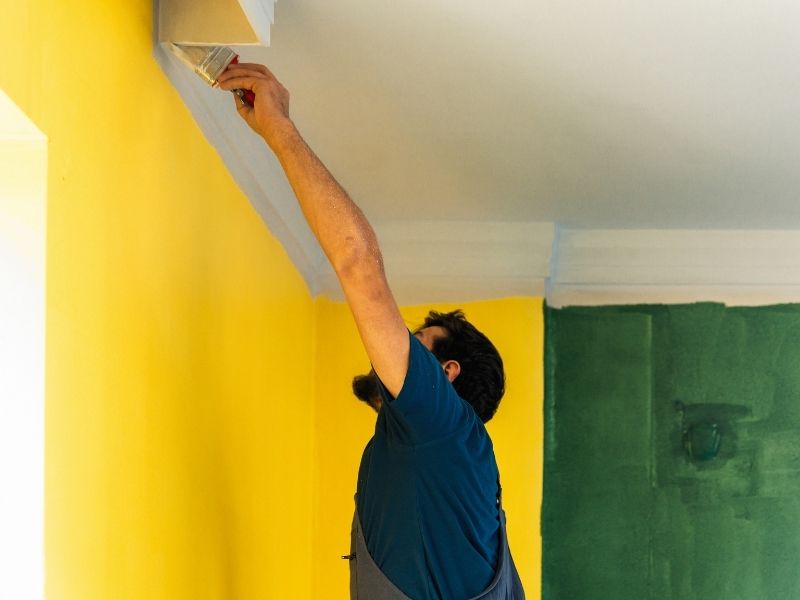
Paint the trim first.
Professional painters usually paint the trim first, then the ceiling, then the walls.
When your walls are ready to paint, take up your paintbrush.
Begin painting the edges of the room.
Get right into the angles where the walls meet.
The strip of paint should be about 7-8 cm.
Feather the paint on the blank wall side so that it will blend with the rolled paint.
The aim here is to paint all the parts of wall that the roller will not reach.
When ‘cutting in’, maintain a ‘wet edge’, meaning to keep the edge of the painted area wet.
Cut in as you go and not all at once.
This is so that when you roll on the walls, the wet paint blends smoothly so that no lines appear when the paint is dried.
Be careful not to use too much paint over the tape.
Paint might seep under the tape if too much is slathered on.
When you’ve finished the edges, it’s time to fill in the middle of the walls using a roller.
The trick to using a roller is not roll the paint straight up and down on the wall but overlapping ‘W’ shapes.
Use diagonal strokes to ensure there are no roller marks on the walls and to get the best coverage.
Once you’ve painted an area, run the roller over again to give an even finish. Ensure the paint is still wet when you do this.
Avoid roller marks by using a paint roller on the full height of the wall, keeping a wet edge.
For more information about using a roller see this blog post.
Leave the first coat to dry. For the second coat, paint should be evenly applied, overlapped, and smooth. The second coat prevents any bleeding when the paint dries. If you’re painting over a dark coloured wall, apply more coats. If you are painting a large room, the ceiling can be challenging. For information about the right way to paint ceilings, see our blog post. - Clean and Pack It Up
We recommend you dip brushes and rollers in water when not in use to keep the paint from hardening the bristles.
Oil-based paint will usually be harder to remove and may cause damage to some brushes, causing them to lose their shape.
Your brushes and rollers can still be used for your next project, so make them last for next time.
After the paint has dried, remove the painters’ tape from all surfaces.
Carefully remove the drop sheets.
Avoid stepping on any paint.
Then you can replace any switches, fixtures and fittings and hang paintings back up.
After that, replace and move back the furniture.
Getting the Best Results With Painting Your Room
We hope these tips help get you started on painting your room.
Remember, don’t skimp on cheap paint or equipment.
It’s worth buying quality equipment and materials.
For a list of Paintenance Melbourne’s recommended paint and equipment suppliers see our Resources page.
Always strive to achieve the best results for your paint job. You want to be able to proudly show off your freshly painted room.
If you don’t have the time, patience, or motivation to paint your room, or rooms, then go with a Master Painter to get the job done on time, with a perfect finish.
Contact Jonno Lloyd at Paintenance Melbourne to discuss your paint project. Jonno and his crew are often booked in advance, though.
So, to avoid disappointment, make sure you call for your free quote today on: 0404 227 330.
Happy painting!
Article References:
Coating: How to Paint a Room Like a Pro
Haymes Paint: How to Paint a Room