Video: 9 Rules for Painting Ceilings for a Perfect Finish *Currently 85k views
Painting Ceilings the Right Way
If you’re daunted by the prospect of painting ceilings, don’t be.
Like painting other parts of a room such as walls or skirting boards, there are certain rules to painting ceilings the right way.
Do your preparation right.
Buy quality tools and materials.
Follow established techniques to painting ceilings, and you’ll achieve the result you’re after.
When you have a smooth, glowing paint finish on your walls, window frames and doors, you don’t want your ceilings to look streaky or blotchy.
To help you avoid this, we’ve put together 9 rules or guidelines for painting ceilings. If you follow these rules, you should have perfectly painted ceilings too!
Here they are:
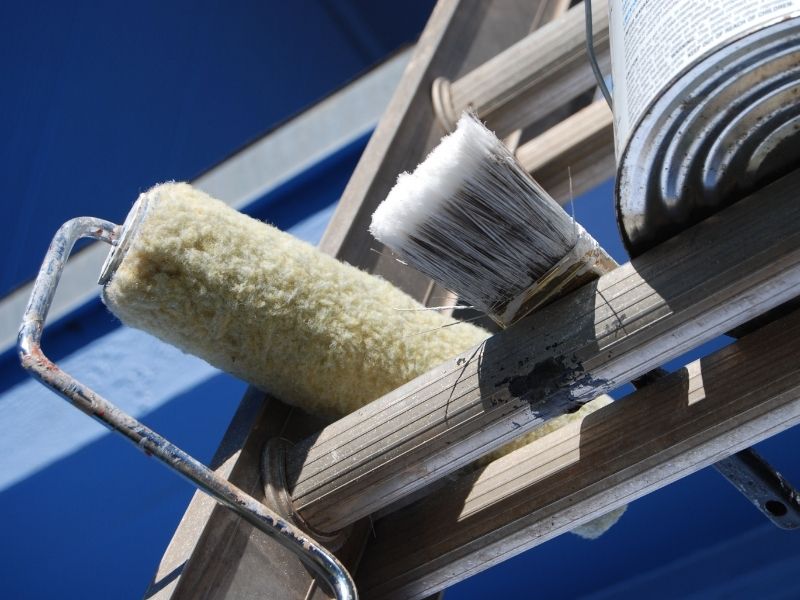
1. Organise Your Equipment
Assemble all necessary equipment to paint your ceilings.
These include:
- Drop sheets
- Ladder
- Paint brush
- Painter’s tape
- Roller and extension pole
- Tray for paint
2. Get Your Room Ready
Before you start painting your ceiling, get your room ready.
- Remove any furniture that you can from the room.
- If you can’t remove it, then cover it well.
3. Remove ceiling lights and fixtures
Removing ceiling fixtures will make it easier for you to paint.
Make sure you turn off power to any lights or fixtures at the fuse box before removing them. Place them in plastic bags, along with any screws or fittings, and set aside.
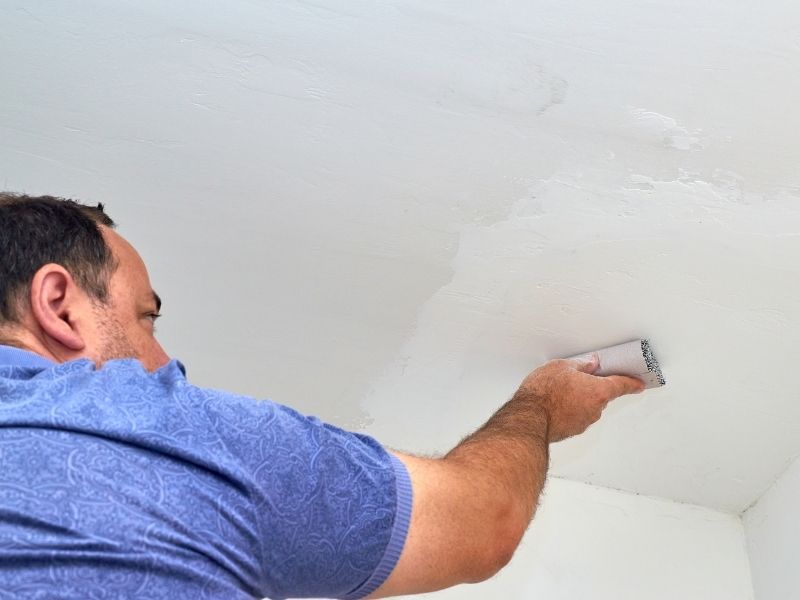
4. Clean and Sand Your Ceiling
Next, clean your ceiling properly. Get rid of any mildew present.
Remove cobwebs with a clean broom and wash the area with sugar soap.
Nobody loves cleaning, but paint won’t stick properly to a dusty or grimy ceiling.
If your ceilings aren’t textured, start with a quick once-over sand, using 100 grit abrasive paper. Sanding helps create a perfectly smooth paint job and increases paint adhesion.
Using a sanding pole makes it easier.
Afterwards, wipe the ceiling with a damp sponge to remove the dust.
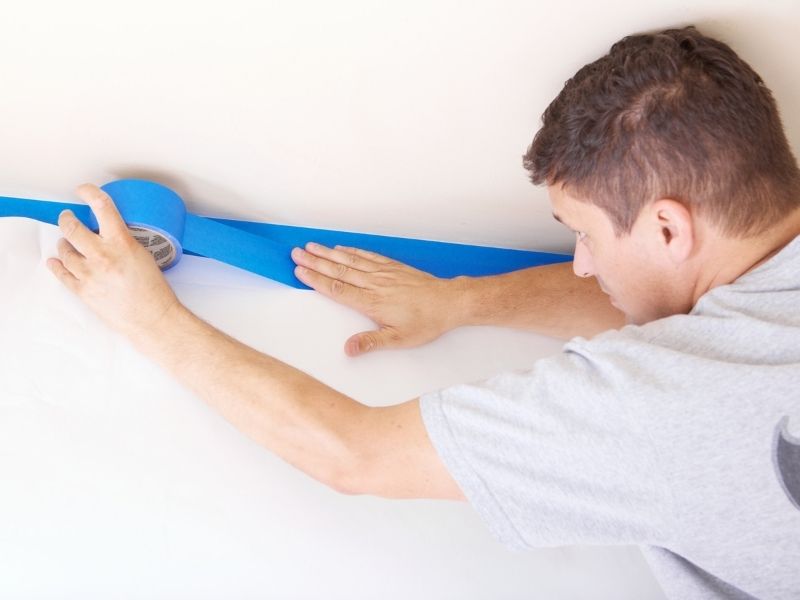
5. Tape it Up
- Apply painter’s tape around cornices, edges and any down lights.
- If you’re only painting a room’s ceiling, mask off the tops of the walls or the cornices with wide painter’s tape. This will keep roller marks off the walls.
- Don’t use narrow tape, which is not wide enough to prevent the paint roller from touching the wall.
- If you’re painting the entire room, start with the ceiling. In this case, taping the walls should not be necessary.
6. Lay Down Drop sheets
- Cover the floor and pieces of furniture too big to move with drop sheets.
- For the most effective protection, overlap the drop cloths by at least 30 cm/12 inches.
- Tape drop cloths to skirting boards to ensure they stay in place.
- Use drop sheets or painter’s tape to protect windows, doors and trim as needed.

7. Prime the Ceiling
Prime the ceiling with a coat of ceiling primer, especially if your ceiling has stains.
Roof leaks and tobacco smoke, for example, can leave ugly stains that are hard to conceal with regular ceiling paint.
Apply stain-blocking primer to cover any stubborn ceiling marks.
- Allow the primer to dry completely according to instructions.
- Before applying the paint with rollers, use a paint brush to ‘cut the corners’ or paint the edges where the ceiling meet the wall. This will ensure paint will cover areas the roller might miss as well as conceal any brush marks left behind. Using a brush, paint around down lights and edges to create a border.
- Always use ceiling paint as opposed to wall paint.
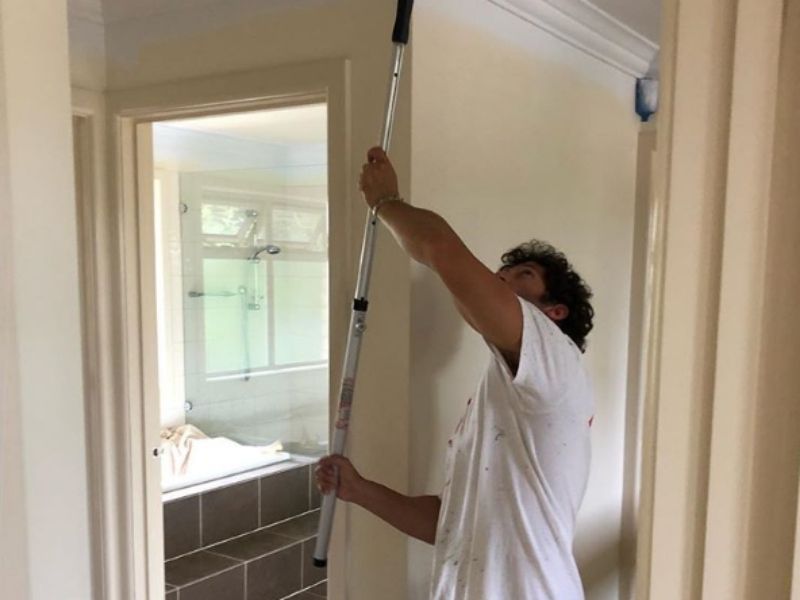
8. Paint in Sections with a Roller
Roll your paint in square sections about 2 x 2m. Move quickly from one section to the next to make sure the paint along the edge doesn’t dry before you roll the next section.
This helps keep edges wet. It also allows you to see your progress and ensure an even coat.
- Keep loading your roller with ceiling paint from the paint tray. Roll the paint slowly.
- Begin rolling when the paint cut line is still wet.
- Begin in a corner. Roll in overlapping rows.
- Do not roll directly overhead.
- Vary the direction of your rolling slightly. A perfectly straight roll may show overlap marks. Continue rolling until the section is done.
- Continue applying paint, rolling out and blending with the cut-in edge and the previous section until the ceiling is complete.
- Wipe any drips or spatters immediately with a damp rag.
9. Apply 2 Coats and Clean Up
If you are painting your ceiling a brighter colour or shade of white that needs to stand out, a second coat may be needed. Choose a paint that’s specially formulated for ceiling application. This will yield the best results.
You need paint that doesn’t spatter, dries slowly and is flat rather than glossy.
Premium ceiling paints have added pigments to make the ceiling look brighter.
If you don’t want a white ceiling, they can also be tinted.
- Allow your ceiling paint to fully dry before applying a second coat.
- Apply the second coat in one direction, painting quickly until the entire surface is covered.
- Once all coats have been applied, begin cleaning and tidying up.
- Paint rollers, brushes, paint trays and other supplies can be taken to a garage or laundry sink or large tub for washing. Clean them with warm soap and water. Squeeze out the remaining paint, then use water to rinse out the soap. Leave the painting equipment outside to air dry.
- Gently remove any painter’s tape when the paint is dry to the touch.
- Reattach ceiling light fixtures.
- Put furniture back where it was.
- Pack up your drop sheets
Take Care Painting Your Ceiling
You might consider your ceiling as the ‘fifth wall’ of your room.
When painting a ceiling, we recommend that you apply the same care and quality you would bring to any other paint job.
For example, painting a textured ceiling is tricky. If it has never been painted, the water in the paint can loosen the texture and cause it to fall off.
If you need to paint tricky ceilings, such as textured, or extremely high ceilings (like cathedral ceilings), you should consider hiring a professional.
If you’re not confident about painting ceilings, a professional can save you a lot of time and mucking around.
For an interior painting quote, including ceiling painting, contact Paintenance Melbourne today.
Enjoy your painted ceilings!
Article References: