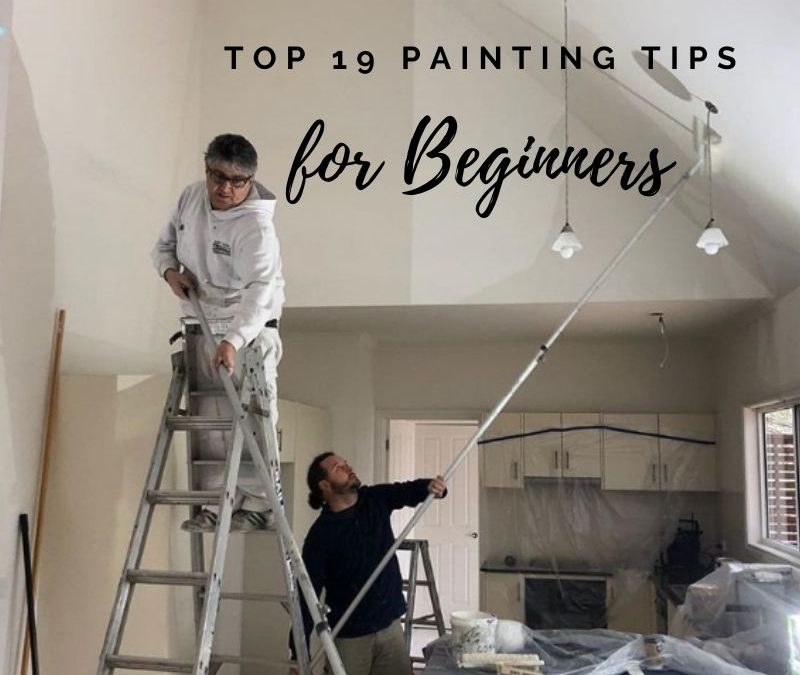
Video: Top 19 Painting Tips for Beginners *Currently 159 views
Painting Tips for Beginners to Help You Paint Like a Pro
Have you decided to paint your own home?
Or perhaps you’re keen to paint a few walls over the weekend or holidays?
If you’re a beginner, this can be an attractive proposition.
You could:
- Develop new skills
- Save some money
- Gain the satisfaction of brightening up your own home
That’s great.
Well, in theory at least!
Like all serious undertakings, though, the ‘devil is in the detail’.
What might seem like an inspired DIY project can quickly fall apart. Or lead to a less-than-stellar outcome.
With over 30 years’ experience, Paintenance Melbourne is committed to producing painting work of the highest quality.
We don’t want you to waste your time and money producing shoddy work.
So, we are happy to give you some pro tips and tricks to help you achieve results you’ll be proud of.
Here are 19 painting tips to help you paint your home the right way:
- Wait for dry weather (if possible)
Avoid painting on humid or rainy days. This is especially true for any outdoors painting. But this also applies to indoor painting.
Humid or wet weather conditions can lead to drips and slow drying. If you have to paint during humid or wet weather, make sure you correct any mistakes before moving on to the next coat of paint.
- Do a thorough inspection and preparation
Check for any flaking, cracked or peeling areas of paint. These will need to be sanded or scraped.
If you apply new paint over these areas, the new coat will pull the old paint loose.
Also check for greasy or dirty spots. Wash these areas with sugar soap and rinse with clean water.
If the area is not too dirty, you might get away with a quick wipe from a damp cloth. Just make sure that your new coat of paint will have a clean, dust-free surface to stick to.
It’s a good idea to vacuum the wall with a soft brush attachment from top to bottom.
Afterwards, wipe the wall with a cloth to remove any remaining traces of dust. - Buy high-quality equipment
If you’re buying top-notch paint, that’s good. You want the paint to produce quality, long-lasting results.
Don’t then skimp on your painting equipment. Buying good rollers and brushes will give you the best coverage and avoid wasting paint and time on re-painting sub-standard areas.
Use nylon bristle brushes for water-based paint, natural-bristled brushes for oil-based paint and foam brushes for intricate work.
Invest in top quality painters’ tape as well. This is important to sealing off from drips and bleeds. - Buy extra buckets
It’s a good idea to have at least a couple of extra clean buckets on hand.
You can pour in extra paint into these and mix same-colour paint from different cans to achieve colour uniformity.
Often, you’ll find that merely stirring paint doesn’t mix it thoroughly.
Pouring paint back and forth between two buckets can properly combine the solids that have collected at the bottom of each can.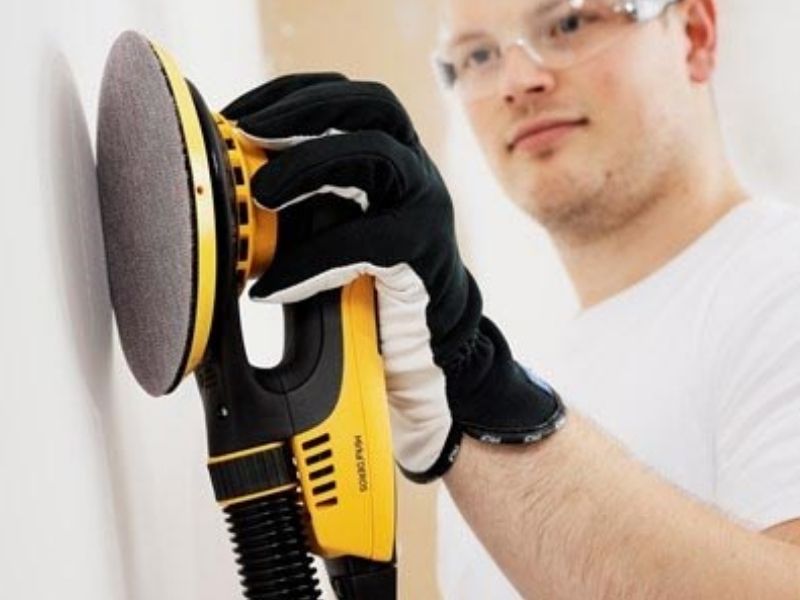
- Sand it down
Do you want a perfectly smooth surface for your walls, ceilings and woodwork? Then you’ll need to sand it perfectly smooth.
Sanding removes cracked, peeling or rough spots in painted walls or wood trim.
Sand the trim before applying each coat of paint for an extra-smooth finish.
Sanding with fine-grit sandpaper roughs up a glossy painted surface. This allows the new coat of paint to adhere more easily. - Tape it Up
Buy decent painter’s tape. Apply this tape around doors, windows, cabinets, wood trim and other areas.
Run the flat edge of a putty knife over the tape to firmly press it down for a good seal, to prevent paint bleeds.
You want to avoid peeling off the tape, only to discover that paint has bled through the tape and seeped all over trim.
Once the paint is dry, don’t peel the tape straight off. This might take pieces of the painted wall with it.
With a Stanley or Box-cutter knife, cut off the tape at a 45-degree angle, while pulling the tape away.
Remember to use painter’s tape, and not masking tape. Masking tape leaves a sticky residue that is hard to clean. Paint can also cause masking tape to buckle or wrinkle. This can allow paint to seep underneath. You can leave painter’s tape on for days, and it will still peel off cleanly and easily.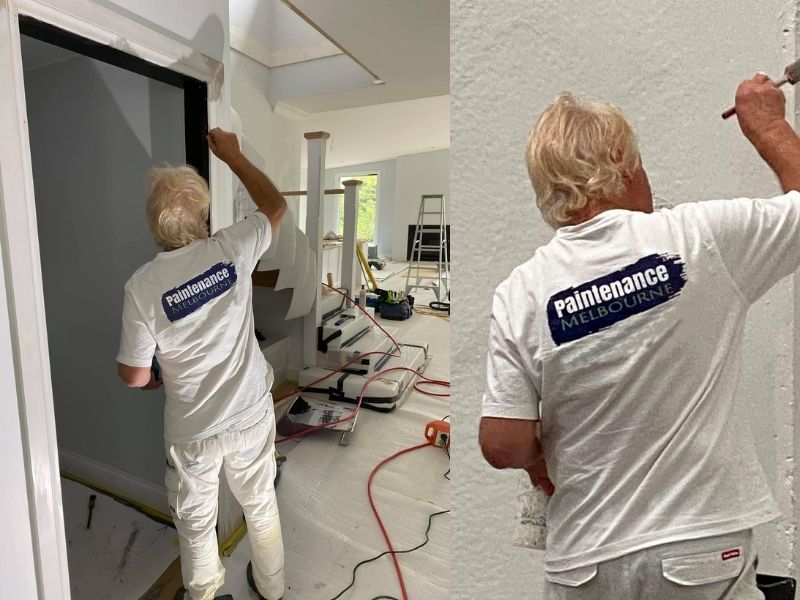
- Cover Your Holes
Make sure you fill any cracks or holes with joint compound or wood filler.
Press the filler or compound into holes with a putty knife. With the putty knife, smooth the compound so it becomes flush with the surface.
Allow the compound to dry before sanding it smooth. - Cover your floors and furniture
Move any furniture or decorative objects that you can out of the room.
For larger furniture, move it in to the middle of room and cover it well with plastic or drop sheets.
Remove obstructions such as curtain rods, door hinges, light fixtures, outlet covers, switch plates and other fittings.
Remember to keep track of all the screws for light fittings and other screwed-on fixtures, so you can put them back on once the paint dries.
Wait at least 24 hours before bringing furniture and other items back into a freshly painted room.
Give your walls between two weeks and 30 days to fully cure.
Avoid touching or washing the walls in the meantime.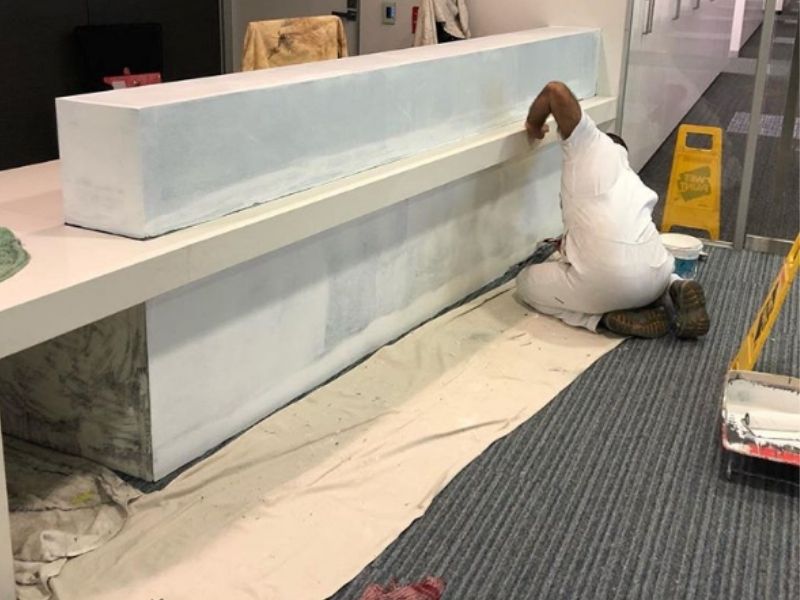
- Use canvas drop sheets
Avoid using old bed sheets or plastic sheets to cover floors.
Thin sheets won’t fully protect against paint spills, and wet paint on plastic dries too slowly and is a slipping hazard.
Canvas drop sheets are best to protect your floors.
Canvas isn’t slippery, it absorbs splatters, and it’s durable. You don’t need a giant drop sheet to cover a floor area either.
A canvas drop sheet a few feet wide and runs the length of the wall is ideal for protecting the floor. - Use primer
Using primer can improve the paint’s ability to provide a durable topcoat.
Primer can reduce the number of coats necessary to achieve full coverage and a smooth finish.
Use a stain-blocking primer in high-humidity and high-moisture rooms, such as the kitchen, bathrooms, and laundries.
This will reduce the chance of the paint flaking, peeling, bubbling, or blistering.
If you paint directly over any patched areas, the filler, or compound will suck the moisture out of the paint. This gives the paint a flat, dull look, called ‘flashing.’
These spots will look noticeably different than the rest of the wall.
To avoid seeing patched areas through the finished topcoat of paint, it’s important to first prime the walls.
Rather than using white primer fresh from the tin, tint the primer with a little grey paint or with the colour of the finish paint.
Tinted primer does a better job of concealing patched areas and covering up the old paint colour.
This is especially true when painting over colours like red or orange. These brighter colours could require three or more topcoats if you don’t first apply a tinted primer. - Box your paint
When you buy a few cans of the same colour paint, they’re never exactly the same.
This small difference can look glaringly obvious if you open a fresh tin of paint halfway through painting a wall.
To ensure colour consistency, the pros mix the different tins together in a large bucket, which is to ‘box’ the paint.
You can paint directly out of this larger bucket, if you like, with the added bonus that you may not need a roller tray.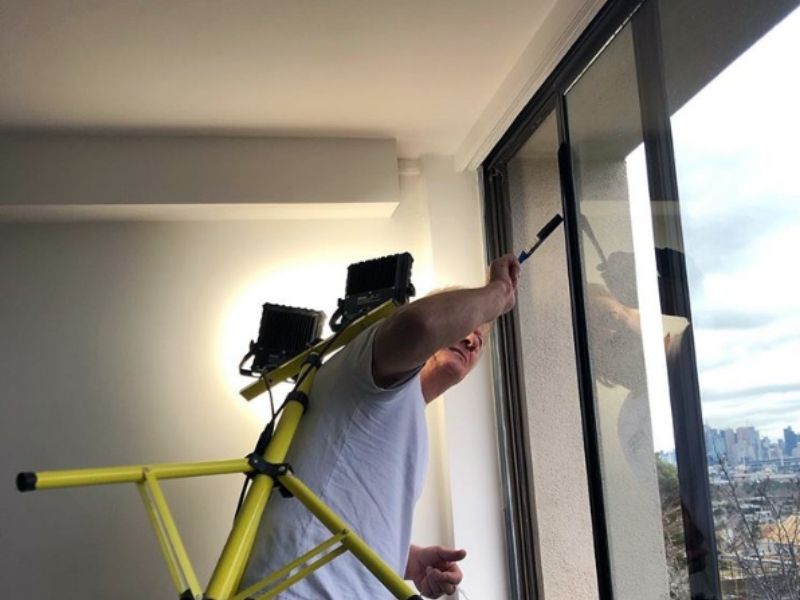
- Light it up
It’s easy for a beginner to miss a spot while they’re painting. This is more likely to happen when painting rooms with the same colour in poor lighting.
If you find yourself painting in poor light, get a bright work light. Use the light to check your work as you go, particularly around the edges of a room where you may use a brush instead of a roller.
Missed spots are easy to fix while you’re painting. They are much more infuriating when you notice them after you’ve cleaned up and put the paint away. - Load up your brush
When using a paint brush, load your brush by dipping it into the paint roughly half the length of the bristles.
Then, tap the side of the brush against the paint tin or bucket.
This is best to get a continuous line of paint.
Another technique is to wet your brush before dipping it in the paint and blot it. This prevents the paint dripping up towards the handle and saves the brush. - Avoid drips with long strokes
To avoid drips with long strokes of paint, brush within 1.5 cm/.5 in. along wall trim, or within the cut-in area where the walls meet.
As the brush unloads paint, move the brush closer.
Slowly drag the brush along the trim or corner.
When cutting-in don’t paint too far ahead.
Maintain a wet edge so your roller can blend into the brushed paint. If your cut-in paint dries, you’ll end up with two coats and what’s called ‘picture framing’.
‘Picture framing’ is where you can see a distinction between the cut-in and rolled sections. - Clean and bag it
At the end of your painting day, you can leave the roller cover on the roller frame.
Soak the cover in paint, then wrap the cover in a plastic bag with an airtight seal. This will keep the roller cover and paint fresh for the next day’s painting.
Rinse brushes in warm soapy water. Use paint-thinner to clean off oil-based paint.
Rake the brushes straight with a brush comb.
Put your brushes back into their original wrapper or wrap them in newspaper. - Scrape don’t tape Windows
Don’t bother taping around window glass.
Instead, let a little paint onto the glass as you paint.
Once the paint is dry, simply scrape it off with a razor scraper.
Be careful not to cut through the paint finish and the frame, otherwise moisture could seep in and rot the wood.
- Paint the trim, then from Top to Bottom
It’s easier and faster to tape off the trim than to tape off the walls.
When you’re painting the trim, you don’t have to be too neat. Just concentrate on getting a smooth finish on the wood.
If the trim paint gets onto the walls, you’ll paint over it later. After 24 hours the trim should be completely painted and dry.
Remove the tape, then paint the ceiling, then the walls. Always paint one wall at a time, working from top to bottom. - Keep a ‘wet edge’
To get a seamless look, cut in the edges on one wall, then roll on the paint before the cut in sections dry off.
This means that the brushed and rolled on sections will blend seamlessly.
To avoid overlap marks you should maintain a “wet edge,” so each stroke of your roller overlaps the previous stroke before the paint can begin to dry.
- Feather your edges
To minimize or avoid overlap marks on large areas, feather out the paint along the edges you can’t keep wet.
Thinner, feathered paint edges will avoid a build-up of paint.
Roll a near-dry roller in different directions along the dry edge, feathering out the paint as you go.
When you have finished the entire length, move to the next section and paint over the feathered edges.
When applying the second coat of paint, work in the opposite direction.
Crossing over paint applications reduces or eliminates overlap marks.
Now you’re ready to tackle your first, or next painting job!
Enjoy the challenge.
And if you decide you want to avoid the hassle of following all these tips and tricks, consider hiring professionals to handle it all for you!
Check out Paintenance Melbourne’s residential painting services.
For references and further reading: