How to Restore Your Deck to Make it Look Like New
Bring Your Old Deck Back to Life
Imagine the smell of a sizzling barbecue wafting in the summer air.
Sitting outside with friends, enjoying a drink and a laugh together.
Relaxing on a broad deck watching the kids play outside.
Then you look down at the floor of your deck.
To your dismay, your decking floor looks old, worn.
The boards have lost their sheen, and there are visible stains.
What once was a uniform, shiny, painted surface is now a streaky, discoloured, fading eyesore.
How did that happen? And, more importantly, what can you do about it?
Don’t worry, we have the solution for you!
Almost any deck can be restored and brought back to life by following simple steps.
We’ll show you how to restore your decking to bring it back to its former glory and look like new.
You can clean away the years of accumulated dirt and stains.
You’ll learn how to bring your old deck back to life.
It’s time to return to fabulous outdoor living by sprucing up your deck!
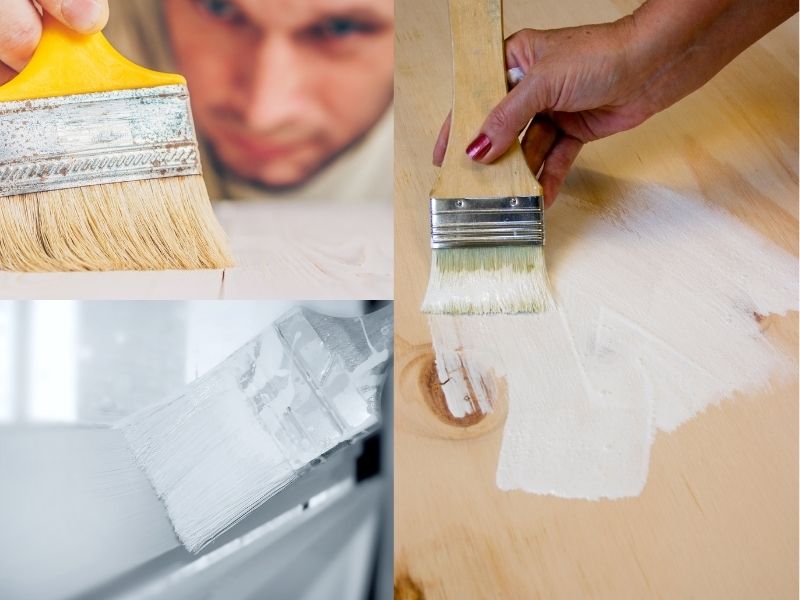
Choosing Your Deck Finish
When it comes to deciding which finish to use on your deck, you have three options: oils, stains or paint.
The easiest way to remember the difference between oils and stains is this: oils enhance the natural colour while stains change it.
Oils
There are 2 types of oils: oil-based and water-based.
Oil-based penetrates the timber to create a more traditional look.
Water-based oil lasts longer, because it sits on top of the timber surface.
An oil is the best product to use if you like the natural colour and grain of your timber and wish to enhance it.
Oils contain a small amount of pigment. This pigment is essential to provide protection against UV and foot traffic.
Due to its small amount of pigment, oil is less durable than a stain.
Your timber decking can be matched to various tints. Tinted decking oils protect and deepen the colour of the timber to help it last longer.
Before applying colour to the whole deck, we recommend testing with 2-3 coats of your chosen colour on a wood offcut or an area of timber that won’t be seen.
Stains
If you want the wood grain to show through and change the look of the timber completely then use a stain.
Stains contain mid-strength pigment. They are designed to transform the look of the wood with a rich colour that still allows the grain to shine through.
Stains are especially recommended for weathered timber that’s lost its colour, or on treated pine decks. You can choose from a range of traditional timber colours and others such as blues, greens and greys.
The benefit of using stains is that they contain more pigment than oils and protect longer against weather and foot traffic.
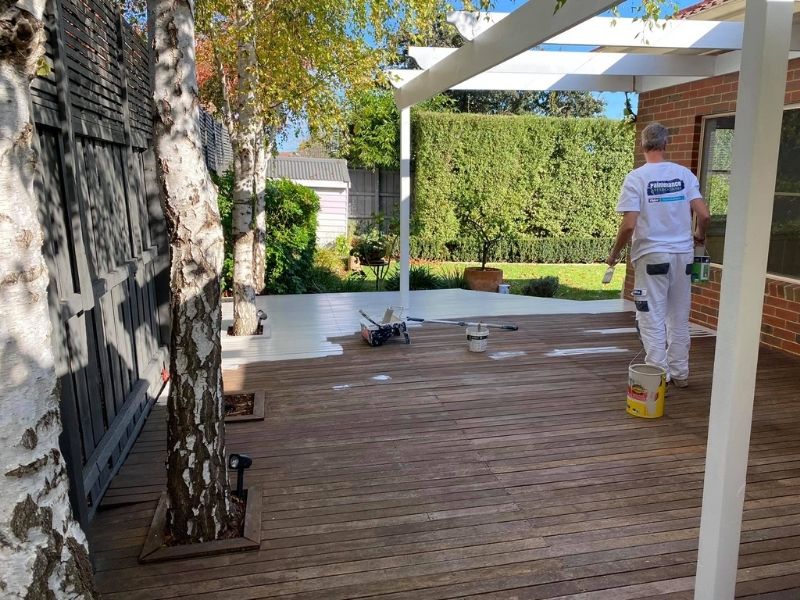
Paint
If you have a previously painted surface or want to match your deck with other painted features, then use a deck paint.
You can choose paints that are designed for decking that last longer than regular exterior paints.
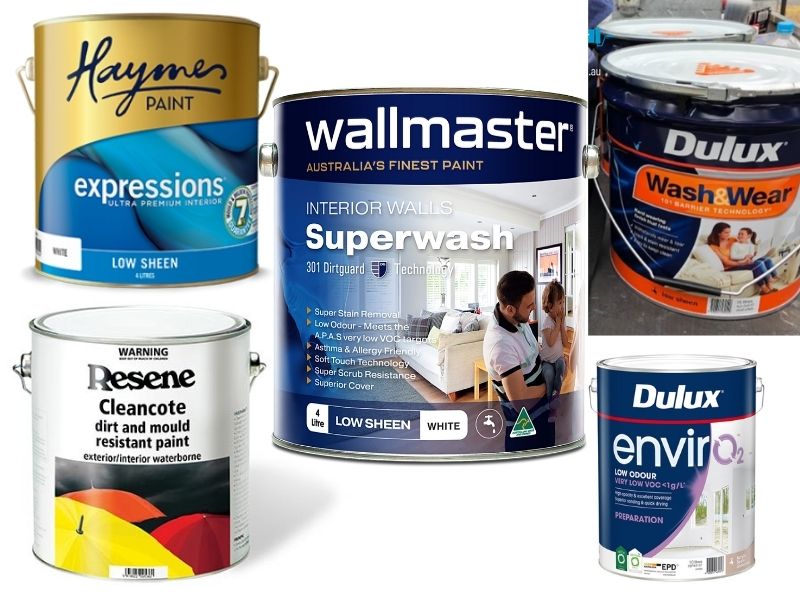
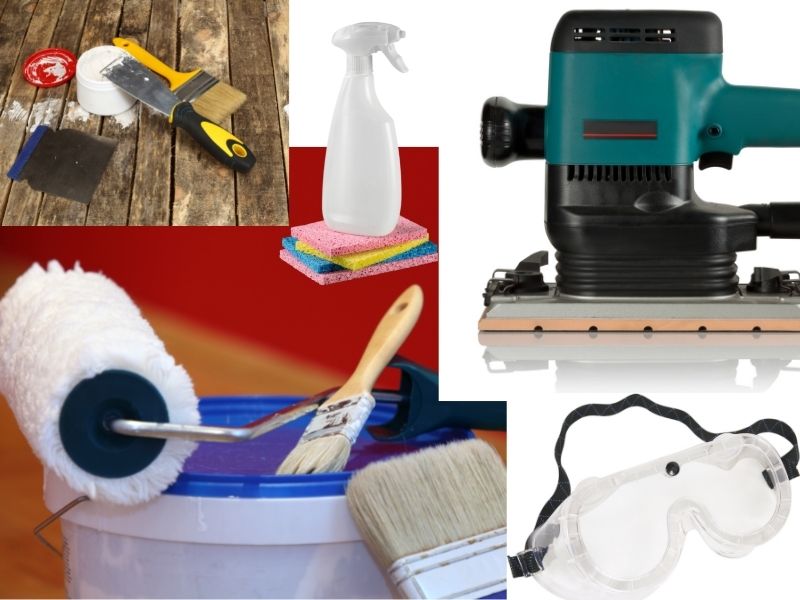
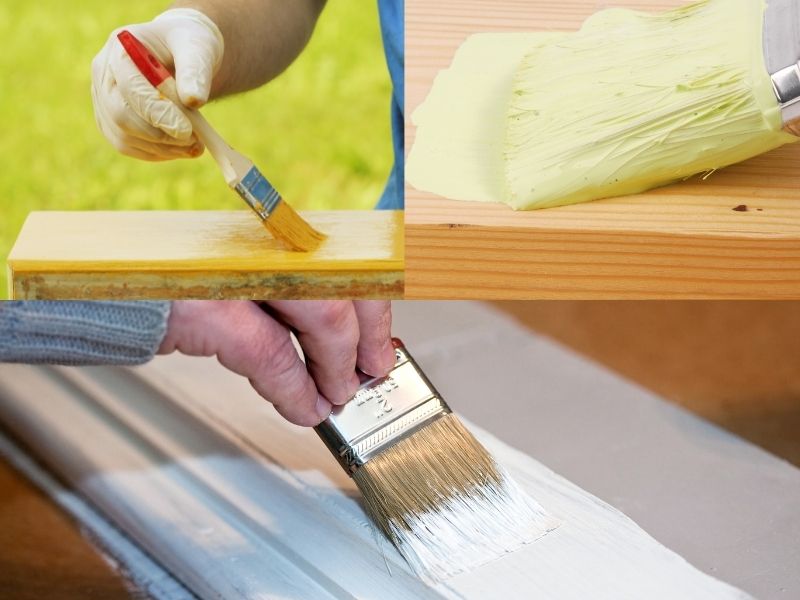
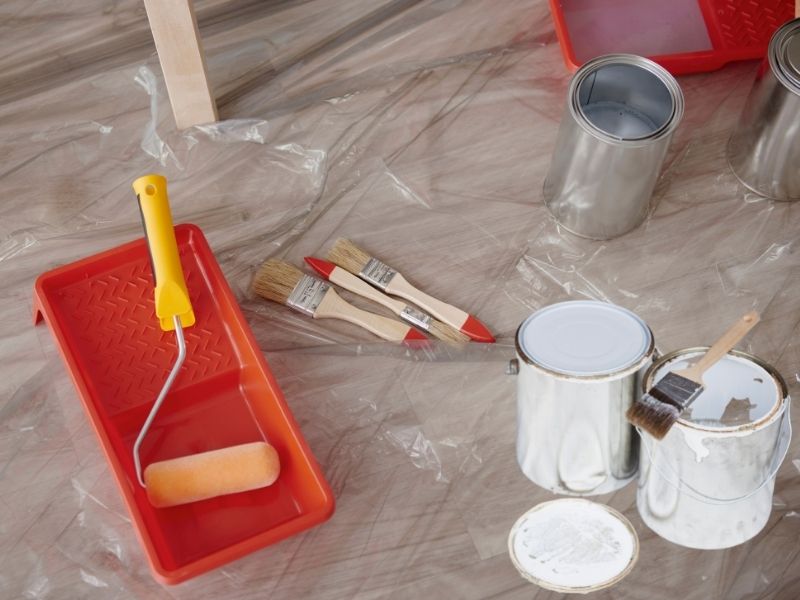
Get Your Supplies
The next step is to organise your supplies. You will need the following:
- Deck cleaner
- Decking oil or stain
- Plastic sheeting
- Bucket
- Stiff broom
- Gloves
- Paint brush
- Squeegee
- Applicator
- Cloth
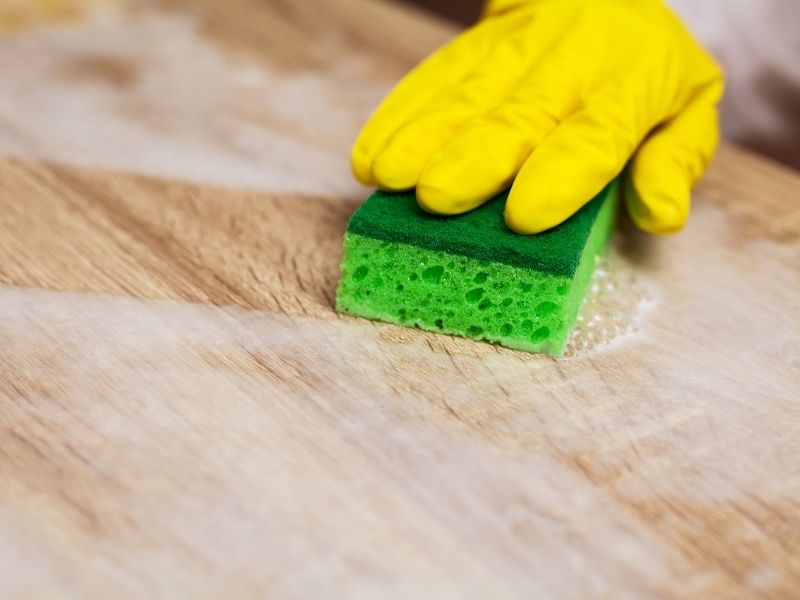
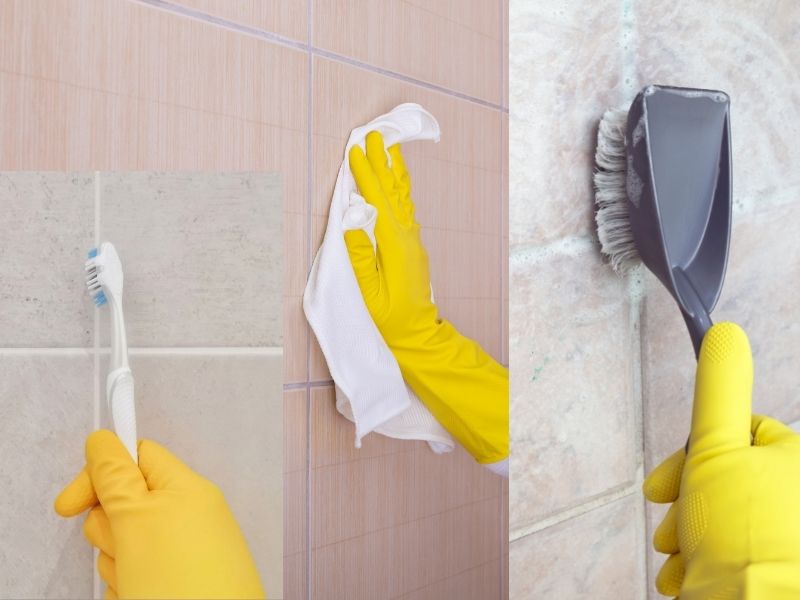
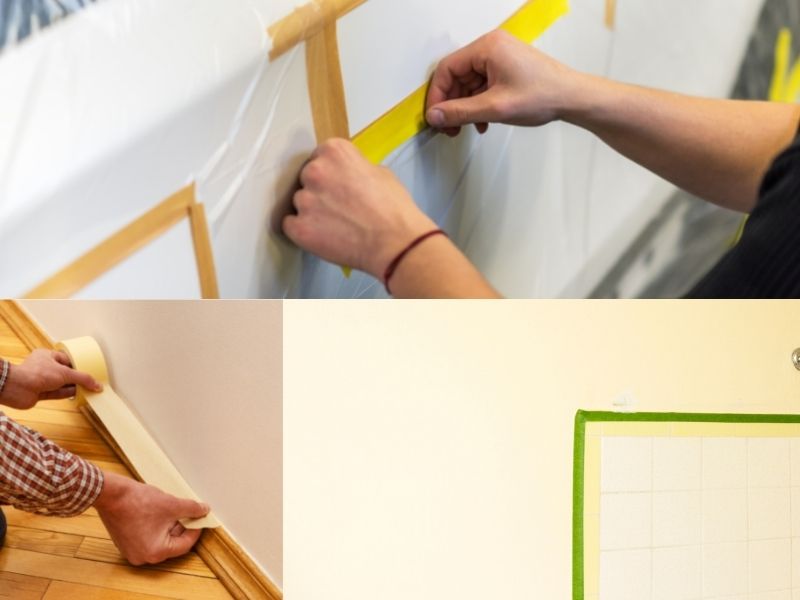
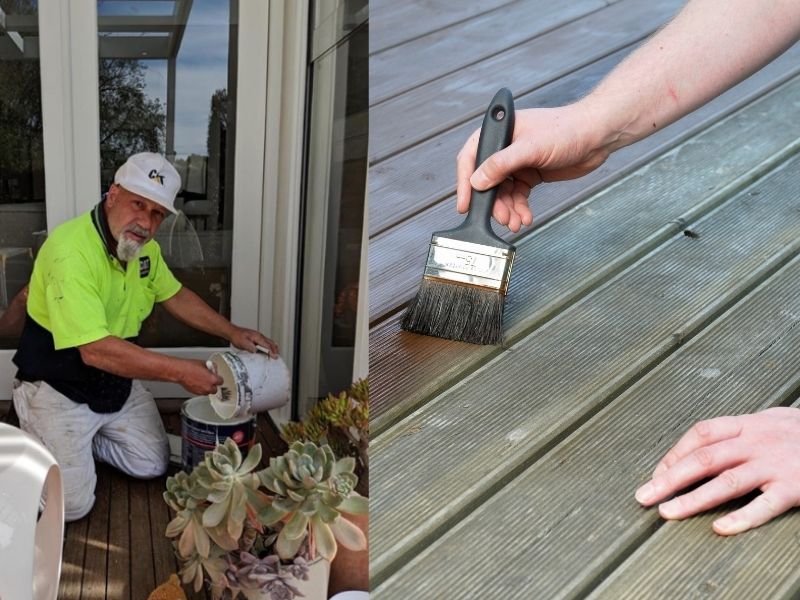
Cover Up
If there are any plants near the deck, cover them with plastic. Remove any surface dirt by hosing off the deck.
Preparing a Weathered Deck
Preparing a weathered deck properly depends on the condition of your deck, the type of coating it has and the finish you’re looking for.
For example, you might have a bare timber deck.
If it’s in good condition, and only recently gone grey, then clean it with a deck cleaning product, such as Cabot’s.
You can bring your deck back to life in its natural colour by removing weathered wood fibres, oils and tannins.
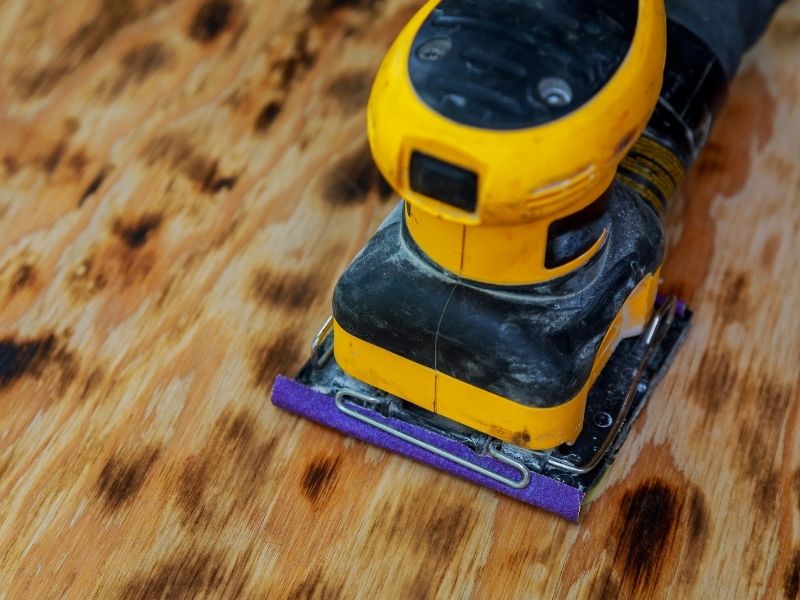
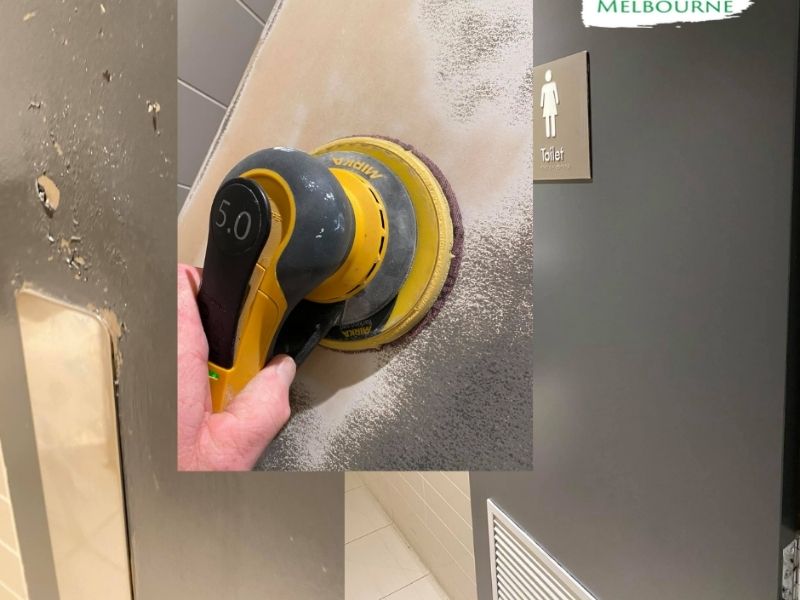
Sand badly weathered timber back to a solid surface before cleaning.
Making Sure of Your Decking Finish
Your decking timber may have been previously oiled or stained.
To accept a new finish, it might need to be properly weathered.
In order to determine this, do a water bead test.
You’ll need to sprinkle some water on your deck.
Then, see if the water beads or absorbs into the timber.
If water soaks into your timber, then decking oil or stain should do likewise.
If the water beads, then the timber won’t be able to accept a new coating. In this case, you’ll have to sand it back before going through the cleaning process.
Another scenario might include a painted timber surface. Standard paint recoating rules apply here.
Remove loose or flaking paint. Sand back the timber and clean it before repainting.
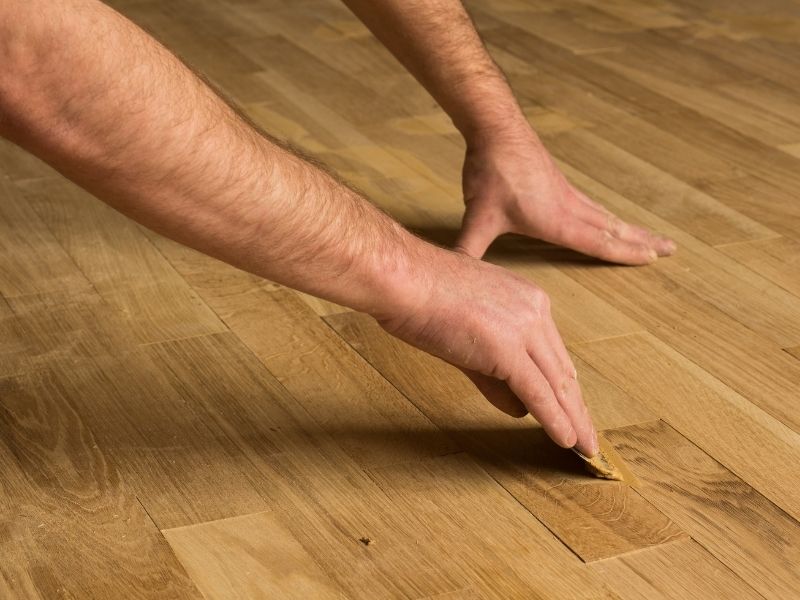
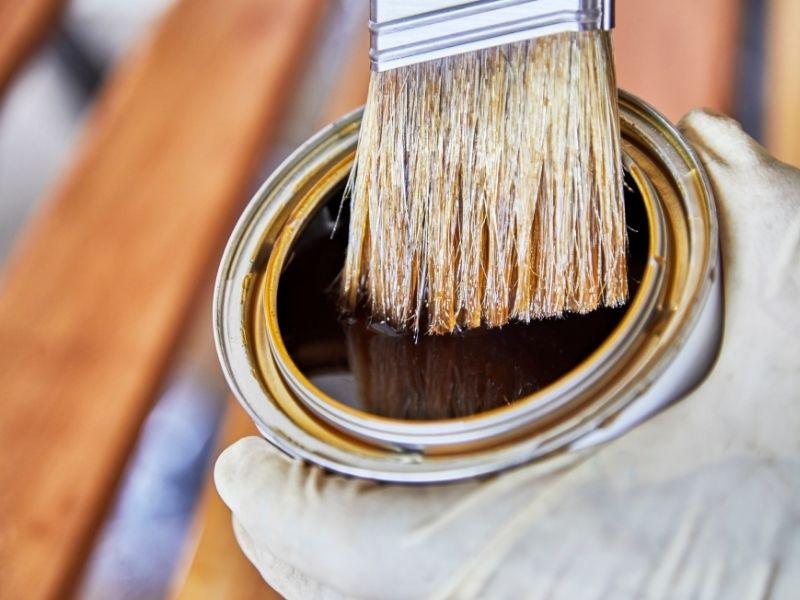
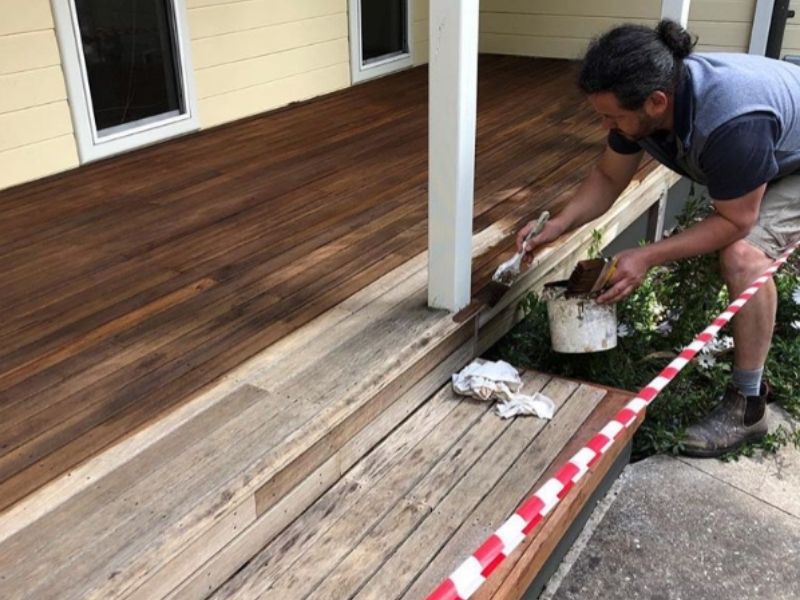
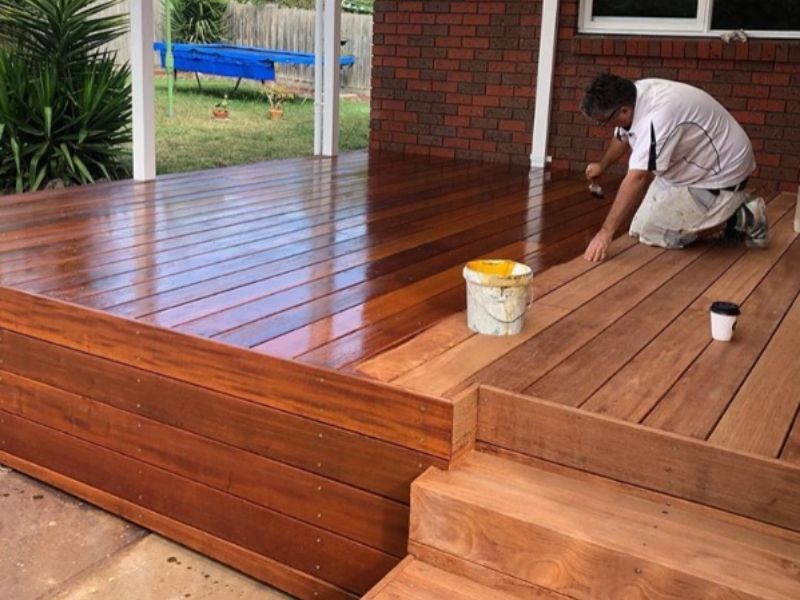
Applying Decking Oils or Stains
Before you apply any oil or stain to your deck, you need to prepare the timber. Start with a deck cleaner product.
Hose down any plants near your deck before and after using the cleaner. This will help to minimise any damage to leaves.
Once your deck is dry, you’re ready to apply the first coat.
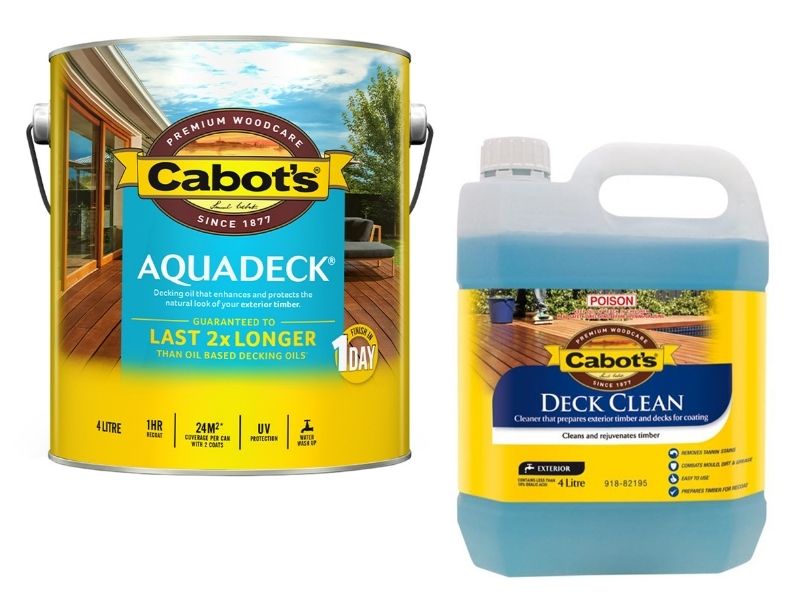
An example of an excellent decking oil product is Cabot’s Aquadeck.
Cabot’s Aquadeck is a highly durable, low odour, lightly pigmented water based decking oil. It enhances and protects the natural look of your decking timber and lasts twice as long as oil based decking oils.
Before using a product like Aquadeck, give it a good stir. This will ensure the colour is even throughout the can.
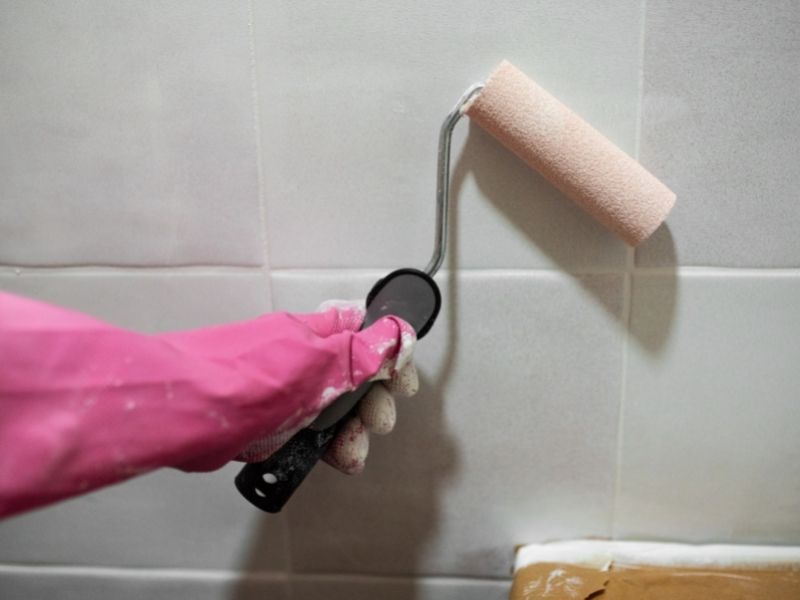
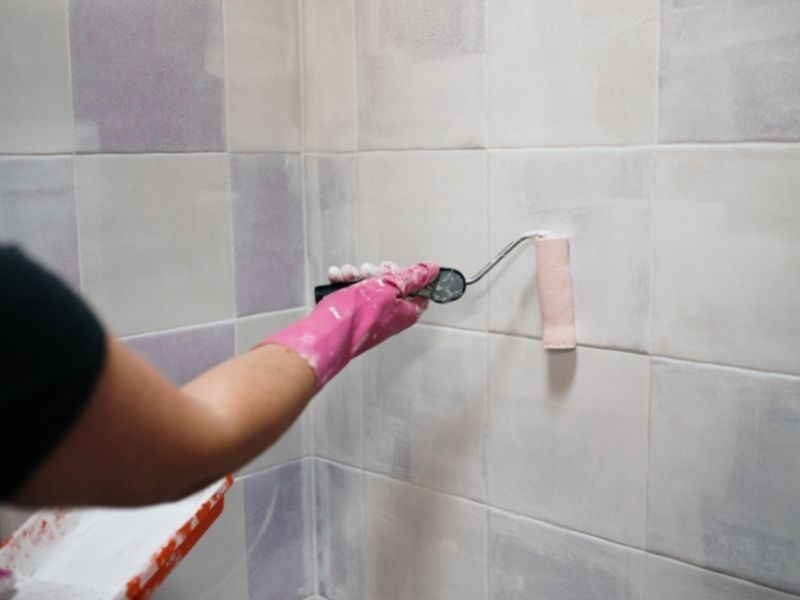
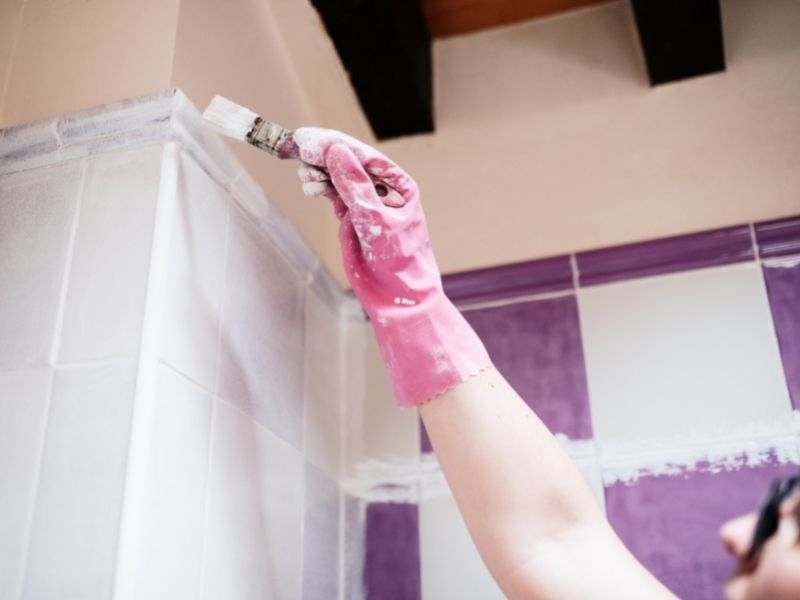
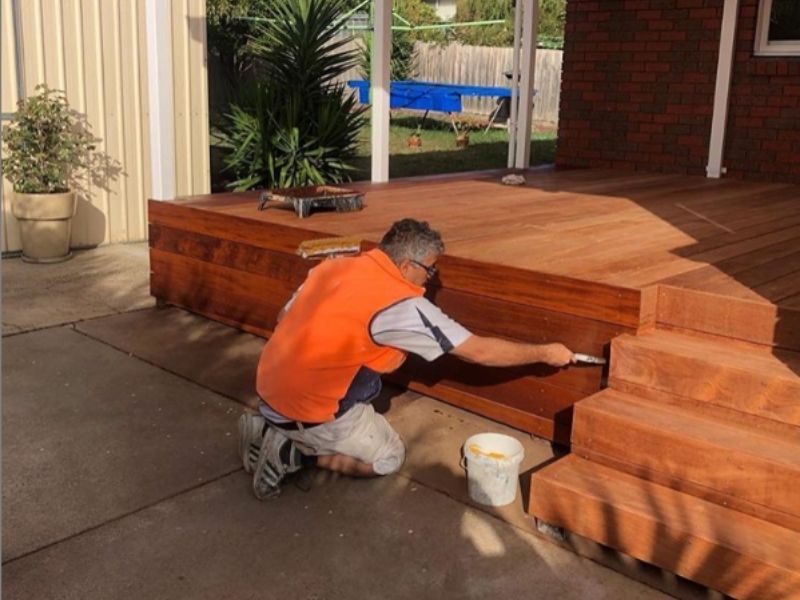
Then, pour it into a bucket. Cut in around the edges with a brush where required.
Cover 3-4 boards at a time in long strokes using a lambswool applicator.
Work up and down the full length of the boards, rather than across. This is to ensure consistency and that no edges appear mid-board.
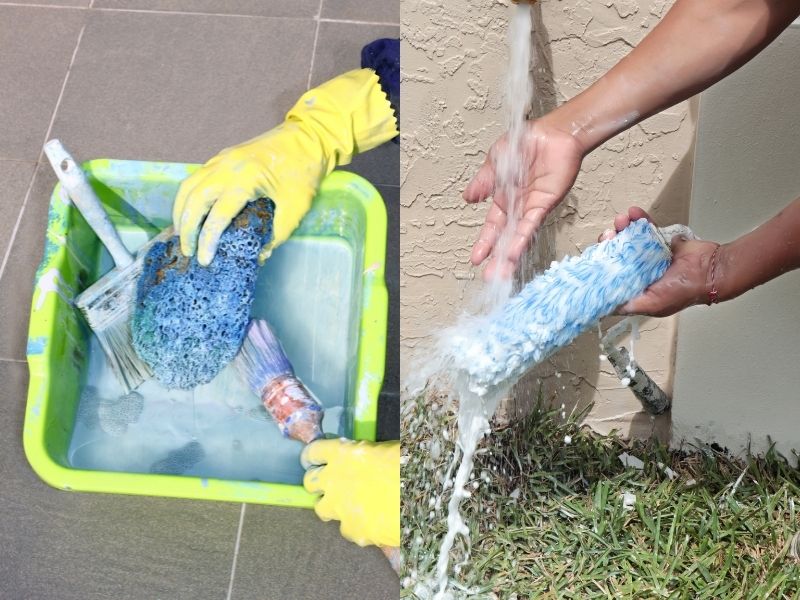
Wipe over any drips immediately to ensure they don’t dry as this will leave spots.
Apply 2 coats leaving 1 hour between each coat.
You’re done, and your old worn-out deck will look like new!
Get the Best Products and Advice
Whatever product you use to restore your deck, whether that is an oil, stain or paint, you can get excellent advice, products and supplies at your local Inspirations Paint outlet.
At Paintenance Melbourne, we use and recommend the Inspirations Paint Nunawading store.
And if you want direct assistance with your decking or exterior paint project from a Master Painter, please contact Jonno at Paintenance Melbourne on 0404 227 330.
Happy painting!
Article References:
How To Restore a Deck – Better Homes and Gardens
How To Restore a Deck with UltraDeck – Bunnings
Choosing Between an Oil and a Stain – Inspirations Paint