
Video: Painting Varnished Timber – the Ultimate Guide *Currently 4.7k views
Do You Want to Renew a Varnished Timber Piece?
Do you have an old, varnished timber bookshelf, cabinet or table that has seen better days?
Has the varnish worn away?
Is the wood cracked, dirty and worn?
And is this old wooden article in desperate need of a makeover?
Maybe you still want to use the old furniture or item.
But you don’t want it to look shabby and like something you picked up at the charity shop.
Perhaps you’d like to give it a new lease of life to match your current decor.
If so, it might be time to give your old, varnished timber items a full paint job.
Painting varnished wood might sound easy.
In reality, it’s quite tricky. There’s plenty that can go wrong.
There’s also lots of preparation involved.
We don’t want you to end up with a shoddy result. A blotchy paint job that’s filled with peeling and cracks.
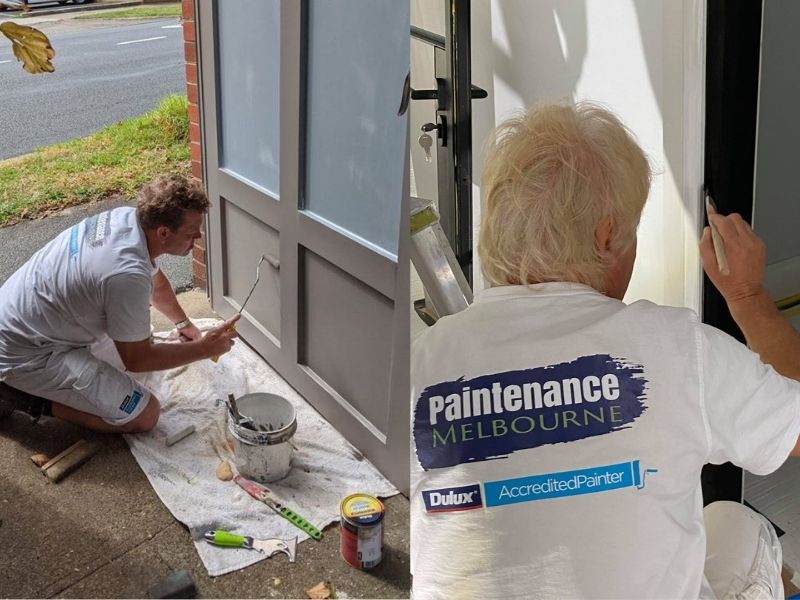
Here at Paintenance Melbourne, we’ll guide you through the process to make sure you get the best-looking painted furniture and wooden pieces possible.
Can You Really Paint Over Varnished Timber?
You might be wondering if you can paint over varnished timber successfully.
So, what is varnish?
Varnish is the thick transparent coat used to protect and give shine to surfaces.
Varnishes are usually made of three components.
- Resin
- Drying oil
- Solvent or thinner
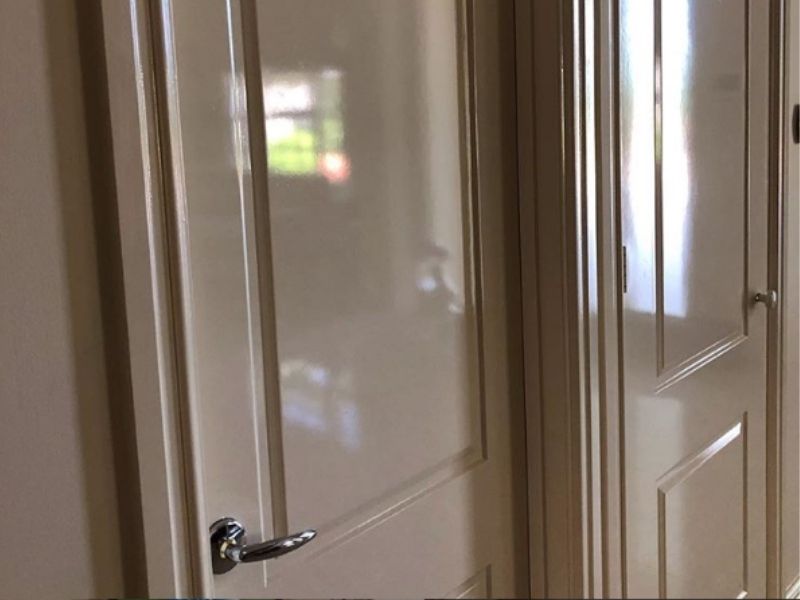
Varnishes are commonly used on wooden surfaces such as tables, doors, staircases, and flooring.
Varnish wears out over the years. This makes imperfections noticeable and unsightly.
When you paint over an old, worn varnished surface, it’s not just to make it look better.
You can provide colour, dust protection, and extend the lifespan of a quality piece of furniture.
This is recycling at its finest!
So, the answer is yes, you can paint over varnished timber.
Just follow these steps and we will show you how to do it the right way.
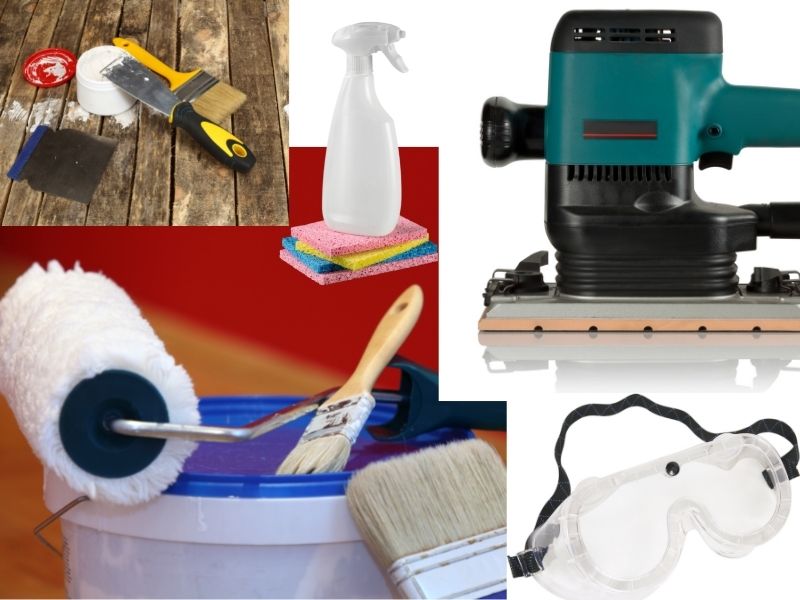
Step 1. Get your tools ready
Make sure you pick up all the necessary tools, materials, and equipment from your hardware store. Do this step before starting your furniture refinishing.
This will include
- A lint free rag or cloth, scouring pad
- Detergent or household cleaner
- Safety goggles
- Mask
- Rubber gloves
- A roller and brush
- Wood filler
- scraper
- Protective drop sheets
- Electric sander
- Fine-grit sandpaper
- Water-based primer
- Water-based paint
- Paint mixing stick
- Water-based varnish (optional)
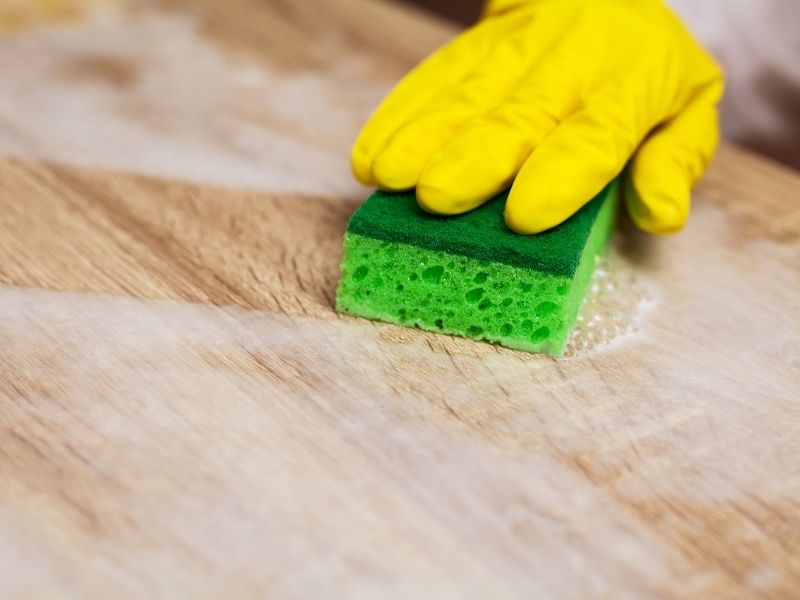
Step 2. Clean the surface of the varnished timber
Before you start painting you need to prepare the varnished timber surface.
This involves giving the surface a good clean. You want to make sure that dirt, grease, and dust won’t mix with the primer or paint.
Firstly, dust the surface off with a clean cloth or rag.
Then, wipe down any areas you want to paint with a household cleaner.
Spray the cleaner over the top of your timber surface, and wipe in circular motions.
If you find any stubborn areas of dirt and grime, spray some cleaner over the spot and use a scouring pad to scrub it clean.
For hard-to-remove spots, try wiping them down with trisodium phosphate (TSP).
Next, wipe off the damp cleaner residue with a clean, dry cloth. Let the surface dry for at least 5-10 minutes.
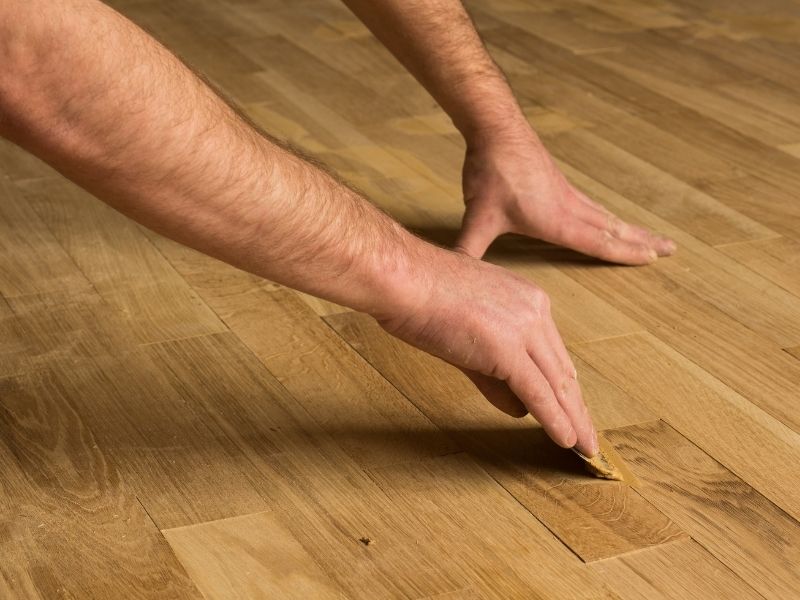
Step 3. Fill in any small surface imperfections, scratches or cracks
By now your varnished timber should be sparkling clean.
If there are any dips, cracks, scratches, or dents in the surface you’ll need to fill these in.
Don’t miss this step.
You might think that a few coats of paint will cover up any irregularities. This is wrong.
You risk getting poor adhesion, flaking, or blistering paint.
To avoid undesirable results, fill in any cracks or imperfections with a wood filler and a scraper.
Wood filler is a creamy paste that covers any uneven spots in wooden surfaces.
To use wood filler, scoop up a small amount with your scraper, and spread it with consistent pressure over the crack or indentation.
It’s best to use a scraper that’s larger than the imperfection to spread the filler evenly across the surface. Repeat this process for all the imperfections you see.
Smoothing out your surface with wood filler ensures the paint applies evenly and smoothly.
Read the instructions on your wood filler to determine drying time. As a general guide, wait about 30-90 minutes for the filler to dry completely.
If you sand the wooden surface before the filler is completely dry, your surface may be uneven.
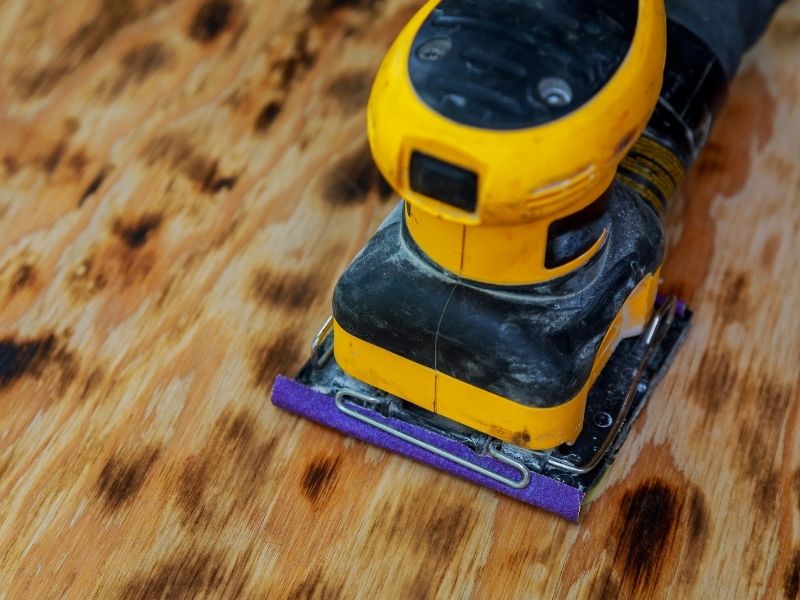
Step 4. Sand down your varnished timber surface
Before doing anything, make sure you are working in a well-ventilated environment.
Sand the varnished timber surface before painting. A fine grit sandpaper is perfect to even out the surface.
Use an electric sander for an effortless sanding experience.
Otherwise, sand the surface by hand; especially if there are intricate spots or details.
Keep sending in small circular motions until the surface of your timber is smooth and level. Doing this finely etches the surface and makes it easier for the paint to stick.
As you sand the surface, cover your mouth, eyes and nose with a face mask and goggles.
Try to avoid breathing in the dust and debris as you sand.
If you want an extra smooth finish, sand the surface with medium-grit sandpaper. Do this after you finish with the fine-grit sandpaper.
This is particularly helpful if your timber surface is damaged or uneven.
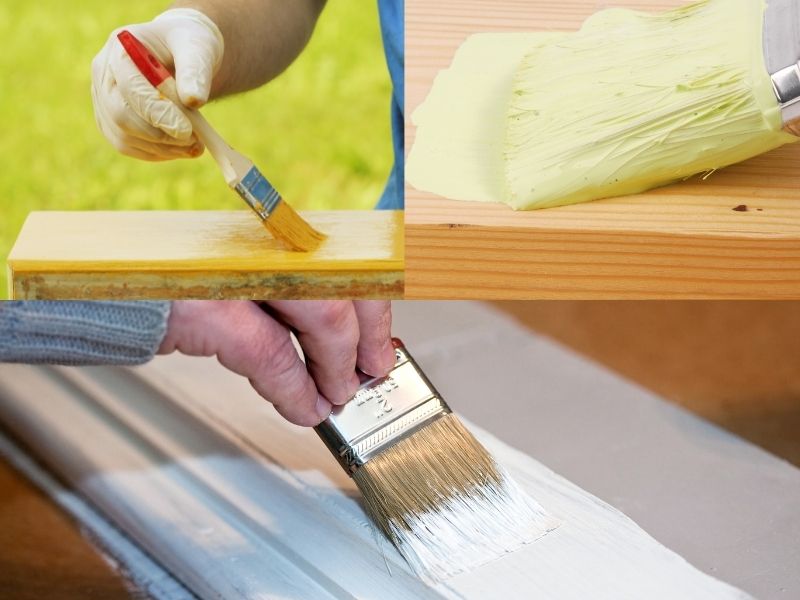
Step 5. Apply primer to the varnished timber item
You will need to apply primer to the varnished timber, particularly if it’s in poor condition.
To ensure good paint adhesion, apply a coat of water-based primer.
- Stir up your water-based primer with a paint stick.
- Pour some primer into a paint tray.
- Dip your roller or brush into the primer
- Apply an even coat of paint in wide strokes.
- Ensure the varnished timber surface is completely covered
Applying primer to a varnished timber surface achieves many desirable outcomes:
- It seals off the underneath surface
- It prevents the wood grain showing through the topcoat
- Stops wood grain and knots from bleeding through the paint
- Achieves great adhesion between the surface and the topcoat
- Reduces the number of topcoats to get the real colour you want to see (especially when you paint over dark stained wood)
Use a paint roller to cover large, flat areas.
The preferred method is using a small or medium-sized paint roller. This works well because you can apply the paint quickly and thoroughly without overworking the paint.
Apply the primer with a medium-sized brush to cover small or intricate surfaces.
If you are painting over a dresser with fine corners or the edge of a table, for instance, it may be easier to apply the paint with a smaller brush.
Use a 1–2 in (2.5–5.1 cm) brush instead of, or in addition to a paint roller.
Wait about an hour for the primer to dry.
Before you apply more paint, make sure the primer is completely dry.
Please note that drying time may vary depending on your type or brand of primer.
Touch the surface of the item with your fingertips to make sure it isn’t tacky before going ahead with the next step.
You might need to apply a second coat of primer after the first coat of primer dries. This would be advisable if you are covering a very dark varnished surface.
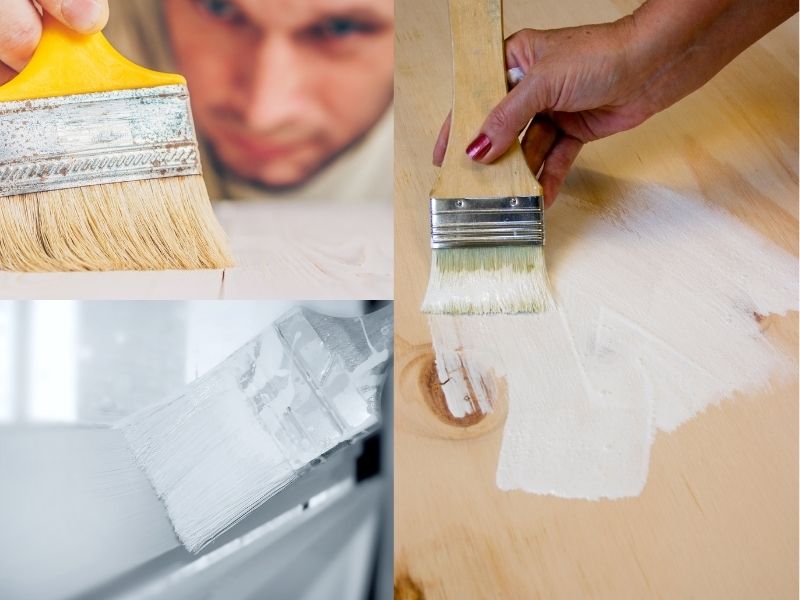
Step 6. Paint the varnished timber item
Once the second coat of primer is dry, you’re ready to paint the timber surface.
We recommend you use a water-based paint. This will give you a quick drying slightly shiny effect.
- Pour some of the paint into a paint tray
- Dip in a fresh roller or clean paint brush
- Apply the paint to your item in wide solid strokes
- Cover the whole surface, making sure you don’t miss a spot.
Pro-tip: Oil-based paints are not recommended when painting over varnish. This is because the oil-based paint may not absorb into the wood properly.
Allow the painted surface to dry thoroughly. Then, lightly sand between coats. This will help you produce a seamless finish.
It will take at least 1 hour of drying time after the first coat.
Apply a second coat of paint to completely cover the timber surface.
You don’t want to risk getting an uneven look at the end of the painting job.
After the second coat, you should achieve a flawless finish for your rejuvenated timber item.
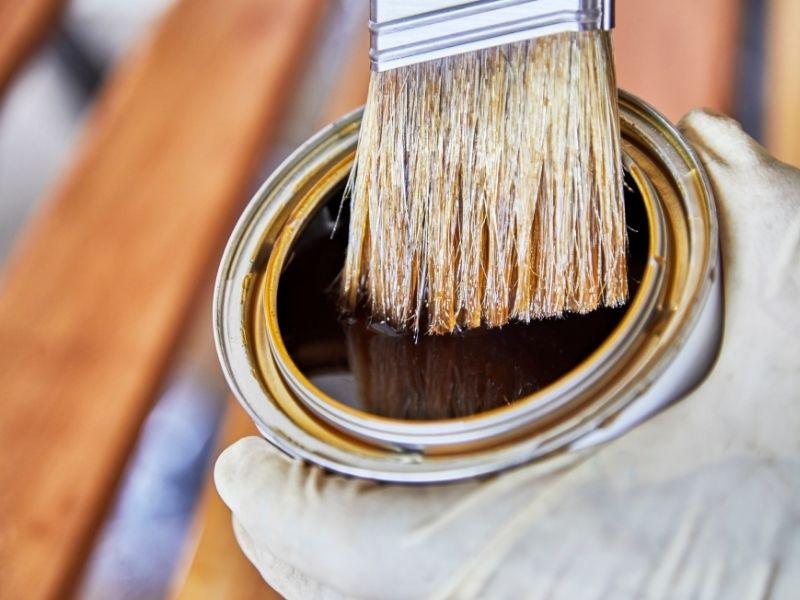
Step 7. (optional): Add a coat of water-based varnish for a shiny, durable finish.
This is an optional step. However, applying a coat of water-based varnish can preserve your paint job and make the surface look great.
Wait until the paint is completely dry. Then apply a solid, even coat of varnish using a roller or paintbrush.
Final Thoughts
Old varnished wooden items will suffer wear and tear over time.
Some people might quite like the ‘weathered’ or ‘distressed’ look.
If so, great!
If you don’t like this look, then it will be very satisfying to paint over it.
Don’t forget, though, if you’re serious about achieving beautiful, long-lasting results you need to prepare and set up properly.
Refinishing one of your old timber items is a brilliant way to freshen up and reuse a fine vintage piece.
However, in case all of this seems like too much work, you can always turn to a painting professional to handle the job for you!
For article references and further reading on this subject see: