Video: How to Paint Bathroom Tiles the Right Way *Currently 183k views
Give Your Bathroom Tiles a Makeover
Bathroom tiles can look great. Gleaming, bright, clean. They make your bathroom look fresh and inviting.
Well, at first.
Then, over time, they start to show signs of wear and tear.
You know. You’ve seen it all.
Mould.
Stains.
Cracks.
Scratches and scuff marks. And the rest!
You could strip them out. Get rid of them. Pay someone to put in new tiles.
Then you’d have shiny, beautiful new bathroom tiles.
But it’s not cheap.
There is an alternative. You can paint your bathroom tiles instead.
It’s not easy, but you can give your tired old bathroom tiles a serious makeover.
Just follow our step-by-step guide!
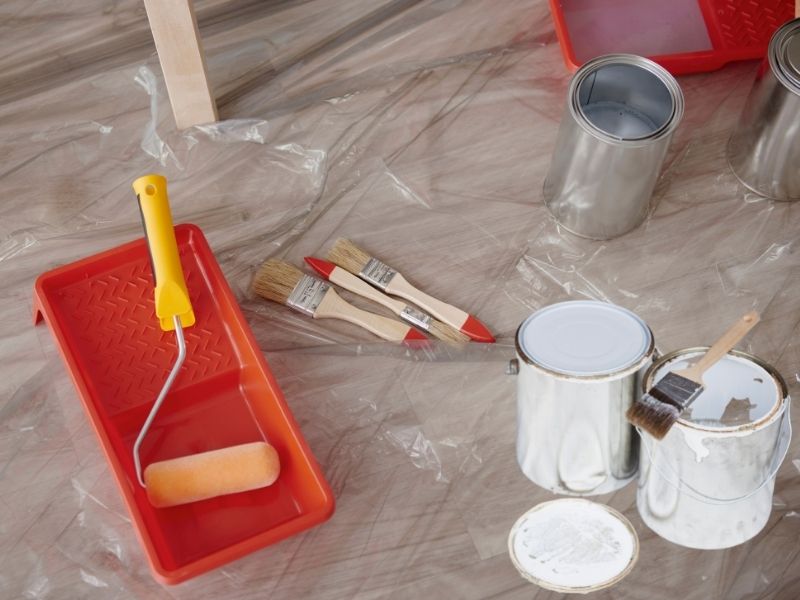
Materials for Painting Your Bathroom Tiles
The first step is to obtain the right materials.
You’ll need the following to paint your tiles:
- 4mm Nap 100mm wide microfibre roller with tray
- 38–50mm high quality angled sash cutter brush
- Paint stirrer and drop sheet
- Sanding block
- Scrubbing brush
- Painters Masking Tape
- Sugar soap
- Old toothbrush
- Grout
- Mould killer
- Tile cleaner
- Dust mask
- Sponge
- Primer
- Rubber gloves
- Drop sheets
- Safety glasses
- Bucket
- Respirator
- Tile paint, such as Dulux Renovation Range Tile Paint
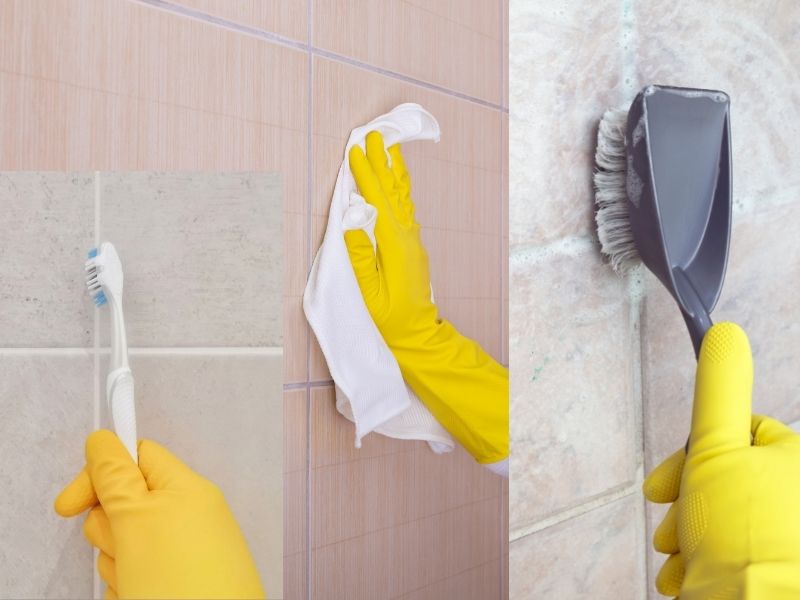
Clean Your Bathroom Tiles
The next step is to clean your bathroom tiles.
Make sure you scrub them very well before painting.
Get your bucket, some water and sugar soap.
Grab your scrubbing brush and give those tiles a really good scouring. For smaller areas, you could try using sugar soap wipes.
Then take your old toothbrush.
Scrub the grout lines with your toothbrush, using mould killer to get in and remove any mould spores.
We recommend using a respirator and safety glasses for this part. If you’ve ever been sprayed in the eyes accidently by mould killer, you’ll know how important this step is!
Leave this a few minutes before cleaning off.
You can spray with tile cleaner, leave for 30 seconds, then wipe off with a wet sponge to remove soap scum and oil.
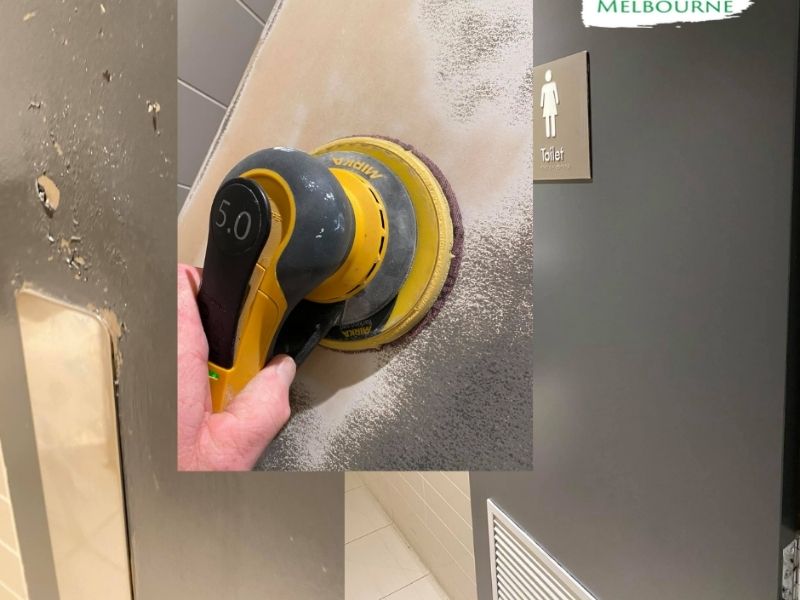
Sand When Dry
Once your tiles are gleaming clean and dry, it’s time to sand.
Sanding the tiles will help your new primer and paint adhere to the surface better.
Give the tiles a light sand all over.
Wear a dust mask while sanding. Then go for it!
Use a sheet of 240 grit wet/dry abrasive paper and a sanding block to create a rough matt surface.
Wash and rinse off the tiles using a wet sponge and clean water.
Leave to dry completely.
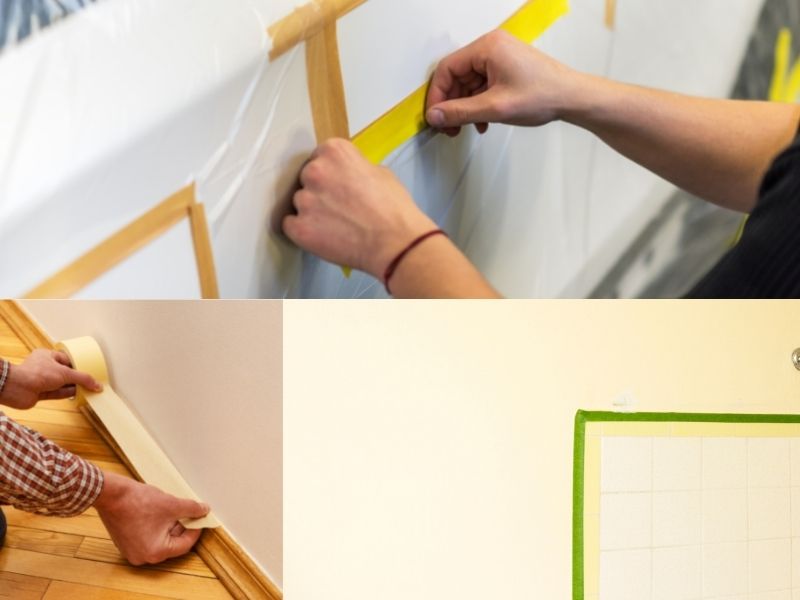
Mask Your Edges
Mask up any areas where you don’t want your paint to go.
Use painter’s tape to mask off walls at the floor, the ceiling and any other edges such as taps and fixtures.
Press firmly on the edge of the tape along the area to be painted to give a clean finish.
Fill any cracks with grout or gap filler. Leave to dry.
Place drop sheets on the floor.
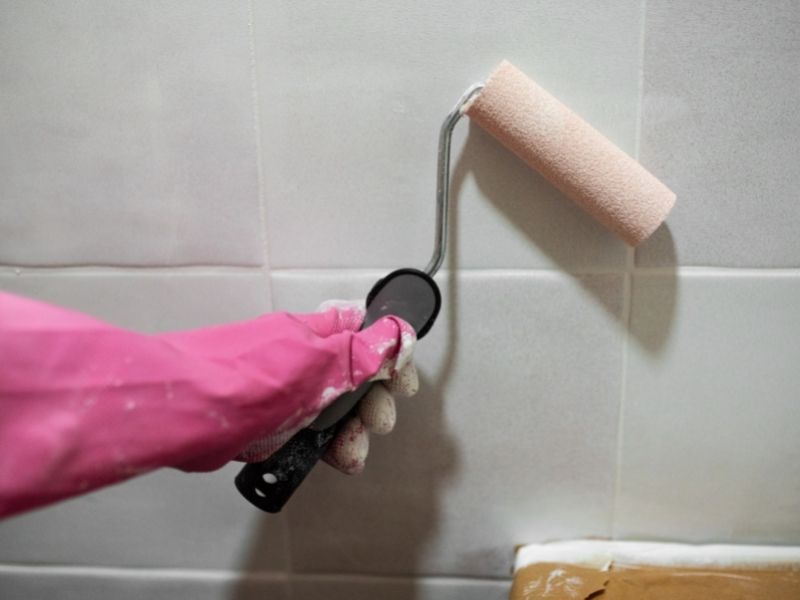
Apply the Primer
Once you’ve taped up everything, you’re ready to apply the primer.
If you’re using Dulux Renovation Range, it comes with an additive that you add to the primer, then stir the primer well, for two to five minutes.
Even though it’s specifically designed for plastic or laminate, you can also use it on all tiles.
Once your primer is mixed, pour it out into a tray.
Take your paint brush to cut in around the edges and the grout lines of your tiles.
Once this has been done, use your roller. Roll on the primer in a zigzag pattern, then smooth out. Roll the primer on from the top to the base.
Leave your primer to dry for four hours.
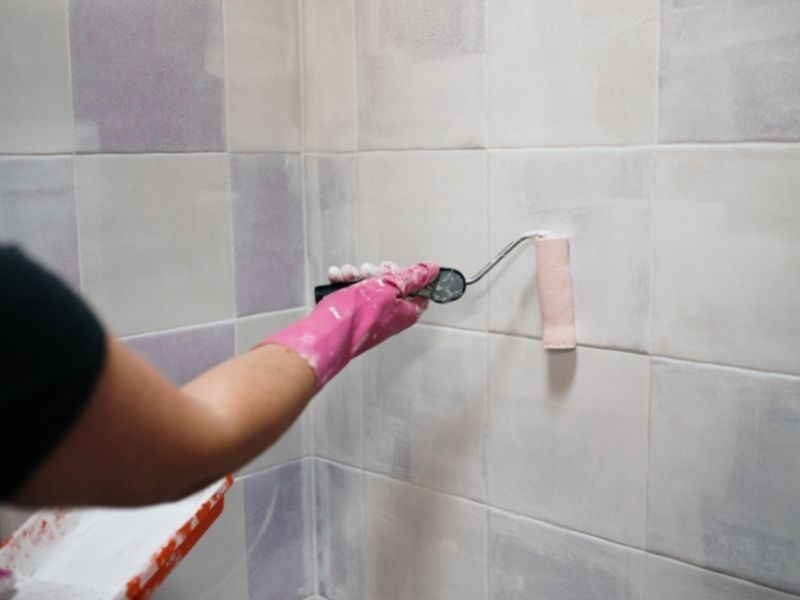
Start Painting Your Tiles
Once your first layer of primer is dry, you can apply the second coat of paint.
Lightly sand the tiles again with 240 grit paper and wipe down.
As with the primer, use a paint brush to cut in along the grout-lines.
Then use a roller to apply the colour across the surface of the tiles in long, even strokes.
Paint a small area at a time in a zigzag pattern, then roll smooth.
When the paint is spread and only a little is left on the roller, go over the area in one direction from top to base
Allow the first coat to dry for eight hours, then apply a second.
To get a nice, even finish gently go over your tiles once more with an unloaded roller in the same direction.
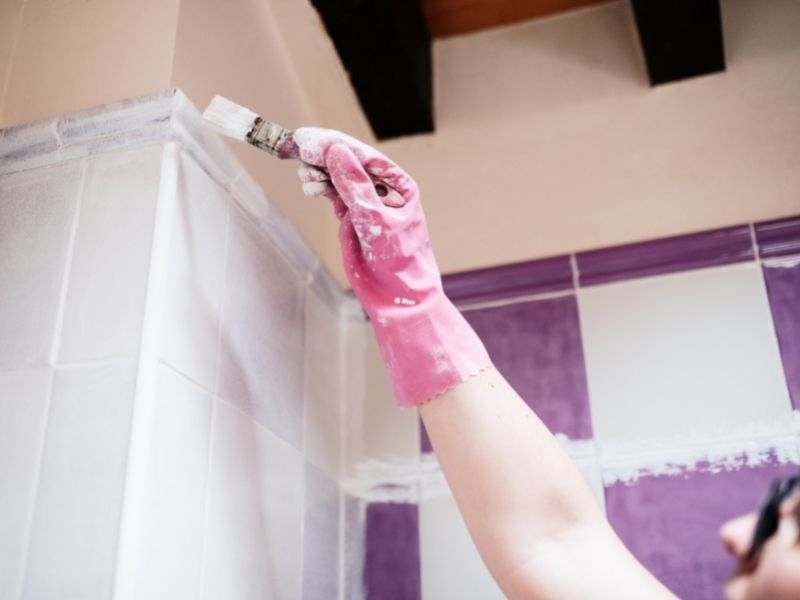
Paint Your Topcoat
Store your brush and roller in water until the first coat of paint is dry.
Squeeze out the water.
Lightly sand the tiles with 600 grit paper.
Wipe off the dust, then apply the topcoat using the same technique as for the first coat.
Allow to dry for a day, then wait a week until fully cured.
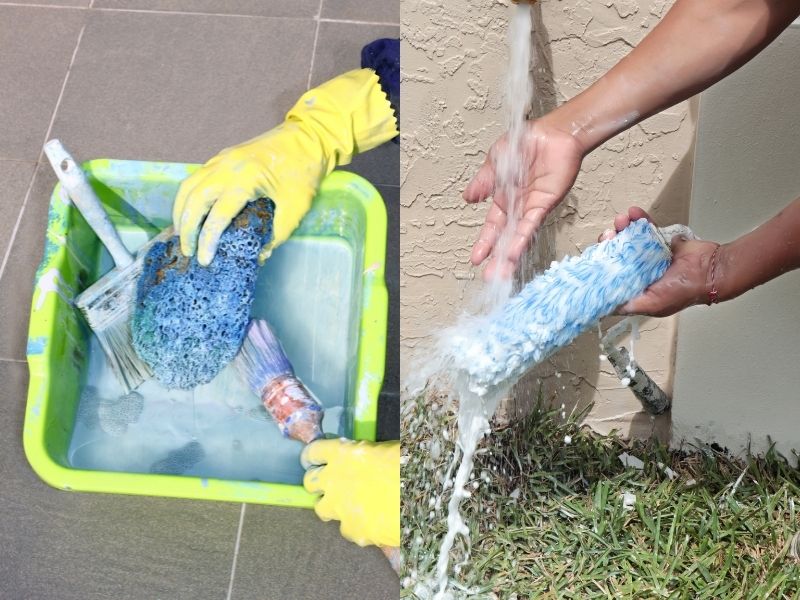
Clean it Up
Wash your roller, tray, brush and sponge in warm soapy water.
Take off all masking tape once the paint is fully dry. Remove the drop sheets and pack away all your equipment.
Now you’re done.
You didn’t have to get an expensive tiler, and your tiles look brand new.
Enjoy your complete bathroom tile makeover!
- If you’re interested in more painting ideas, take a look at more of Paintenance Melbourne’s blog posts.
- Give painting expert Jonno a call on 0404 227 330 to talk about your next painting project or get a quote.
*Thanks to Dulux, Bunnings, and Handyman for the information used in this article.