
Video: The Top 11 Ways to Paint Your House Exterior Like a Pro *Currently 33 views
A Great House Exterior Paint Job
Do you want a great paint job for your house exterior?
Of course you do!
You want it done just right, so that it looks like all those pristine houses in the magazines, brochures and real estate ads.
You could choose to hire a pro.
Or, you can spend the necessary time, effort and money to get it done like a pro.
If you want to paint the outside of your home or property the right way, then preparation is everything.
You will have the best chance of success if you follow these instructions.
1. Get Your Materials Ready
What you will need to paint your house exterior like a pro:
Before you start make sure you have the right tools:
- Filler and Filling knife
- Sandpaper
- Sugar Soap
- Sponge
- Wide paint brush
- Masking tape
- Drop sheets
2. Avoid Painting During Poor Weather Conditions
First, avoid painting when it’s wet.
Humid or damp conditions can lead to paint drips and slow drying.
If you still want to paint on a humid day, then take your time. Take advantage of slow-drying paint to correct your errors before moving on to the next coat.
Try to plan your exterior painting job.
Be aware of the weather, and choose, if possible, dry spells when there is less rain and lower humidity.
Paint needs time to dry. If surfaces are damp, paint will not stick to it.
We also advise you to play it safe and avoid painting in extreme heat.
You can probably think of better things to be doing than painting your home exterior on a 40+ degree day.
Extreme weather causes paint to dry at a much faster rate. This can cause paint blistering or peeling, poor adhesion, and unappealing stroke marks.
Below 35 degrees Celsius is the ideal temperature, for both your health and the paint!
During the hotter months, it’s important that you regularly apply sunscreen, don your best broad-brim hat and stay well hydrated.
Australian weather, especially down here in Melbourne, can be unpredictable. Other warmer areas can be prone to a summer storm or two each week.
You are advised to avoid painting on rainy, windy, or dusty days. These harsher elements can affect paint adhesion and cause small particles of dust to stick.
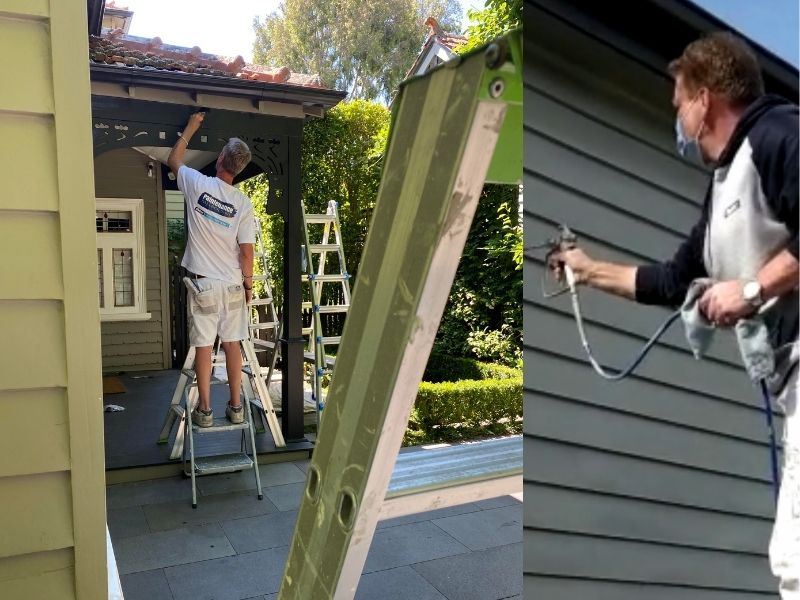
3. Prepare and Clean Your Exterior Surfaces
Inspect your exterior surfaces to see if there are any areas of paint that are cracked, flaking or peeling.
Any cracked, flaking, or peeling areas need attention. Be sure to sand (or scrape as needed) any peeling paint to create a solid surface for the paint to adhere.
Fill any gaps with flexible gap filler and apply primer paint to these specific areas.
Remove any rust on metal surfaces by wire brushing or sanding the surface. Then, use a quality Metal Primer before applying the topcoat.
Plastic down pipes and spouting need a clean and a light sand before applying paint.
Then, you’ll need to clean the surfaces.
Brush any grime away from surfaces, including dirt and cobwebs.
Dirty or greasy patches will need washing with soap and water, followed by a rinse with clean water. For stubborn areas, a scrubbing brush may be required.
If the walls are not too dirty, you may be able to give them a quick wipe-down with a damp cloth.
Make sure the walls are dry before you begin.
Your exterior paint job should have a clean, dust-free surface without peeling paint to stick to.
Pro Tip: To test if you need to strip the paint first cut with an “X” with a sharp knife. Then, press 10cm of adhesive tape firmly across the middle of the cut. Remove the tape quickly. If any pieces of paint come with it, you will need to strip the loose paint off before applying the new topcoat of paint.

4. Mask the area
Masking before you paint makes the job faster and cleaner.
- Use a good quality masking tape along any edges you don’t want to paint, including trims or windows.
- Push the edges of the tape down firmly to ensure straight edges.
- Remove the masking tape at a 45° angle before the paint dries completely. If the paint is too dry, the masking tape can rip the paint film when it is removed.
- If the paint dries before the tape is removed, using a sharp blade, score the edge of the tape before removing so that it doesn’t pull paint away from the wall.
5. Use Quality Paints
If you use good quality paint, this will last longer and result in fewer repainting jobs. You will also get better paint coverage.
Recently paint technology has improved significantly.
Colours are guaranteed to last longer than ever before.
Avoid the temptation to skimp on paint costs to save a few dollars. It’s false economy.
Cheaper paints will give you more trouble, need repainting sooner, and will give you less coverage.
You’ll pay more in the long run, so invest more upfront to buy the better brands.
6. Don’t Paint on Rotten Surfaces
Don’t paint on rotten wood or siding material. It’s a waste of time and paint. Rotten surfaces or walls will continue to get worse.
You have two options here.
One, is to replace the siding or wood trim with new wood or material.
The second option, particularly relevant in the case of small areas, is to use a wood hardener and match the wood colour and texture with an exterior filler product.
Be sure to do your preparation and sand either one prior to painting.
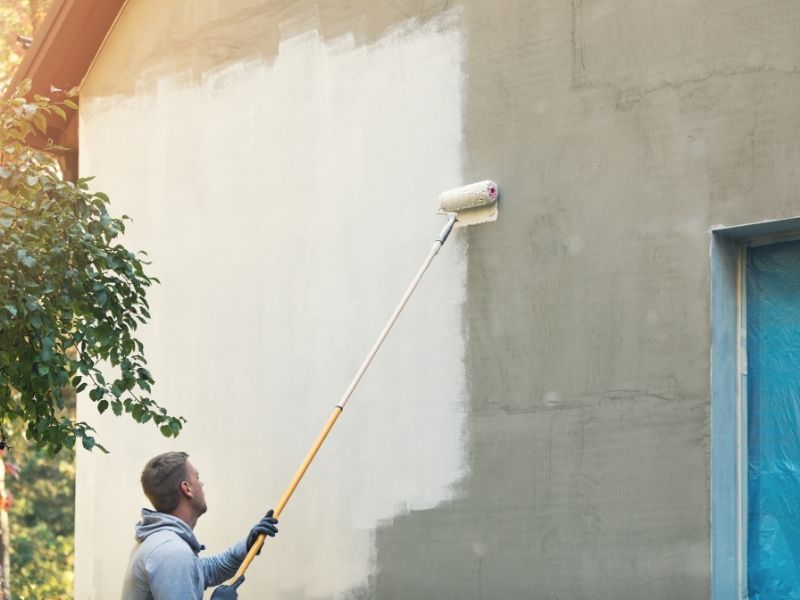
7. Use Primer
Previously, the rule was to apply a good coat of primer, sand, then apply your coats of colour paint.
This is still a good rule to follow, but some modern paints have combined primer and paint into one product.
This might cut down on the number of coats you have to apply, but it also may be an expensive option, even as costly, or more so, than purchasing primer and paint separately.
If you are painting over a dark colour or surface that’s never been primed or painted, you will need to use an undercoat. It can also provide a better coverage and hiding power than just applying extra topcoats.
8. Combine Cans of Paint
Mix multiple cans of the same colour of paint into a larger container, such as a large 20L bucket. This will help ensure a uniform colour is applied to your home’s exterior.
This step is a method the pros follow.
It’s important if, for example, you initially bought a few litres of paint less than you needed and then picked up the extra paint at a later time.
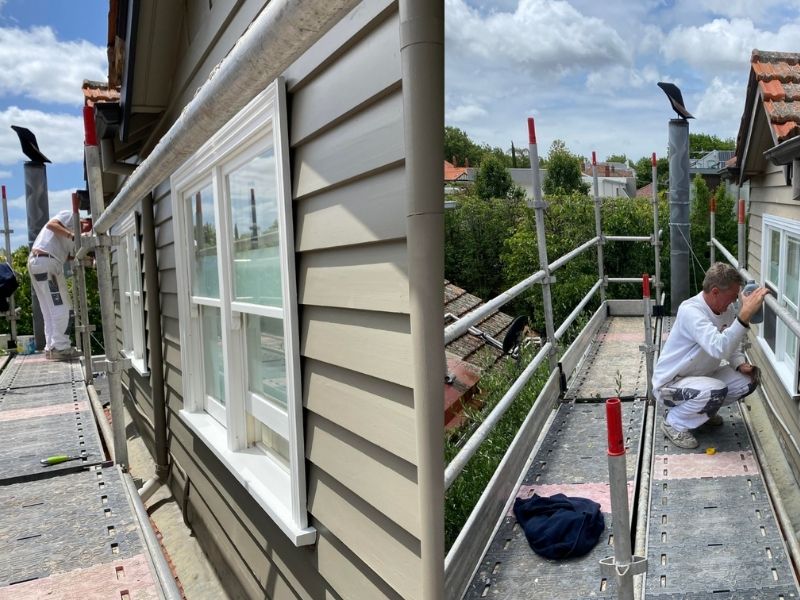
9. Paint From Top to Bottom
Start painting at the top and work your way down. This helps control painting streaks. You will be working with gravity rather than against it.
Drips are inevitable, but this method will allow you to feather out mishaps in the direction you are working.
10. Seal Off Paint Tins
Properly close your paint containers with their lids after you finish for the day. This will keep the paint from drying out.
You can use a rubber mallet to lightly hammer the lid shut. If you also add a film of plastic wrap over the opening this will ensure a tight seal.
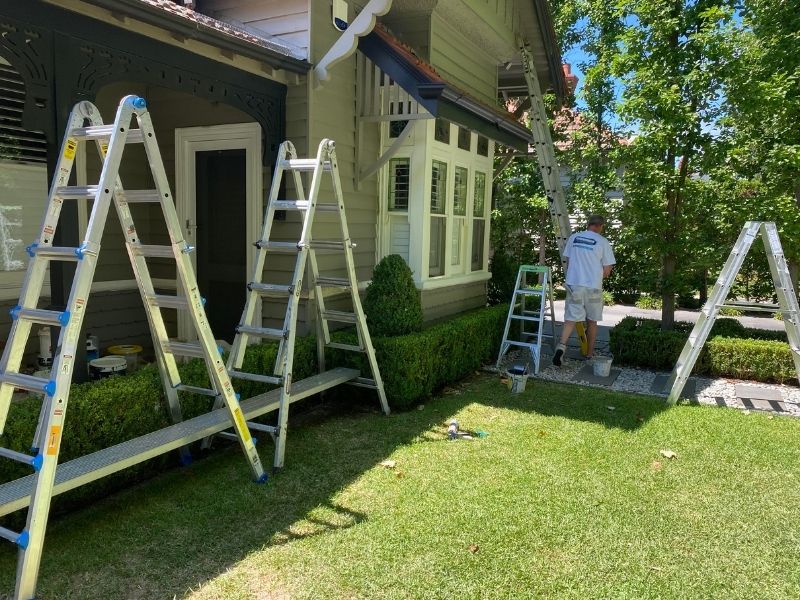
11. Prepare Your Landscape
Painting can be a messy business.
Be sure you cover the ground, bushes, and any other vegetation below the area you are painting.
Cover up or move any outdoor furniture, hoses, or grills.
Use drop sheets and weigh them down on the corners or securely wrap them around the items you are protecting.
Painting Your House Exterior is Not Easy
The truth is, the effort involved in preparing and painting exterior walls and surfaces is not easy.
It requires patience, careful planning, hard work and, importantly, the right products, tools and techniques.
If you aren’t confident in following the pro tips that we’ve shared with you, or you simply don’t have the time or inclination, but you want top-notch professional results, then hire a trusted professional painting company to paint your precious home or property just the way you expect and desire.
You can check out some of our exterior (and interior) painting jobs here: https://www.paintenancemelbourne.com.au/residential.
Happy painting!